DIY Blue Crayon Suncatchers: Easy Colorful Window Art!
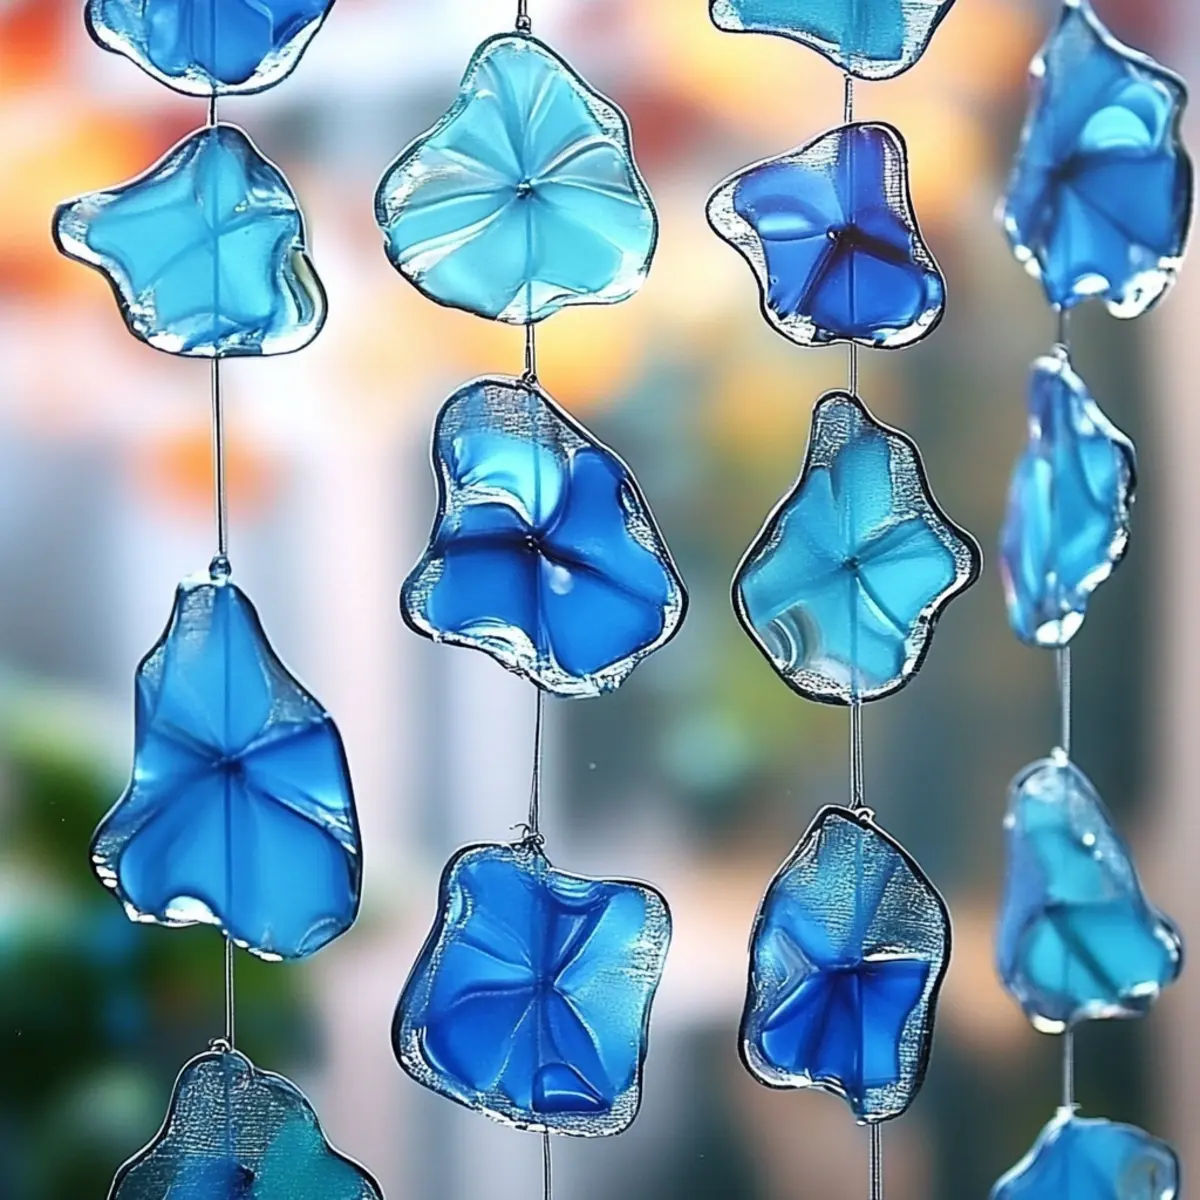
DIY Blue Crayon Suncatchers: Brighten Your Windows with a Splash of Color!
Print
Pin
Servings: 1 suncatcher
Equipment
- Iron
- Crayon Sharpener
- scissors
- Hole punch
Ingredients
For the Suncatcher
- 5 pieces Blue Crayons Mix light and dark shades for depth.
- 2 sheets Waxed Paper Essential for melting crayons.
- 1 unit Crayon Sharpener To create fine shavings.
- 1 unit Iron Set to low heat; adult supervision needed.
For Finishing Touches
- 1 unit Scissors For cutting fun shapes.
- 1 unit Hole Punch For hanging holes.
- 1 string Embroidery Floss/String/Thread For displaying the suncatchers.
Instructions
How to Make DIY Blue Crayon Suncatchers
- Preheat the Iron: Set your iron to a low heat setting.
- Create Crayon Shavings: Use your crayon sharpener to gather shavings from various blue crayons.
- Layer Crayon Shavings: Place a thick layer of shavings between two sheets of waxed paper.
- Melt the Crayons: Gently press the iron on the waxed paper for about 10-15 seconds.
- Cool and Cut: Remove from iron, let cool, and cut into fun shapes.
- Create a Hanging Hole: Punch a hole at the top of the suncatcher.
- Thread for Display: Thread your suncatcher with embroidery floss or string.
Notes
Always supervise children during the melting process. Use templates for cutting shapes for more creative designs.
Nutrition
Serving: 1suncatcher