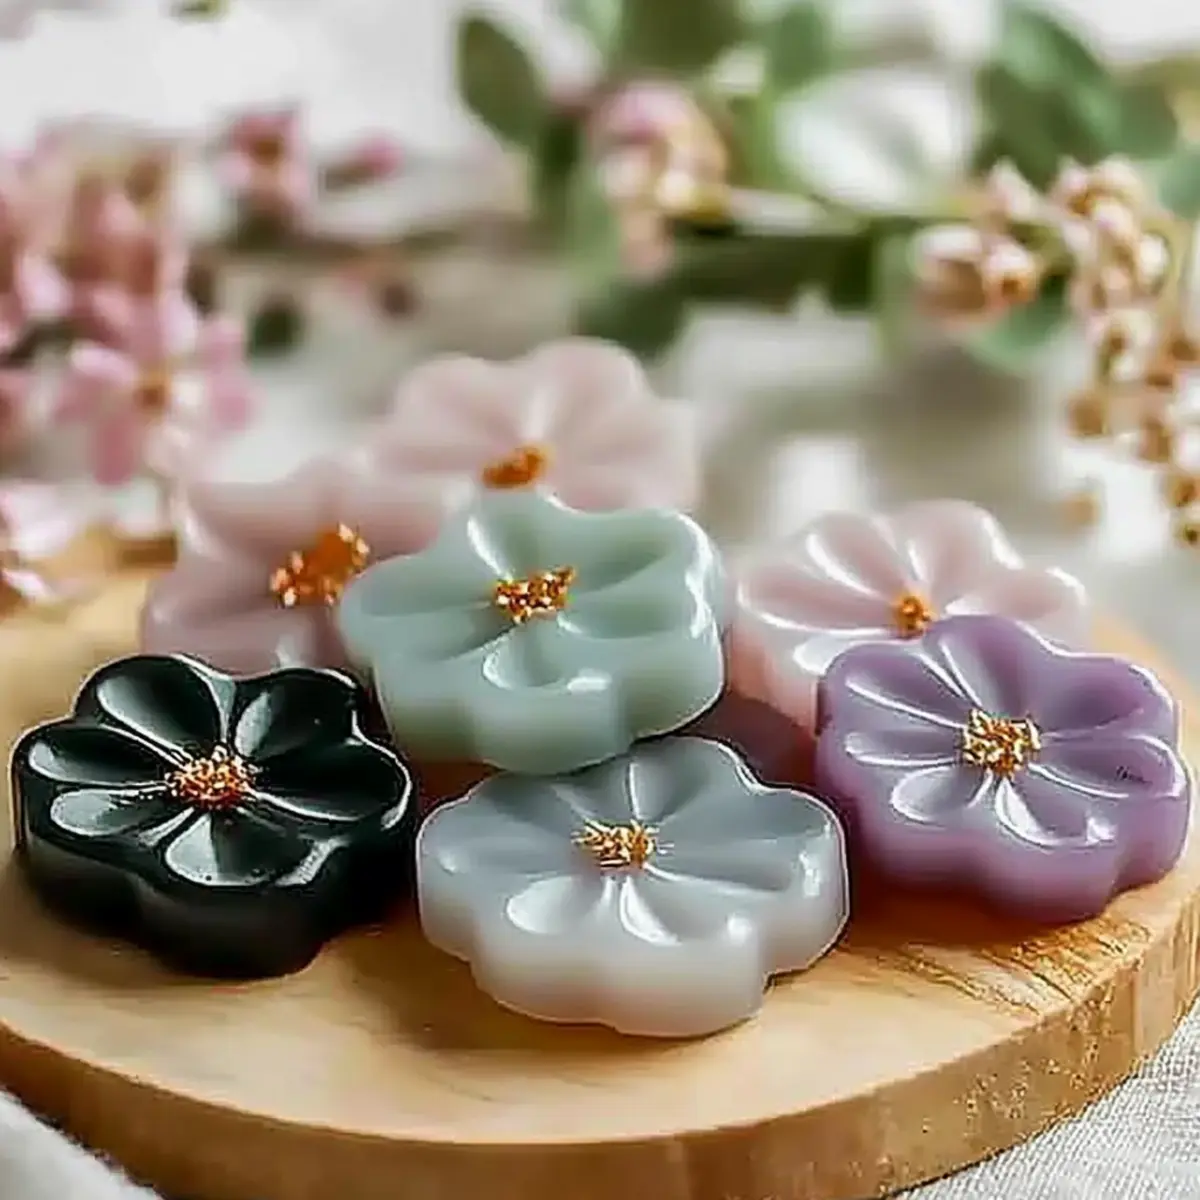
DIY Aroma Stones: Naturally Scented and Beautifully Handmade
DIY Aroma Stones: a creative, safe, and sensory-rich project for kids, using simple household ingredients.
Print
Pin
Servings: 10 stones
Equipment
- Mixing Bowl
- silicone molds
- spoon for mixing
Ingredients
For the Base
- 1 cup cornstarch Acts as the primary binder for your aroma stones.
- ½ cup baking soda Helps create a smooth texture and adds lightness.
- ¾ cup warm water Essential for mixing, helps dissolve ingredients.
For the Scent
- 15-20 drops essential oils Choose your child's favorite scents; ensure they are safe for kids.
- a few drops non-toxic liquid food coloring Adds vibrant hues to each stone.
Optional Add-ins
- herbs or flowers Infuse natural elements for added texture and fragrance.
- silicone molds Work wonders for shaping your stones into fun figures.
Instructions
Mixing and Shaping
- In a mixing bowl, combine 1 cup of cornstarch, ½ cup of baking soda, and ¾ cup of warm water. Stir until the mixture is smooth and free of lumps.
- Carefully incorporate 15-20 drops of your chosen essential oils. Stir until evenly blended.
- If using food coloring, add a few drops until you achieve the desired shade. Mix gently to maintain texture.
- Pour the mixture into silicone molds, pressing it down to eliminate air pockets.
- Allow the filled molds to sit at room temperature for about 24-48 hours until completely dry. Once dry, gently pop them out.
- Place the aroma stones in a cool, dry place. Use them to add delightful scents to any room.
Notes
Store in a cool, dry place and refresh scent as needed. Ensure safety by handling carefully and keeping out of reach of small children.
Nutrition
Serving: 1stone