Clear Glue Suncatcher Craft: Easy Whimsical Fun for Everyone
Create enchanting Clear Glue Suncatchers that bring color to your windows, perfect for all ages!
Print
Pin
Servings: 1 suncatcher
Equipment
- Plastic lid
- Toothpick or paintbrush
Ingredients
For the Suncatcher Base
- 1 cup Clear School Glue Elmer’s is recommended.
- 1 piece Plastic Lid Yogurt containers or clear plastic sheets can be alternatives.
For the Color Mixture
- few drops Food Coloring or Liquid Watercolor Paints Add sparingly for effect.
- 1 piece Toothpick or Paintbrush For swirling colors.
For Decoration (Optional)
- to taste Glitter For extra sparkle.
- to taste Sequins For added texture.
- to taste Beads For dimension.
For Final Touch
- 1 piece String or Suction Cup Hook For hanging.
Instructions
How to Make a Clear Glue Suncatcher
- Prepare Your Work Area: Cover your crafting surface with wax or parchment paper to ensure a mess-free experience while creating your suncatcher.
- Pour the Glue: Take your clear school glue and pour a generous layer into the plastic lid, creating a secure base for your colorful masterpiece.
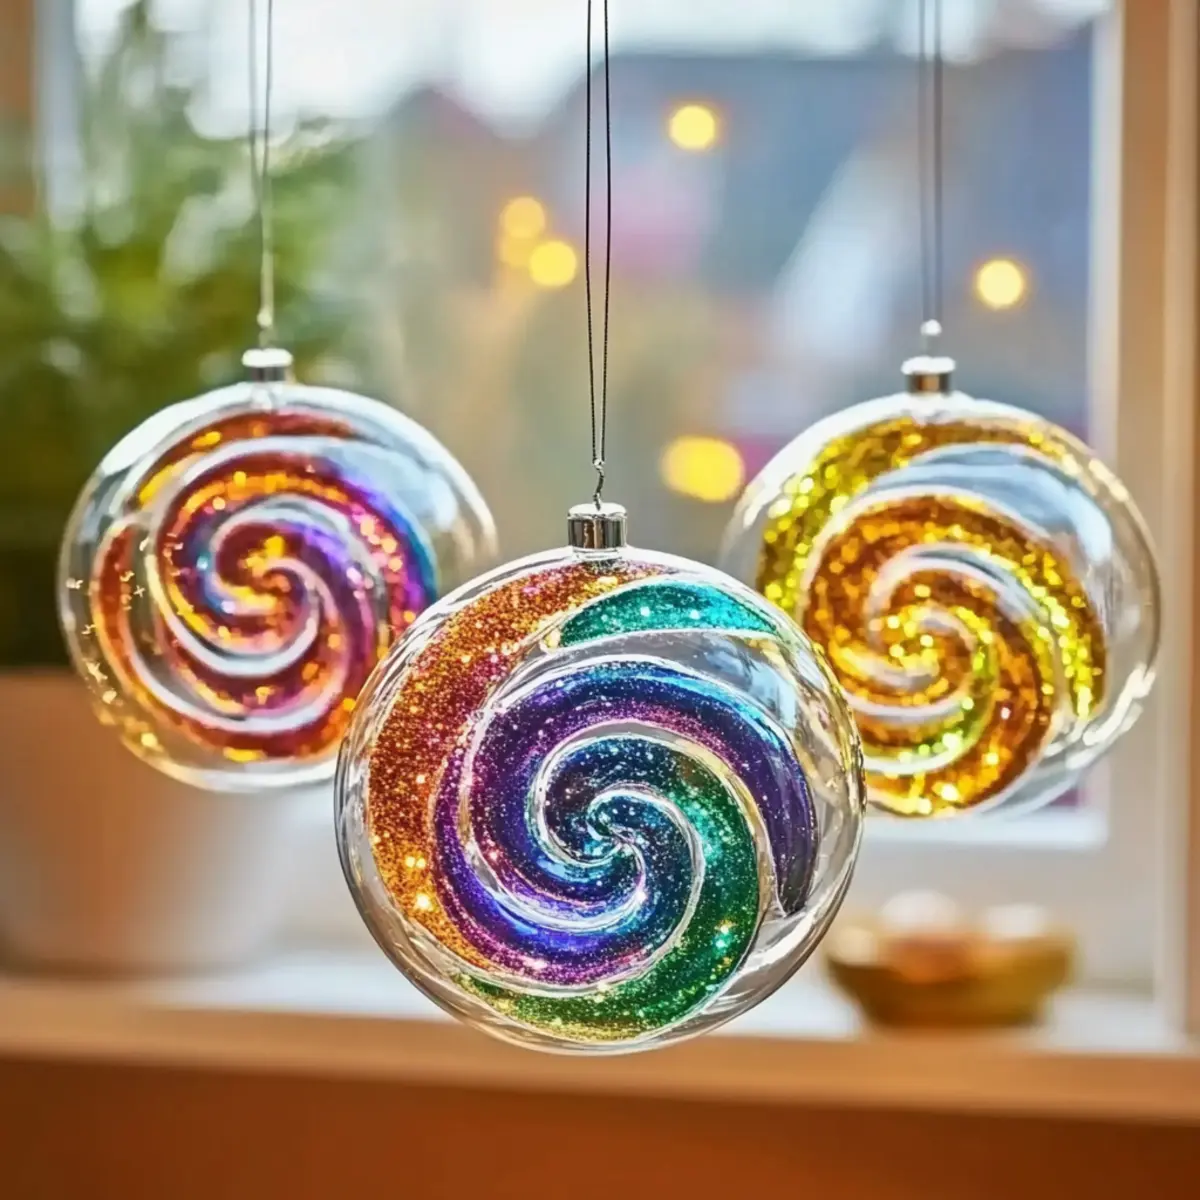
- Add Color: Sprinkle in a few drops of your chosen food coloring or liquid watercolor paints. Grab a toothpick or paintbrush to gently swirl the colors together, creating a beautiful mix.
- Sprinkle Decorations: If you wish, add glitter, sequins, or beads into the glue mixture for added charm and dimension—let your creativity run wild!
- Allow to Dry: Let your suncatcher dry completely for 24 hours in a safe spot, ensuring no one bumps into it during this time.
- Peel and Trim: Once dry, carefully peel the suncatcher from the plastic lid. Use scissors to trim any rough edges so it looks perfect!
- Hang Your Creation: Attach a string or suction cup hook to your new work of art, and find the perfect spot in your window for it to shine brightly in the sunlight!
Notes
Optional: Use different shapes for your lids to create a variety of unique suncatcher designs.
Nutrition
Serving: 1suncatcher