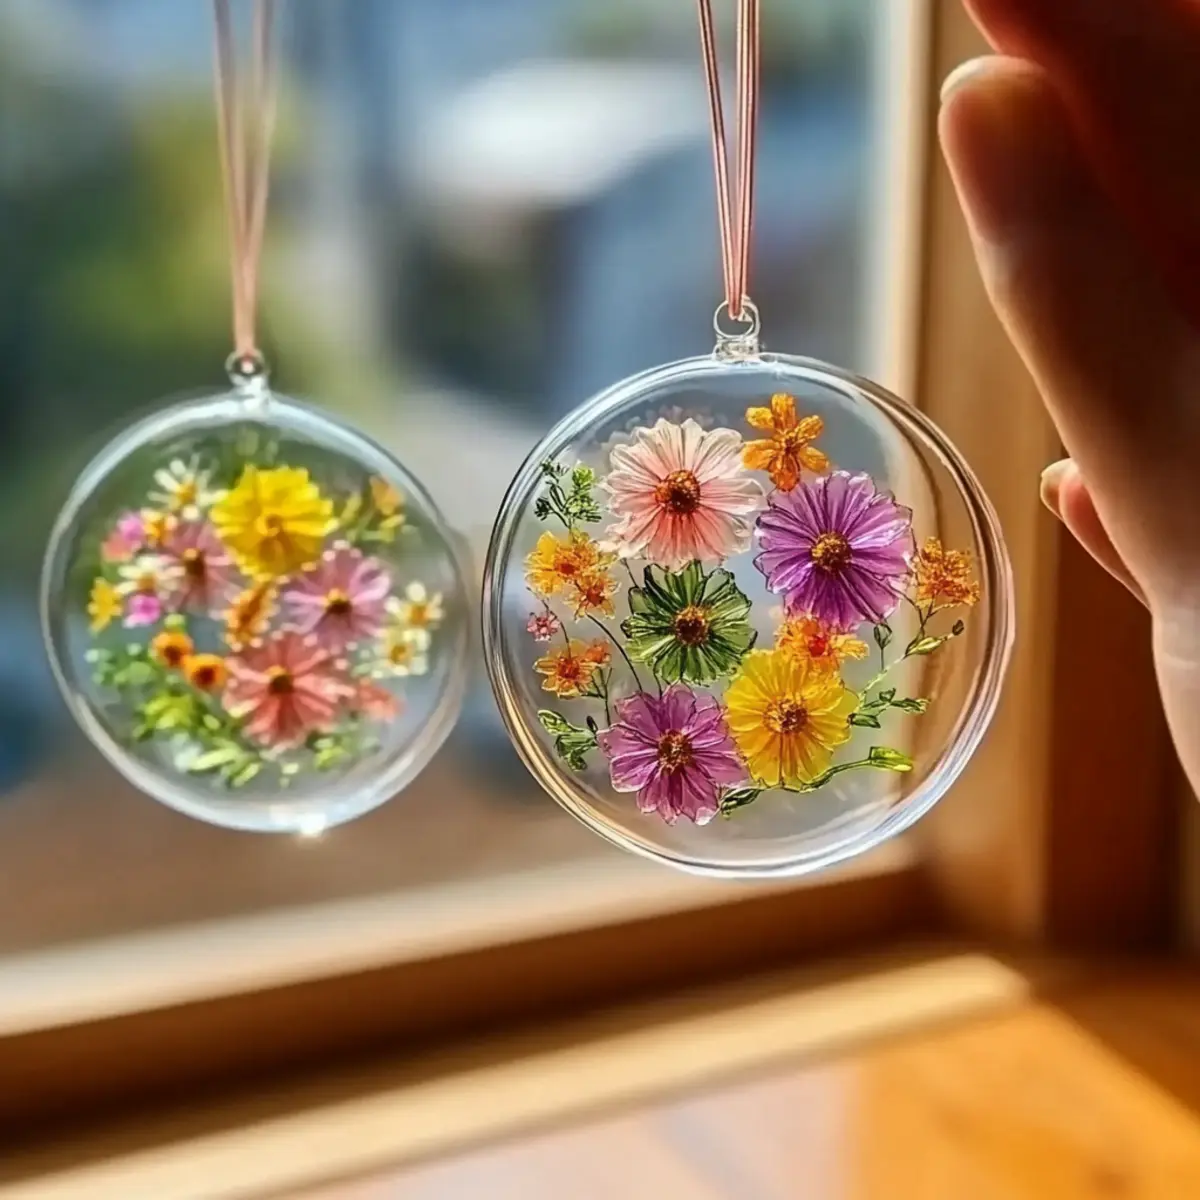
Clear Glue Flower Suncatcher: Easy DIY to Brighten Your Day
Create stunning Clear Glue Flower Suncatchers to brighten your windows and bring joy to your space!
Print
Pin
Servings: 1 suncatcher
Equipment
- scissors
- Flat surface
Ingredients
For the Base
- 1 bottle Clear school glue Provides a transparent finish.
- 1 lid Plastic lid or clear acetate sheet Acts as a sturdy base.
For the Decoration
- 5 pieces Pressed flowers Store-bought or homemade options.
- 1 handful Optional add-ins Tissue paper scraps, glitter, sequins, dried leaves.
For the Finishing Touches
- 1 each String or suction cup hook Necessary for hanging.
- 1 each Scissors For trimming excess edges.
To Protect Your Space
- 1 sheet Wax paper or parchment paper To shield your work surface.
- 1 each Optional black marker or dark paper For decorative framing.
Instructions
How to Make
- Lay down wax or parchment paper to protect your surface.
- Place the plastic lid or clear acetate sheet as your base.
- Spread a thin layer of clear school glue uniformly over the base.
- Lay down the pressed flowers artfully, ensuring they don’t overcrowd each other.
- Sprinkle in optional add-ins like tissue paper scraps, glitter, or sequins.
- Apply another thin layer of glue over your flowers and add-ins.
- Let your suncatcher dry thoroughly for a full day before handling.
- Once dried, use scissors to trim overhanging edges.
- Attach the string or suction cup hook and hang your suncatcher.
Notes
Experiment with various lid sizes or acetate sheets for different dimensions.
Nutrition
Serving: 1suncatcher