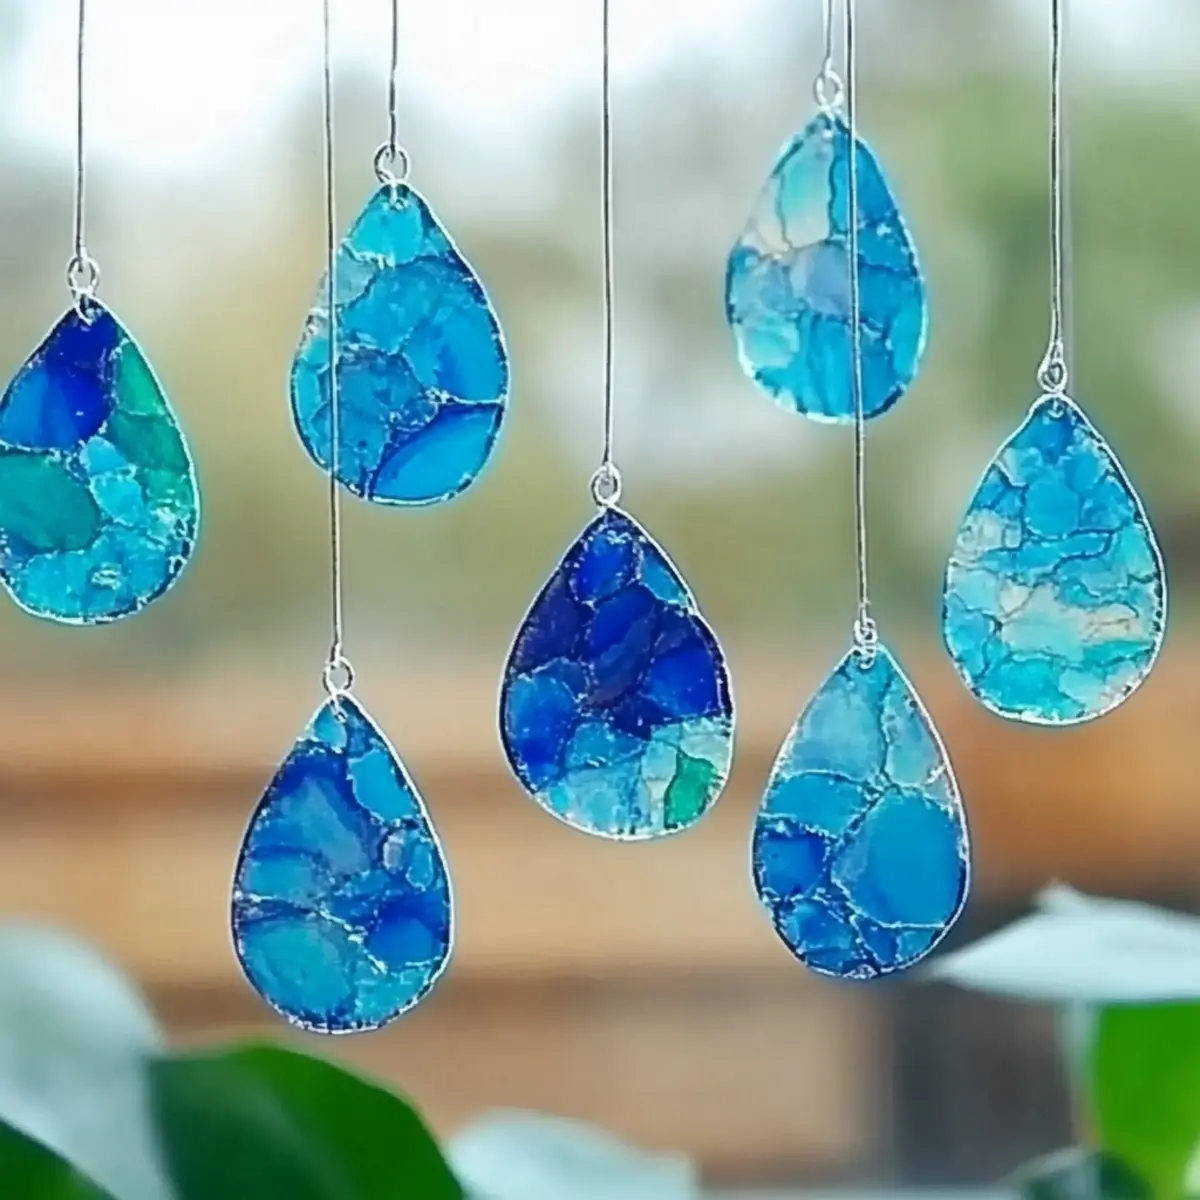
Blue Crayon Raindrop Suncatchers: Fun Crafts for Sunny Days
Create enchanting Blue Crayon Raindrop Suncatchers for a fun and creative activity for kids, bringing joy to rainy days and sunny windows.
Print
Pin
Servings: 1 suncatcher
Equipment
- Iron
- scissors
- Hole punch
Ingredients
Suncatcher Ingredients
- blue crayons Blue Crayons Provide vibrant colors; mix different shades for a stunning effect.
- 1 sheet Waxed Paper Acts as a base for melting crayon shavings; ensure it’s heat-resistant.
- 1 piece Embroidery Floss or String Perfect for hanging your lovely suncatcher.
- 1 punch Hole Punch Creates neat holes for threading the string; a must-have for easy hanging!
- 1 marker Permanent Marker (Optional) Add extra flair and personalization; let your creativity shine!
- 1 dash Glitter (Optional) Add extra flair and personalization; let your creativity shine!
- Iron Necessary for melting the crayon shavings; always supervise kids during this step.
Instructions
Instructions for Crafting
- Begin by using a pencil sharpener to create shavings from your blue crayons. Aim for a variety of shades to achieve a dynamic, eye-catching effect that captures the light beautifully.
- Lay out a sheet of waxed paper on a flat, safe surface. This will be the foundation for your colorful masterpiece, so make sure it's smooth and clean.
- Evenly distribute the blue crayon shavings across the waxed paper, playing with different shades and patterns. Let your creativity flow; the more shavings, the lovelier the final product!
- Carefully place another sheet of waxed paper on top. With adult supervision, gently press a hot iron over the layers until the crayons melt into a vibrant pool of color. Aim for a smooth, even melt, which usually takes just a few moments.
- Once the paper has cooled down, use scissors to cut out your melted creation into charming shapes. Raindrops, stars, or hearts all make delightful suncatchers that will spark joy!
- Grab your hole punch and make holes at the top of each shape. This will prepare your beautiful suncatchers for hanging in your sunny windows.
- Thread some embroidery floss or string through the holes you created, ensuring it's secure for hanging. A simple knot will do the trick!
Notes
Always supervise children during the melting process. Keep the iron away from reach until it's cool to prevent burns. These suncatchers are quick to create but are best displayed out of direct sunlight to prevent fading.
Nutrition
Serving: 1suncatcher