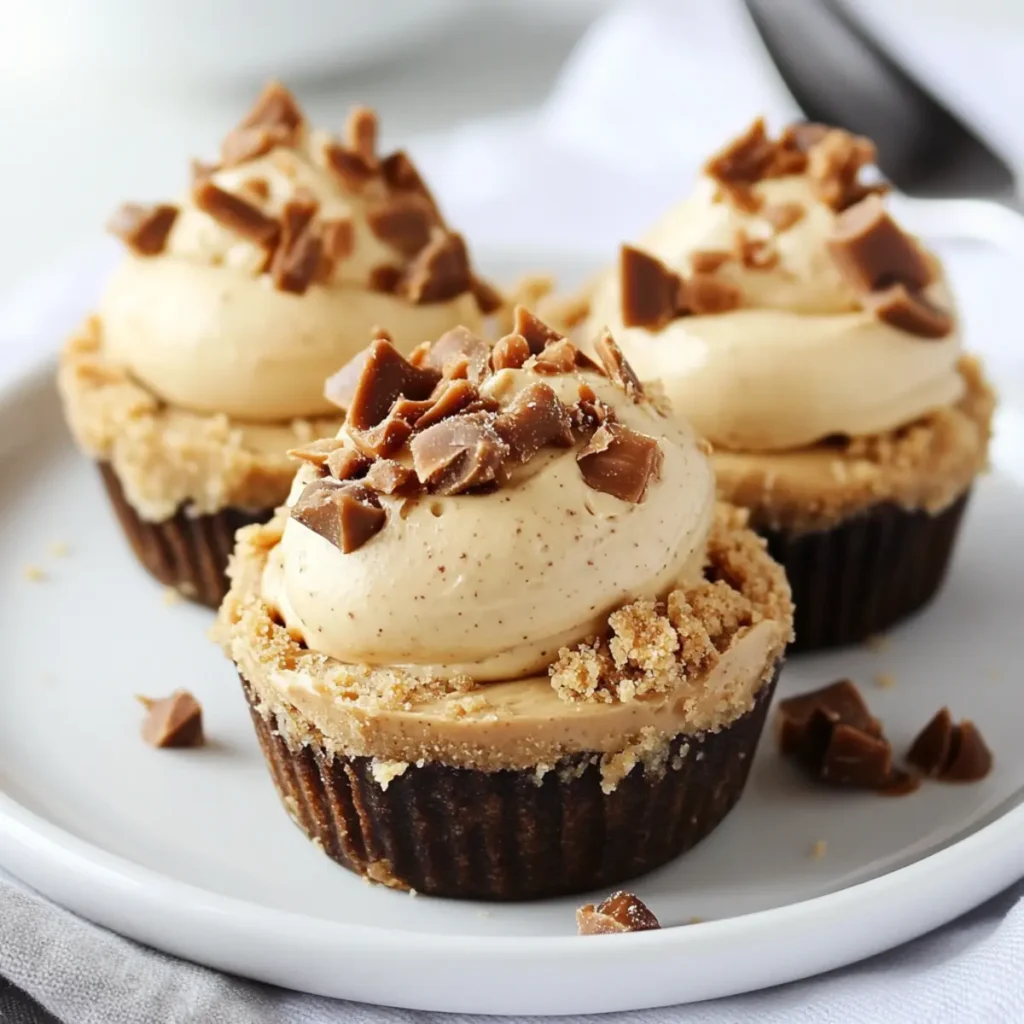
There's a special kind of joy that comes from creating a delicious dessert without the fuss of turning on the oven. Picture this: a warm afternoon with the sun streaming through the window, and you're in the kitchen whipping up No Bake Mini Peanut Butter Pies. The moment the creamy peanut butter filling meets the crisp graham cracker crust, it feels like a little hug for your taste buds.
I stumbled upon this delightful recipe during one of those weeks when takeout felt too routine. I craved something both indulgent and easy-enter these mini pies that require no baking and promise heavenly bites. Perfect for a gathering or a simple at-home treat, they are your answer to satisfying those sweet cravings in no time. With layers of creamy peanut butter and a chocolate drizzle to finish, you won't believe how quickly they disappear. Let's dive in and make these dreamy desserts together!
Why love No Bake Mini Peanut Butter Pies?
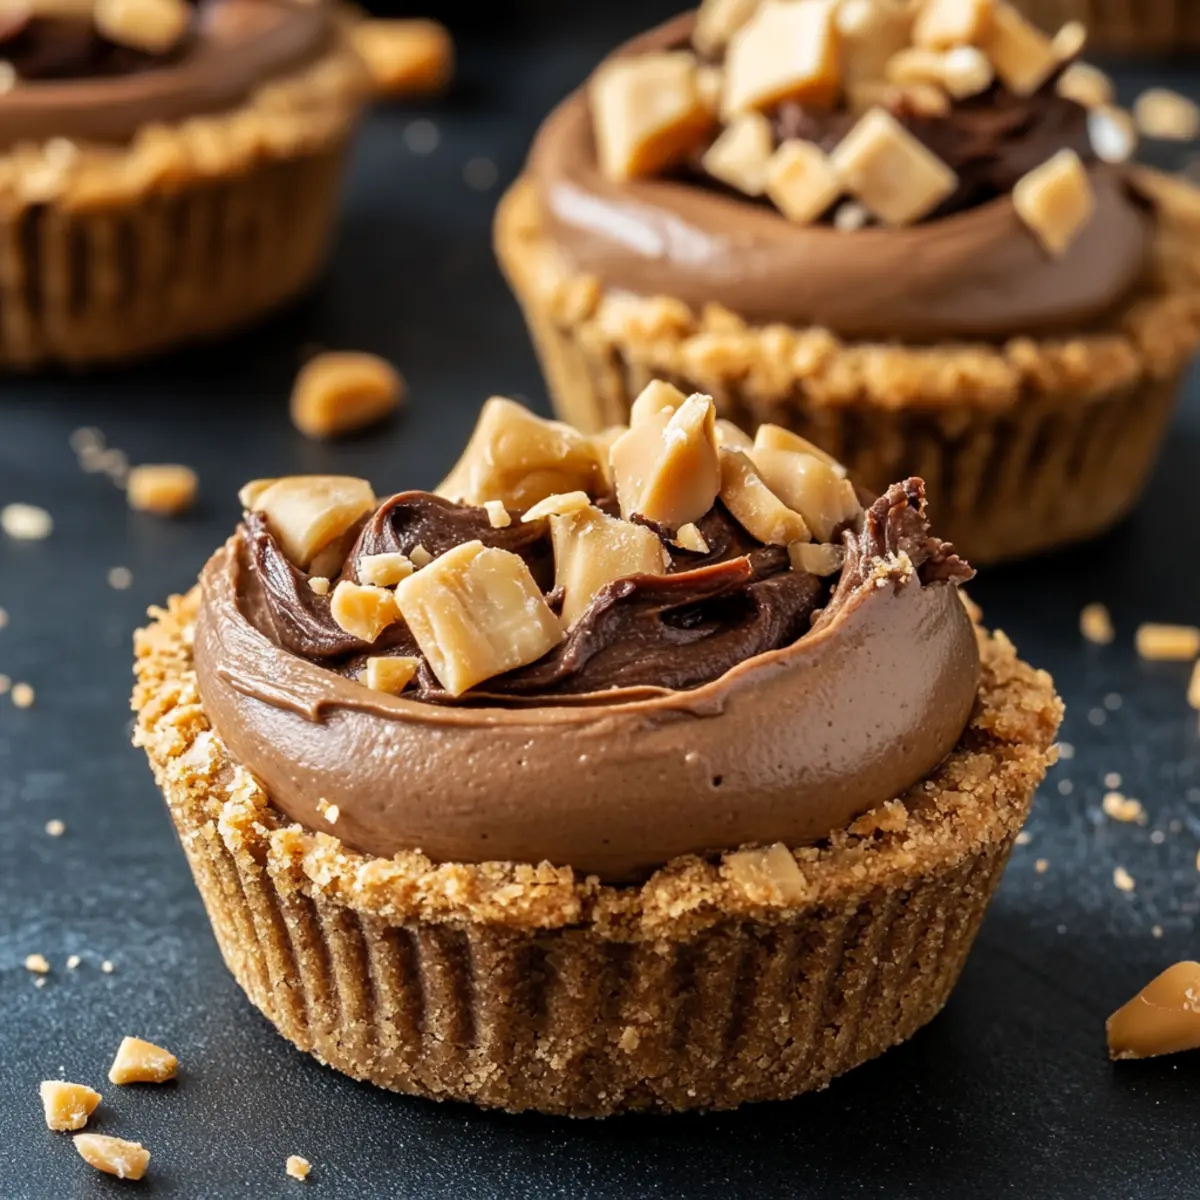
Indulgence at its finest: These mini pies combine peanut butter and chocolate, creating a dessert that feels utterly luxurious. Effortless preparation means no baking required-simply mix, fill, and chill! Perfect portion sizes make them ideal for sharing at parties or indulging alone. Versatile toppings let you customize with your favorite treats, and their crowd-pleasing appeal ensures they'll be the highlight of any gathering. If you enjoy easy and delightful desserts, these mini pies are a must-try!
No Bake Mini Peanut Butter Pies Ingredients
• Here's everything you need to create these delightful bites!
For the Crust
• Mini Graham Cracker Crusts - The base structure of our mini pies; use pre-made for convenience or whip up your own from crushed graham crackers.
• Chocolate Chips - Adds a rich chocolate flavor; you can substitute with dark or milk chocolate based on your preference.
For the Filling
• Cream Cheese - Forms the creamy base for the cheesecake filling; use mascarpone for a lighter taste if desired.
• Creamy Peanut Butter - The star of the show, lending its rich flavor and creaminess; opt for natural nut butter for a healthier twist.
• Heavy Cream - Whipped to create a light and airy filling; ensure it's cold for the best whipping results.
• Powdered Sugar - Sweetens the mixture while keeping it smooth; consider sugar alternatives if needed.
• Condensed Milk - Adds extra sweetness and creaminess; use sparingly if you want to lower the sweetness.
• Vanilla Extract - Boosts the overall flavor profile, making every bite feel indulgent.
These No Bake Mini Peanut Butter Pies are sure to be the highlight of any dessert table!
How to Make No Bake Mini Peanut Butter Pies
-
Prepare Crusts: Pour melted chocolate into each mini graham cracker crust and use a brush or the back of a spoon to coat evenly. Place them in the refrigerator for about 15 minutes to set.
-
Whip Cream: In a mixing bowl, whip the heavy cream until soft peaks form, about 3-5 minutes. Chill the whipped cream in the refrigerator while you prepare the filling.
-
Mix Filling: In a large bowl, beat together cream cheese, creamy peanut butter, and powdered sugar until the mixture is smooth and creamy. Add the condensed milk and vanilla extract, mixing until well combined.
-
Fold in Whipped Cream: Gently fold the chilled whipped cream into the peanut butter mixture, being careful not to deflate it. The mixture should be light and airy.
-
Fill Crusts: Spoon or pipe the creamy filling into each chilled crust, smoothing the tops with an offset spatula or the back of a spoon for a clean finish.
-
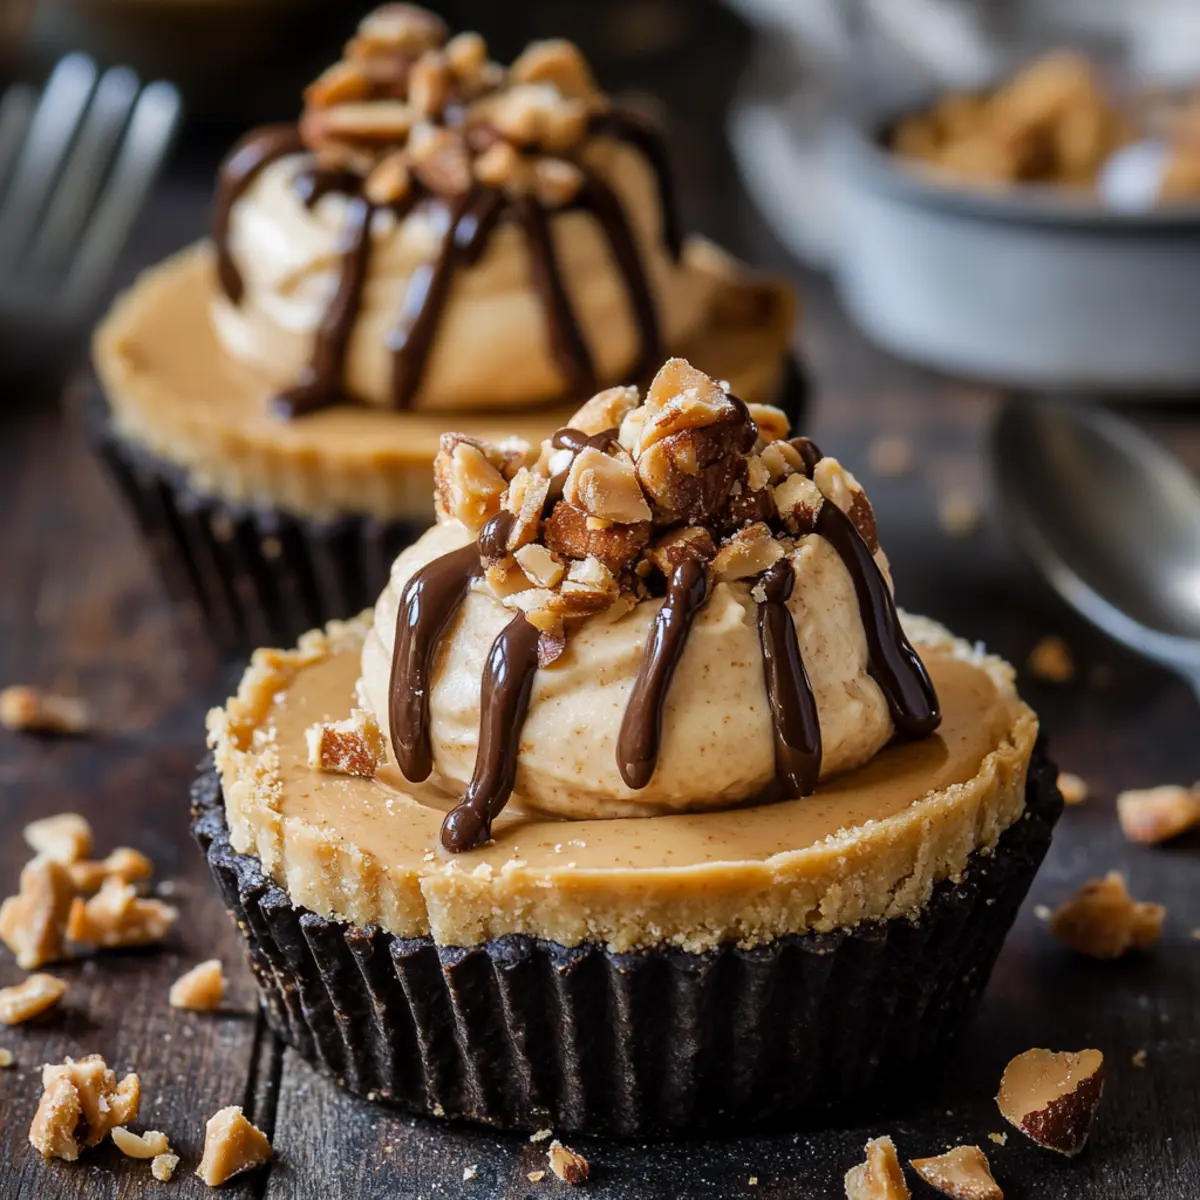
Drizzle & Chill: Drizzle the remaining melted chocolate over the filled pies for an elegant touch. Refrigerate the mini pies for at least one hour before serving to allow the flavors to meld.
Optional: Garnish with crushed peanuts or a sprinkle of sea salt for added texture and flavor.
Exact quantities are listed in the recipe card below.
Expert Tips for No Bake Mini Peanut Butter Pies
-
Cold Ingredients Matter: Ensure your heavy cream is very cold before whipping. This helps achieve a light and fluffy filling in your no bake mini peanut butter pies.
-
Gentle Folding: When combining the whipped cream with the peanut butter mixture, fold gently. Overmixing can deflate the whipped cream, resulting in a denser filling.
-
Chill Time: Don't skip the chilling step! Allowing the pies to rest in the refrigerator enhances their flavor and helps solidify the filling, making each bite even more delightful.
-
Personal Touch: Get creative with your toppings! Try crushed cookies, chocolate shavings, or a sprinkle of sea salt to elevate your no bake mini peanut butter pies.
-
Storage Savvy: Store leftovers in an airtight container in the refrigerator for up to 5 days. They also freeze well for a week-just remember to let them sit at room temperature for 10 minutes before serving.
No Bake Mini Peanut Butter Pies Variations & Substitutions
Feel free to get creative and adjust this recipe to suit your taste buds!
-
Nut Butter Swaps: Substitute creamy peanut butter with almond or cashew butter for a different nutty flavor. Each nut brings its own unique richness that can transform the pies into something new.
-
Dairy-Free Delight: Use coconut cream and dairy-free cream cheese to make this recipe completely dairy-free. You won't miss the traditional creaminess!
-
Alternative Crusts: Crushed Oreos or Biscoff cookies can create a flavorful crust that adds a delightful twist. Think of the added richness and flavor that might surprise your guests!
-
Flavor Boosters: Add a splash of espresso or a sprinkle of cinnamon to the filling for an unexpected flavor enhancement. Just a tiny bit can elevate the dessert to new heights!
-
Sweetener Options: Experiment with honey or maple syrup instead of powdered sugar for a more natural sweetening option. This can add a lovely depth of flavor while keeping it healthier.
-
Add Some Crunch: Top your mini pies with crushed peanuts, caramelized nuts, or even granola for a fun texture twist. The crunch will beautifully complement the creamy filling.
-
Chocolate Variations: Try using white chocolate for the drizzle instead of regular chocolate. It offers a sweeter contrast to the peanut butter that some will absolutely adore.
-
Spicy Kick: Add a sprinkle of cayenne pepper or chili powder to the filling for a surprising kick. This could bring an exciting depth to the flavor profile that adventurous eaters will love!
How to Store and Freeze No Bake Mini Peanut Butter Pies
Fridge: Keep your mini peanut butter pies in an airtight container in the refrigerator for up to 5 days; this ensures they stay fresh and creamy.
Freezer: For longer storage, freeze the pies in an airtight container for up to a week; remember to label the container for easy access later.
Reheating: When ready to enjoy, let the frozen pies sit at room temperature for about 10 minutes to soften before digging in, ensuring that delightful creamy texture.
Wrapping: If freezing, wrap each pie in plastic wrap to protect them from freezer burn, keeping the flavors of your no bake mini peanut butter pies intact.
What to Serve with No Bake Mini Peanut Butter Pies?
To create the perfect dessert spread, think beyond just sweet flavors-consider textures and complementary tastes that will elevate your no-bake treat experience.
-
Fresh Berries: The tartness of strawberries or raspberries cuts through the richness, providing a refreshing contrast. Their vibrant colors also add a lovely touch to your dessert table.
-
Crispy Biscotti: These crunchy delights spin in a complementary texture and can be dipped into coffee or tea, making for a beautiful pairing that blends flavors perfectly.
-
Whipped Cream: A dollop of freshly whipped cream on top adds a light and airy touch, enhancing the creamy filling and providing a delightful creaminess that ties it all together.
-
Decadent Coffee: A rich cup of your favorite coffee or a mocha pairs wonderfully, balancing the sweetness of the pies while providing a cozy ambiance for dessert time.
-
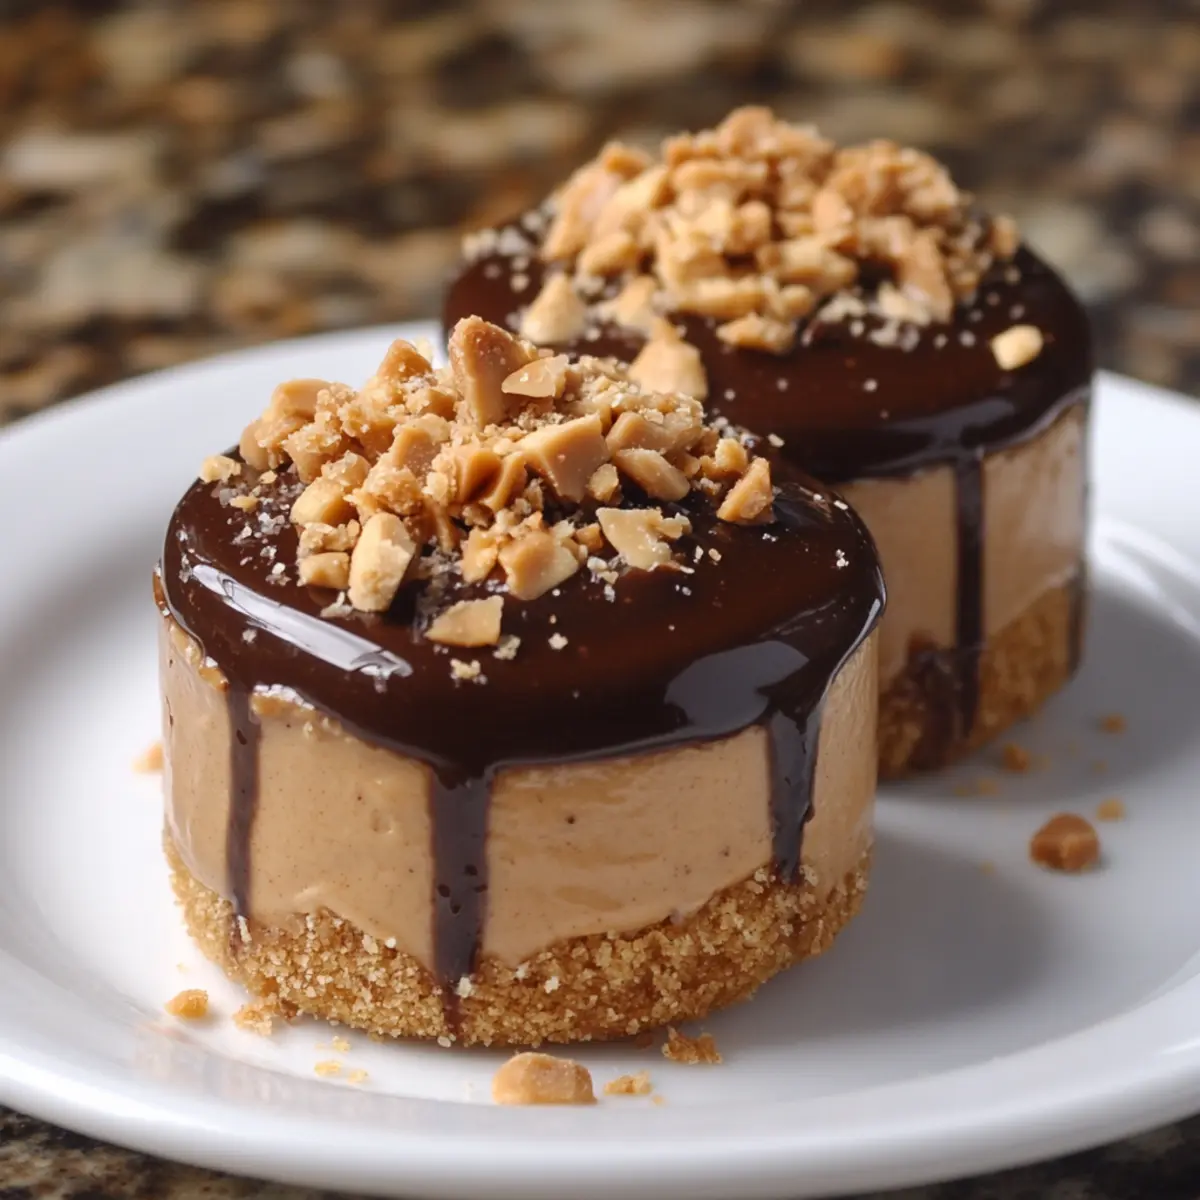
Chocolate Sauce Drizzle: Take your indulgence up a level by drizzling extra chocolate sauce over the pies. This adds a touch of luxe and an appealing finish that chocolate lovers will adore.
-
Crunchy Nuts: Chopped peanuts or walnuts on top not only add a nice crunch, but they also enhance the peanut butter flavor, delivering that nutty richness we all crave.
-
Ice Cream Scoops: Creamy vanilla or coffee ice cream served alongside adds an inviting temperature contrast, melting slightly against the cold pies and enhancing every bite.
These thoughtful pairings will ensure a delightful and balanced dessert experience that keeps everyone coming back for more!
Make Ahead Options
These No Bake Mini Peanut Butter Pies are perfect for making ahead, saving you time on busy days! You can prepare the mini graham cracker crusts and store them in the refrigerator up to 3 days in advance. Assemble the creamy filling the night before and refrigerate it separately, ensuring the whipped cream remains light and airy till serving. For best results, fill the crusts and drizzle with melted chocolate no more than 24 hours before you plan to enjoy them. This way, you can maintain their delightful texture and flavor, ensuring each bite is just as delicious as if you made them fresh!
No Bake Mini Peanut Butter Pies Recipe FAQs
How do I choose the right peanut butter for the filling?
Absolutely! Choosing peanut butter can greatly impact the flavor of your No Bake Mini Peanut Butter Pies. I recommend using a creamy, unsweetened peanut butter for the best texture and taste. If you're looking for a healthier option, you might try natural peanut butter, which contains fewer additives. Just be sure to stir it well if there's any separation!
How should I store leftover No Bake Mini Peanut Butter Pies?
You can keep your mini pies in the refrigerator for up to 5 days in an airtight container. This helps maintain their creamy texture and rich flavor, ensuring they're just as delightful on day five as they were on day one!
Can I freeze No Bake Mini Peanut Butter Pies?
Certainly! For freezing, place the pies in an airtight container and they can last up to a week in the freezer. To enjoy later, let them sit at room temperature for about 10 minutes before serving. This step helps them regain their wonderful creaminess-trust me, you'll love how they taste even after thawing!
What can I do if my whipped cream doesn't reach soft peaks?
Very! If your whipped cream isn't holding soft peaks, it might not be cold enough or you might not have whipped it long enough. Ensure your heavy cream is chilled straight from the fridge, and whip it in a cold bowl. Aim for about 3-5 minutes of mixing on medium speed. If it's still not working, try using a stand mixer for easier whipping.
Are No Bake Mini Peanut Butter Pies safe for people with allergies?
It depends on the specific ingredients you use. Ensure to check for allergies with your guests-common allergens include peanuts, dairy (from cream cheese and heavy cream), and gluten (if using traditional graham cracker crusts). You can easily substitute with nut-free spreads, dairy alternatives, or gluten-free crusts to make these pies more accommodating to dietary needs. Always communicate about the ingredients used to keep everyone safe during gatherings!

Indulgent No Bake Mini Peanut Butter Pies You’ll Crave!
Equipment
- Mixing Bowl
- whisk
- spatula
- Refrigerator
Ingredients
For the Crust
- 12 mini Graham Cracker Crusts Pre-made or homemade
- ½ cup Chocolate Chips Melted for coating
For the Filling
- 8 oz Cream Cheese Softened
- 1 cup Creamy Peanut Butter Natural recommended
- 1 cup Heavy Cream Chilled for whipping
- ½ cup Powdered Sugar Can use sugar alternatives
- ¼ cup Condensed Milk Optional for sweetness
- 1 tsp Vanilla Extract
Instructions
Crust Preparation
- Pour melted chocolate into each mini graham cracker crust and coat evenly. Refrigerate for about 15 minutes to set.
Filling Preparation
- Whip the heavy cream until soft peaks form, about 3-5 minutes. Chill while preparing the filling.
- In a large bowl, beat together cream cheese, peanut butter, and powdered sugar until smooth. Add condensed milk and vanilla, mixing well.
- Gently fold the whipped cream into the peanut butter mixture.
- Spoon or pipe the filling into the crusts and smooth the tops.
- Drizzle melted chocolate over the filled pies. Refrigerate for at least one hour before serving.
Leave a Reply