
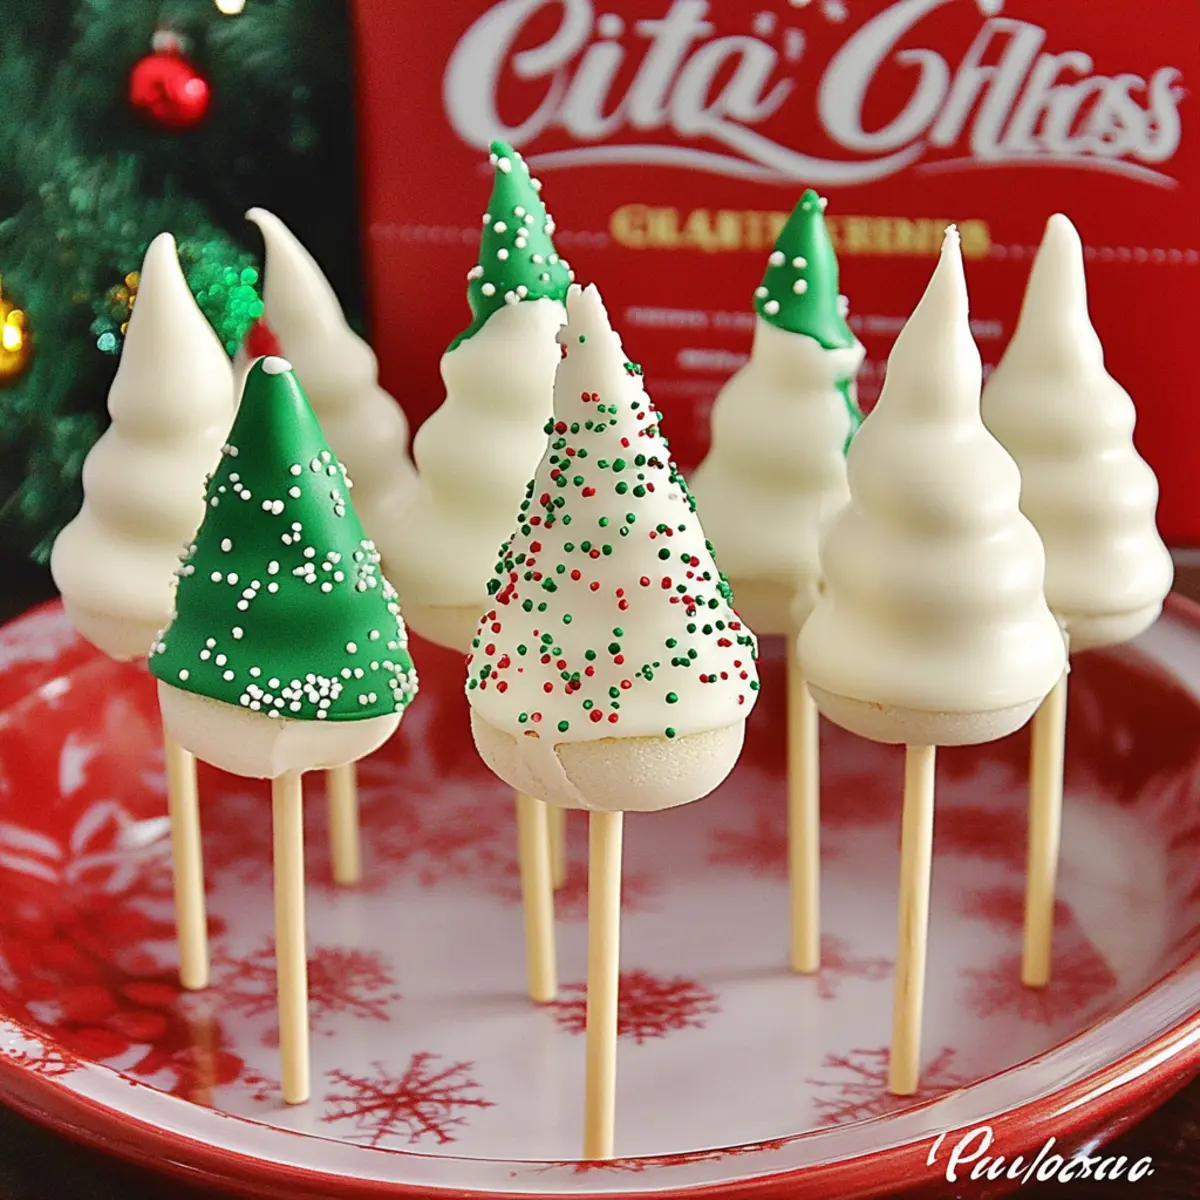
There's something delightful about the holiday season that makes even the simplest desserts feel special. Picture this: your kitchen filled with the rich aroma of melted chocolate and the cheerful crunch of green sprinkles bringing a touch of whimsy to your table. That's the essence of my Little Debbie Christmas Tree Cake Pops!
These charming treats capture all the nostalgia of childhood holiday favorites, transforming easy-to-find snacks into an impressive dessert that leaves both kids and adults smiling. Perfect for festive gatherings or those cozy nights in, they come together with just three key ingredients, making them as simple as they are scrumptious.
Whether you're spreading cheer at a holiday party or simply treating yourself to a sweet indulgence at home, these cake pops blend fun and festivity effortlessly. Let's roll up our sleeves and add a playful twist to the season's dessert lineup!

Why are Little Debbie Christmas Tree Cake Pops a Must-Try?
Delightful flavors: The nostalgic taste of Little Debbie snacks combined with a creamy chocolate coating makes these pops a rich treat sure to impress.
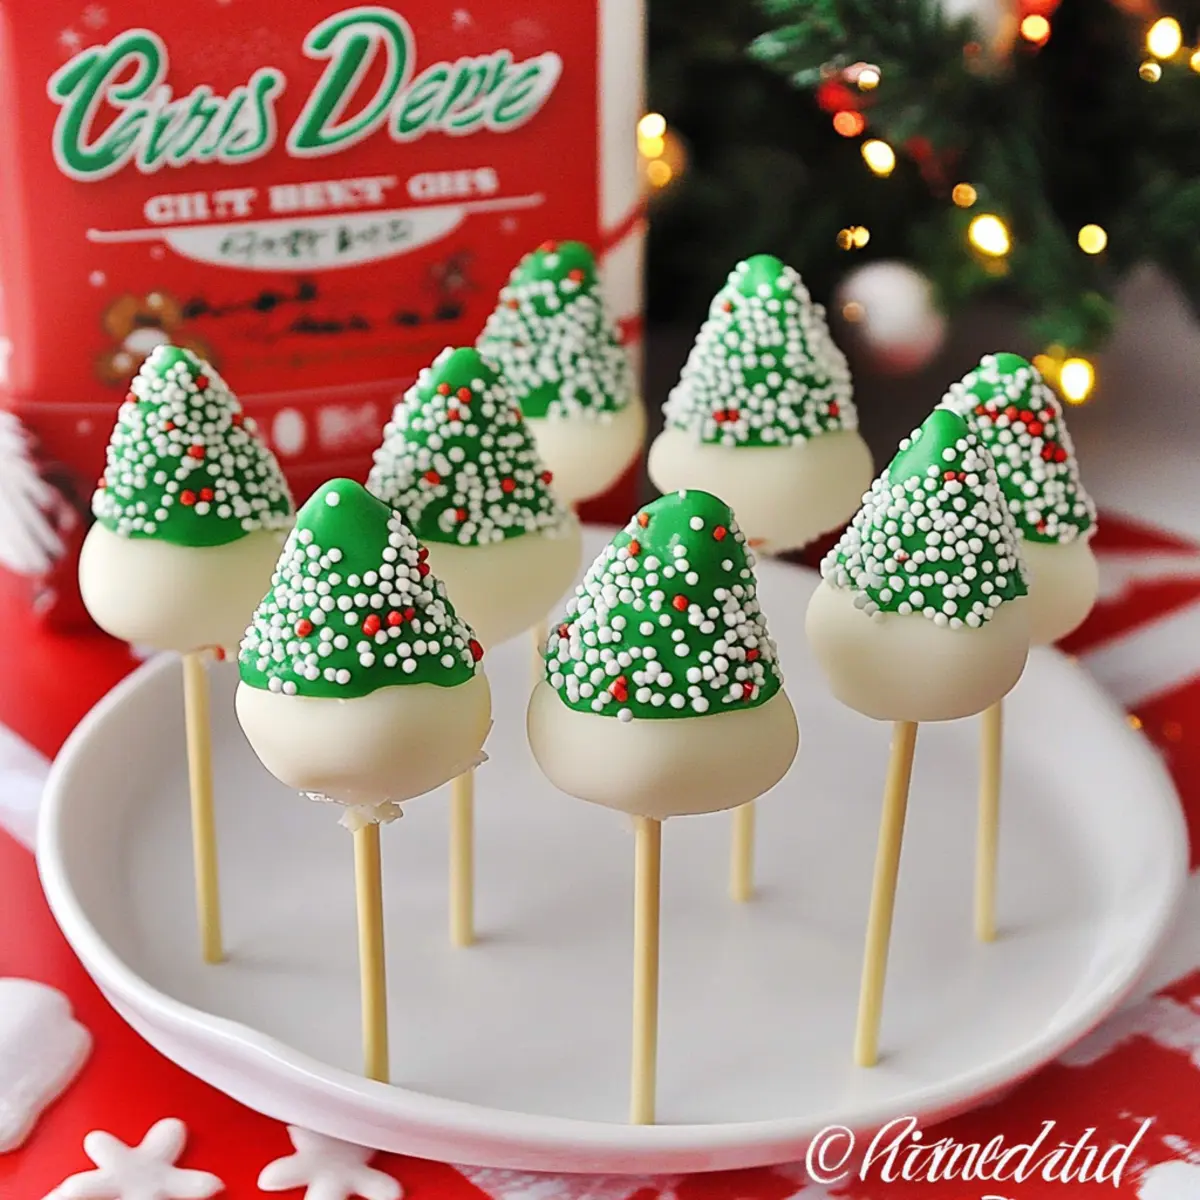
Festive presentation: Their vibrant green sprinkles bring a cheerful touch to any holiday gathering, making them a feast for the eyes.
Super simple: With just three ingredients, anyone can whip these up-perfect even for novice bakers!
Crowd-pleaser: These cake pops will have both kids and adults reaching for seconds, ensuring they're the star of the dessert table.
Versatile fun: Experiment with different colors and toppings to match any occasion or theme. Treat yourself to the joy of baking with these delicious pops!
Little Debbie Christmas Tree Cake Pops Ingredients
Get ready to create a festive treat!
For the Cake Pops
• Little Debbie Christmas Tree Cake Snacks - These are the star ingredient, delivering classic flavor and a moist cake-like texture.
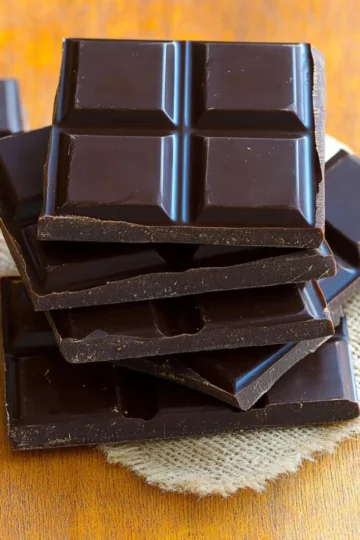
• White Chocolate Melting Wafers - Perfect for coating your cake pops, adding a rich creaminess to each bite.
• Green Sprinkles - These whimsical sprinkles not only enhance their festive appearance but also add a fun texture.
For Decoration (optional)
• Red Icing - Use this for decorative drizzling, mimicking the original cake's festive design for that extra touch!
With these simple ingredients, you'll soon enjoy delicious Little Debbie Christmas Tree Cake Pops that shine on any holiday dessert table!
How to Make Little Debbie Christmas Tree Cake Pops
-
Prepare Cake Mixture: Start by placing the Little Debbie Tree Snacks in a bowl. Use a spatula to crush them until they're finely crumbled. Knead this mixture into a sticky ball, ensuring everything is well combined.
-
Form Cake Pops: Take small portions of your cake mixture and roll them into balls, about the size of a golf ball. Place these perfectly formed balls onto parchment paper to keep them from sticking.
-
Attach Sticks: Melt a few of the chocolate wafers in a microwave-safe bowl. Dip the tips of your lollipop sticks into the melted chocolate, then gently insert them into the center of each cake ball. Chill the pops in the refrigerator for about 30 minutes so they firm up.
-
Coat Cake Pops: Melt the remaining chocolate wafers in a tall cup, which makes dipping easier. Dip each chilled cake pop into the melted chocolate, allowing any excess to drip off before placing them back on the parchment paper.
-
Decorate: While the chocolate is still wet, shake those delightful green sprinkles onto the pops. For an extra festive flair, you can drizzle red icing on top. Chill the decorated cake pops once more for 30 minutes before serving.
Optional: Try adding festive-shaped sprinkles for an extra touch of holiday spirit!
Exact quantities are listed in the recipe card below.
What to Serve with Little Debbie Christmas Tree Cake Pops?
These playful treats are perfect for spreading holiday cheer, enhancing any festive gathering with their fun colors and delicious flavors.
-
Rich Hot Chocolate: The creamy warmth of hot chocolate complements the sweetness of the cake pops, creating a delightful balance that warms the heart.
-
Peppermint Bark: A crunchy, chocolatey dessert that offers a refreshing minty contrast, making every bite more exciting and festive.
-
Spiced Sugar Cookies: These classic cookies add a touch of nostalgia, and their buttery texture pairs wonderfully with the chocolatey pops.
-
Fruit Platter: Fresh, colorful fruits like strawberries and oranges can provide a refreshing and juicy contrast, brightening the dessert table.
-
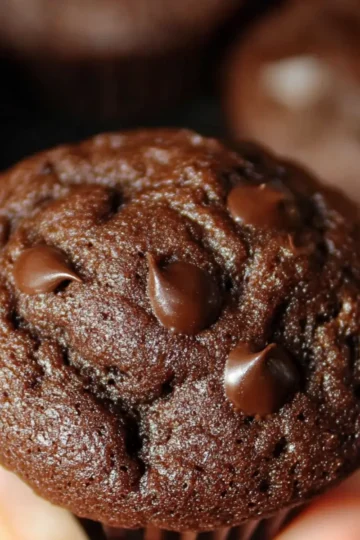
Chocolate Fudge Brownies: Indulge in some gooey brownies to accompany the cake pops; their rich flavors play well together.
-
Eggnog: This traditional holiday drink adds a festive, creamy richness that perfectly enhances the playful sweetness of the cake pops.
-
Christmas Punch: A fruity, bubbly punch adds a celebratory feel to your gathering, creating a festive atmosphere that pairs wonderfully with sweets.
-
Mini Cheesecakes: Their creamy texture and rich flavor can offer a nice contrast to the soft cake pops, making for a well-rounded dessert selection.
-
Snickerdoodle Cake Bars: These cinnamon-sugar treats provide a soft, chewy texture that tastes fantastic alongside your cake pops.
Let these ideas inspire your holiday gathering, ensuring that every bite is a celebration of the season!
Storage Tips for Little Debbie Christmas Tree Cake Pops
Room Temperature: Keep out at room temperature for up to 2 hours if serving at a party, as long as it's not too warm.
Fridge: Store uneaten Little Debbie Christmas Tree Cake Pops in an airtight container in the refrigerator for up to one week to maintain freshness and flavor.
Freezer: For longer storage, freeze cake pops (wrapped individually) for up to three months. Just thaw in the fridge when ready to enjoy.
Reheating: Avoid reheating; instead, let frozen cake pops come to room temperature before serving to enjoy their delightful texture and flavor fully.
Make Ahead Options
These Little Debbie Christmas Tree Cake Pops are perfect for busy home cooks looking to save time during the holiday rush! You can prepare the cake mixture up to 24 hours in advance; just crush the Little Debbie snacks and form the mixture into balls, then refrigerate. This step keeps the mixture fresh and helps the flavors meld together. You can also dip the sticks into chocolate and attach them to the cake balls, storing them covered in the fridge for up to 3 days. When you're ready to serve, simply coat the pops in melting chocolate, decorate with sprinkles, and chill for an additional 30 minutes. They'll be just as delicious and festive as if you made them fresh!
Little Debbie Christmas Tree Cake Pops Variations
Feel free to unleash your creativity and take these delightful treats to new heights with unexpected twists and substitutes!
- Dairy-Free: Use dairy-free chocolate melting wafers instead of white chocolate to create a creamy texture without the milk.
- Nutty Flavor: Incorporate crushed nuts, such as pistachios or almonds, into the cake mixture for a delightful crunch and a flavor boost.
- Different Sprinkles: Swap out green sprinkles for red or gold for a New Year's celebration or even pastel colors for spring festivities.
- Flavored Cake Mix: Substitute the Little Debbie cakes with a flavored cake mix, like chocolate or vanilla, for a delicious twist on the classic.
- Mini Pops: For a fun bite-sized treat, roll smaller balls to create mini cake pops-perfect for kids or as party favors!
- Add Spice: Mix in a pinch of cinnamon or nutmeg to the cake mixture for a warm, cozy flavor that's perfect for the holidays.
- Chocolate Drizzle: Before the pops chill, drizzle melted dark or white chocolate over the sprinkles for an enticing presentation and extra sweetness.
- Peppermint Treat: Add peppermint extract to the mixture for a refreshing holiday flavor or sprinkle crushed candy canes on top for added crunch and color.
With these tasty variations, your Little Debbie Christmas Tree Cake Pops will be anything but ordinary!
Expert Tips for Little Debbie Christmas Tree Cake Pops
-
Consistency Matters: Ensure the cake mixture is sticky enough to hold together but not too wet. This affects the overall texture of your Little Debbie Christmas Tree Cake Pops.
-
Melt Chocolate Carefully: To avoid chocolate clumping when coating, make sure it's completely melted and smooth. This prevents messy, uneven coatings.
-
Chill Wisely: After inserting the sticks and before coating, chill the pops for at least 30 minutes. This helps them hold their shape while being dipped in chocolate.
-
Decorate Creatively: Feel free to experiment with different colored toppings or drizzles to give your cake pops a personalized touch for any festive occasion.
-
Storing Leftovers: Keep the leftover cake pops in an airtight container in the refrigerator to maintain freshness for up to a week. Enjoy these delightful treats anytime!
Little Debbie Christmas Tree Cake Pops Recipe FAQs
How do I choose the best Little Debbie Christmas Tree Cake Snacks?
Selecting the best Little Debbie Christmas Tree Cakes is all about freshness! Look for packages with no visible damage or dark spots, indicating quality. The expiration date should be well into the future to ensure you get the softest texture.
How should I store Little Debbie Christmas Tree Cake Pops?
For optimal freshness, you can store your cake pops in an airtight container in the refrigerator for up to one week. Ensure they are separated by parchment paper to prevent sticking. If serving at a party, they can sit out for up to 2 hours, but make sure it's in a cool area to maintain their structure.
Can I freeze Little Debbie Christmas Tree Cake Pops?
Absolutely! To freeze your cake pops, wrap each one individually in plastic wrap, ensuring they're airtight. Then place them in a freezer-safe bag or container. They can be frozen for up to three months. When ready to enjoy, simply transfer them to the refrigerator to thaw overnight.
What if my chocolate coating doesn't stick?
If your chocolate coating isn't adhering well, it might be due to insufficiently melted chocolate or improperly chilled cake pops. Make sure the chocolate is fully melted and smooth for easy coating. Chill the pops again for about 20 minutes before dipping them into the chocolate to help them maintain their shape.
Can I use different types of sprinkles or toppings?
Very! Feel free to let your creativity shine by using various colored sprinkles or even themed candies to match any holiday or occasion. Just ensure the toppings are added immediately after coating while the chocolate is still wet to help them stick.
Are Little Debbie Christmas Tree Cake Pops safe for my pet?
It's best to avoid giving any desserts containing chocolate to pets, as chocolate can be toxic to dogs and cats. Always keep these festive treats stored well out of reach to ensure the safety of your furry friends!

Irresistibly Easy Little Debbie Christmas Tree Cake Pops
Equipment
- microwave-safe bowl
- Parchment Paper
- spatula
- Tall cup
Ingredients
For the Cake Pops
- 1 box Little Debbie Christmas Tree Cake Snacks Star ingredient for flavor and texture.
- 12 oz White Chocolate Melting Wafers For coating the cake pops.
- 1 cup Green Sprinkles For decoration.
For Decoration (optional)
- 1 tube Red Icing For drizzling on top.
Instructions
Preparation
- Start by placing the Little Debbie Tree Snacks in a bowl. Use a spatula to crush them until they're finely crumbled.
- Knead this mixture into a sticky ball, ensuring everything is well combined.
- Take small portions of your cake mixture and roll them into balls, about the size of a golf ball. Place these perfectly formed balls onto parchment paper.
- Melt a few of the chocolate wafers in a microwave-safe bowl. Dip the tips of your lollipop sticks into the melted chocolate, then gently insert them into the center of each cake ball.
- Chill the pops in the refrigerator for about 30 minutes so they firm up.
- Melt the remaining chocolate wafers in a tall cup. Dip each chilled cake pop into the melted chocolate, allowing any excess to drip off before placing them back on the parchment paper.
- While the chocolate is still wet, shake those delightful green sprinkles onto the pops. For an extra festive flair, you can drizzle red icing on top.
- Chill the decorated cake pops once more for 30 minutes before serving.
Leave a Reply