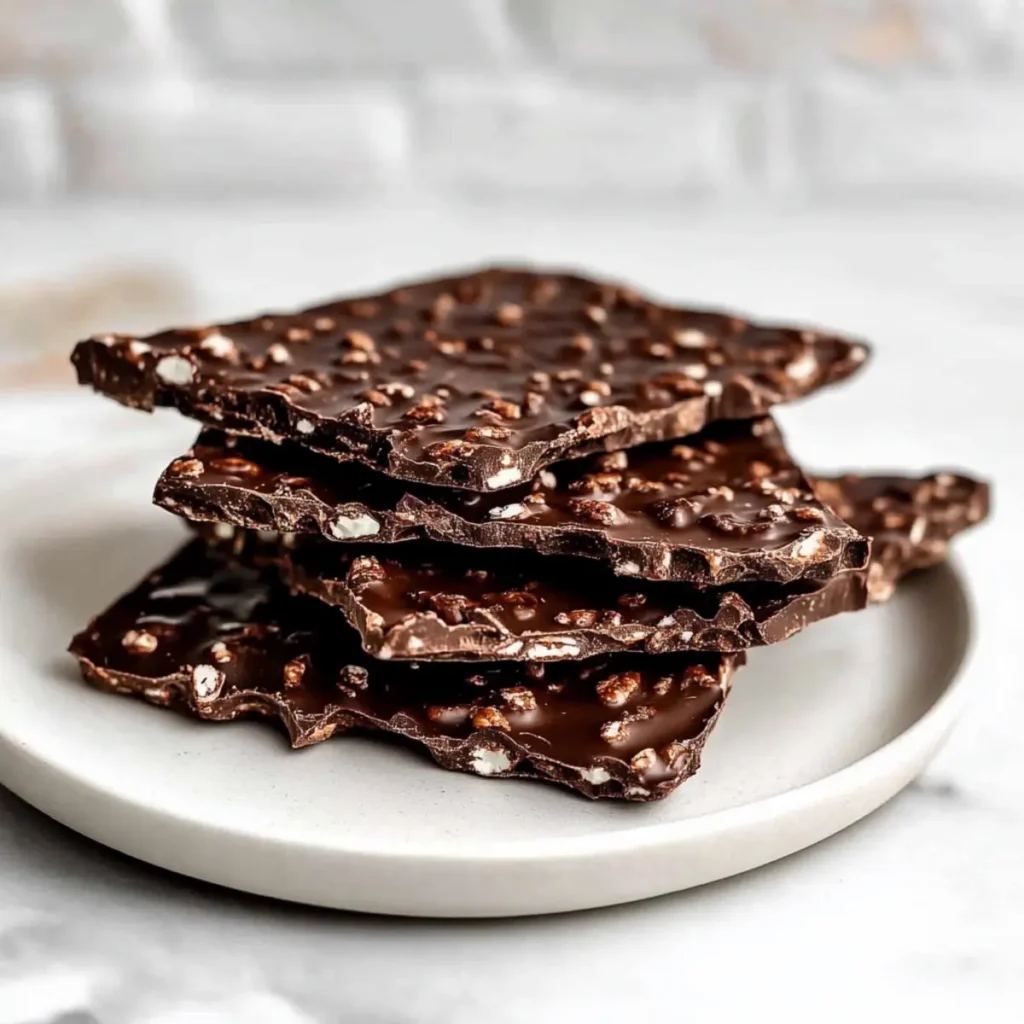
There's a certain joy that comes from creating delicious treats at home, especially when they mimic our favorite childhood candies. Picture this: the satisfying crunch of crisped rice, enveloped in rich chocolate, just like a Nestle Crunch bar but made with your own hands. When I discovered how simple it is to whip up these 3-Ingredient Homemade Nestle Crunch Chocolate Bars, I couldn't resist the urge to share this delightful recipe.
All you need is chocolate, coconut oil, and Rice Krispies-ingredients you probably have in your kitchen already! Not only is this no-bake recipe gluten-free, but it's also a fun activity to enjoy solo or with loved ones. Whether it's for a last-minute dessert or a thoughtful homemade gift, these bars are bound to please every craving. So, roll up your sleeves and get ready to indulge in a sweet treat that's both easy to make and irresistibly delicious!
Why You'll Love This Homemade Nestle Crunch Chocolate Bar Recipe
Easy to Follow: This recipe requires just three simple ingredients, making it perfect for both novice and seasoned bakers.
Quick No-Bake Delight: With minimal preparation and no oven required, you can whip these bars up in no time!
Versatile Flavor Options: Feel free to experiment with different types of chocolate and mix-ins like nuts or dried fruit for a personal twist.
Crowd-Pleaser: These bars are not only perfect for satisfying your chocolate cravings but also make charming gifts for friends and family.
Make Ahead: They can be prepared in advance and stored easily, ensuring you always have a sweet treat on hand!
Homemade Nestle Crunch Chocolate Bar Ingredients
For the Chocolate Mixture
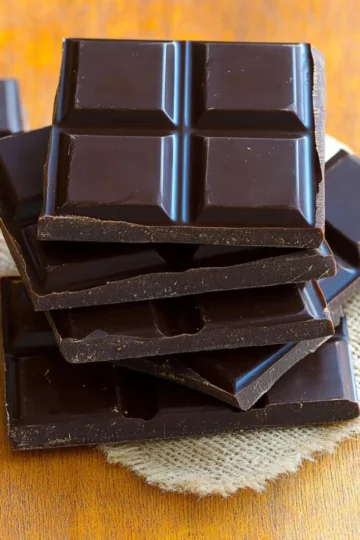
• Chocolate - Select either milk, semi-sweet, or dark chocolate for the perfect sweetness in your homemade Nestle Crunch chocolate bar recipe.
• Coconut Oil - This helps the chocolate melt smoothly and gives a glossy finish; you can substitute with vegetable oil if needed.
For the Crunch
• Rice Krispies - Essential for that delightful crunch; while you can use any crisped rice cereal, Rice Krispies provide the best texture.
These simple ingredients come together to create a satisfying and nostalgic treat in your own kitchen! Enjoy this delightful homemade candy bar recipe that's sure to impress.
How to Make Homemade Nestle Crunch Chocolate Bar
-
Prepare the Dish: Line a 9x9 inch baking dish with parchment or wax paper. This prevents your delicious creation from sticking to the dish, ensuring easy lifting later on.
-
Melt the Chocolate: In a microwave-safe bowl, combine chocolate chips and coconut oil. Heat in 30-second intervals, stirring after each, until the mixture is completely melted and smooth, about 1-2 minutes.
-
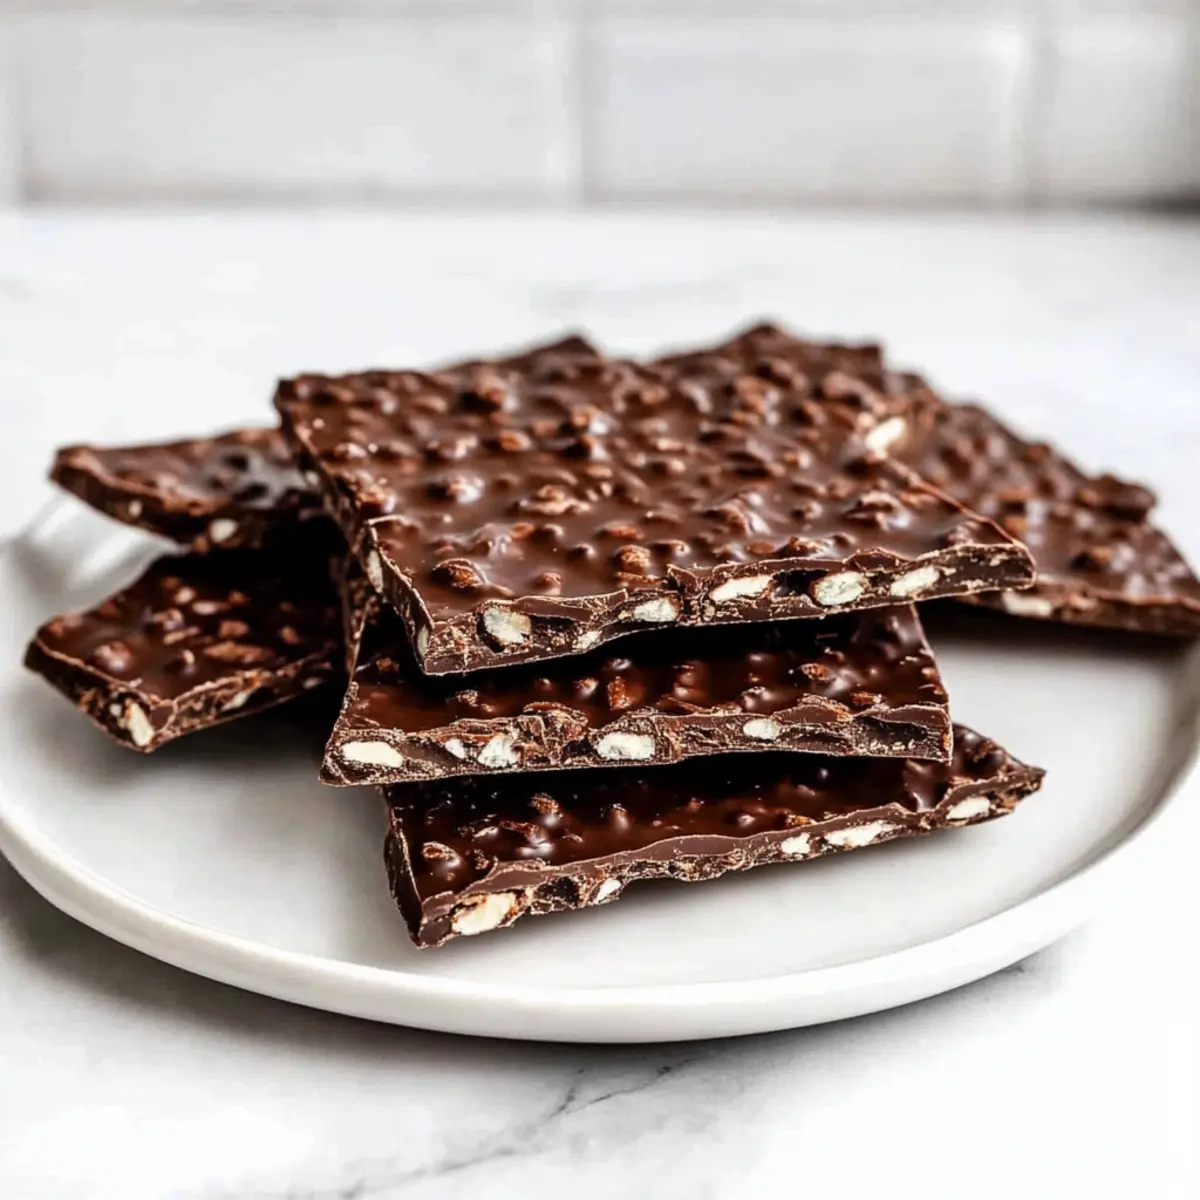
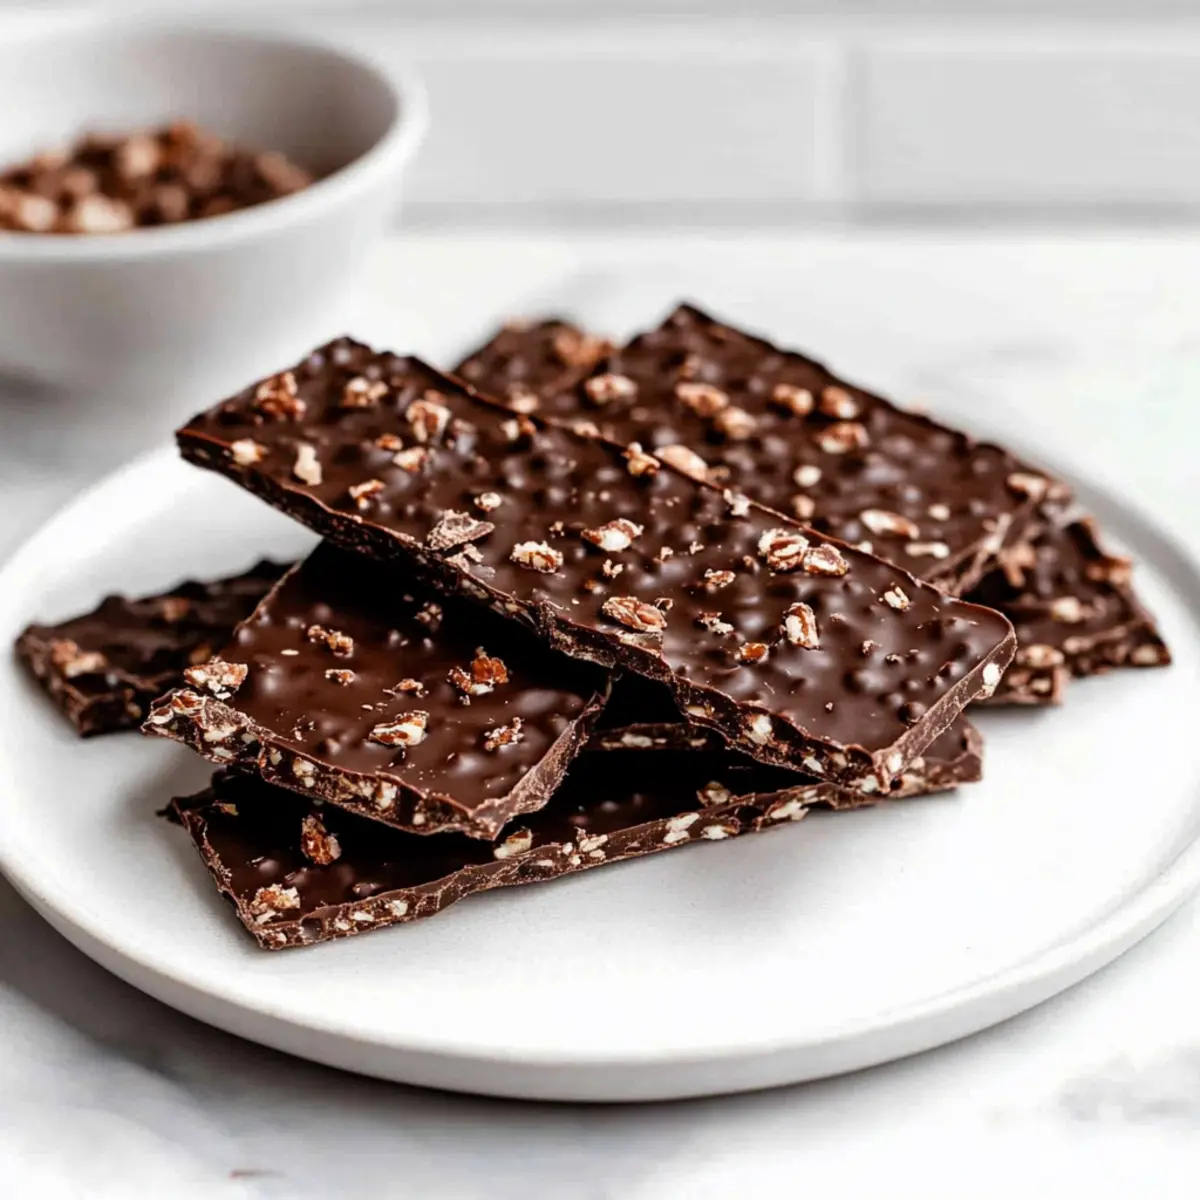
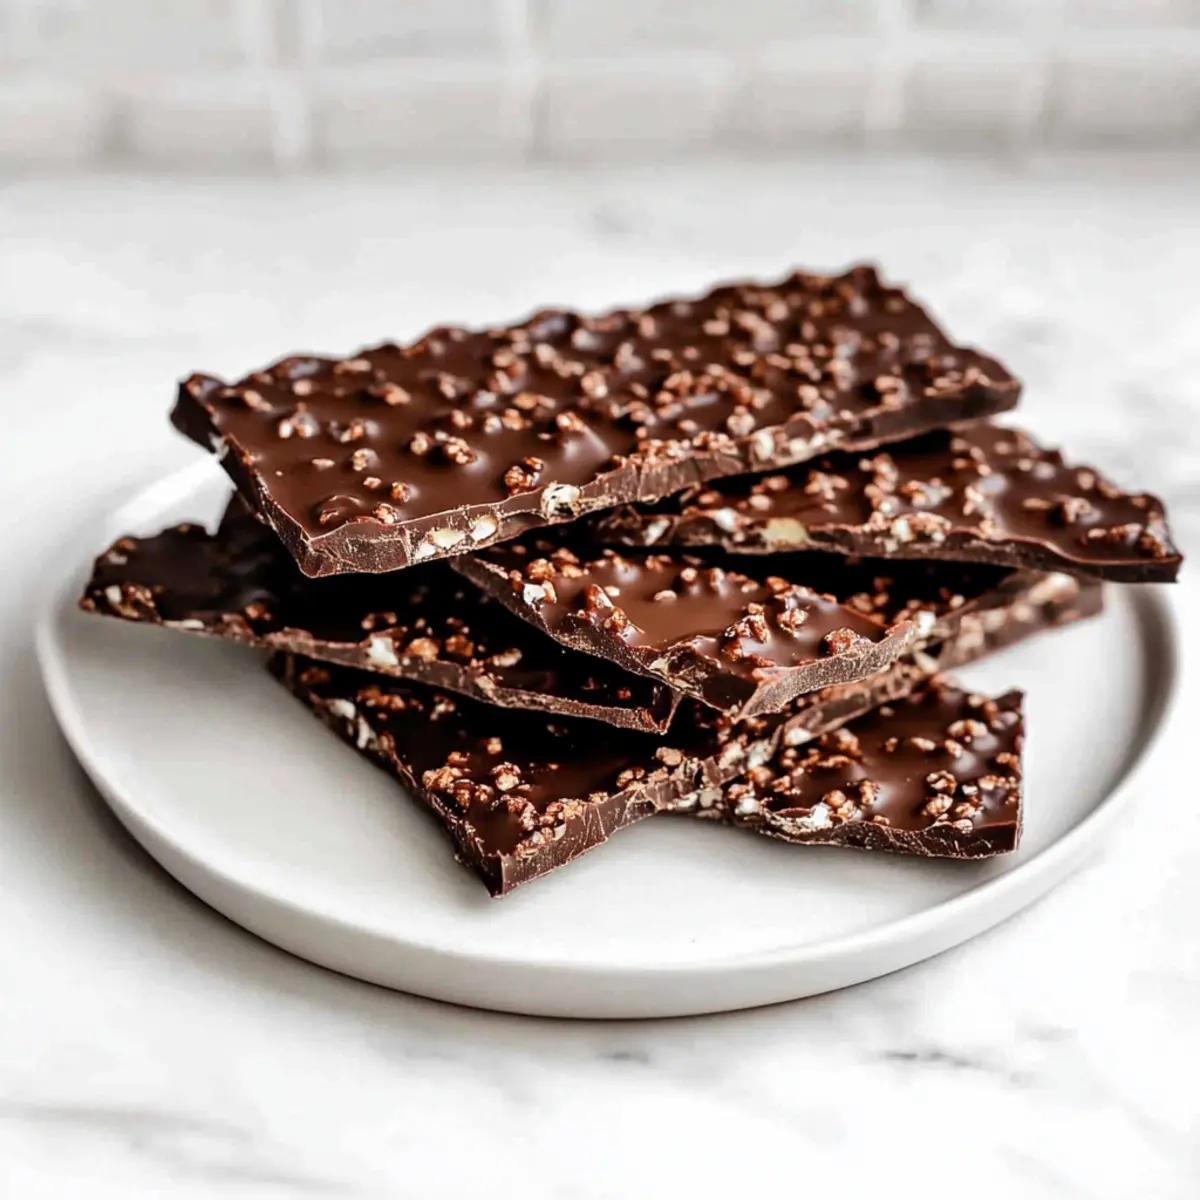
Combine with Crunch: Stir in the Rice Krispies gently until they are all evenly coated with the rich chocolate mixture. The texture should be crispy and chocolatey-just like your favorite candy!
-
Spread the Mixture: Pour the chocolate-Rice Krispie mix into the prepared baking dish. Use a rubber spatula to spread it evenly, ensuring every corner is filled with that delightful crunch.
-
Chill to Set: Refrigerate the mixture for at least 1 hour, or until the chocolate is firm and holds its shape. You'll know it's ready when you can tap the top and it feels solid.
-
Slice and Serve: Once set, remove the chocolate slab from the dish and cut it into bars or simply break it into pieces. Enjoy the satisfaction of your homemade treat!
-
Storage: Keep any leftovers in an airtight container in the refrigerator for up to one week, preserving that perfect crunch and flavor!
Optional: Drizzle with extra melted chocolate for an extra touch of decadence.
Exact quantities are listed in the recipe card below.
Make Ahead Options
These Homemade Nestle Crunch Chocolate Bars are perfect for meal prep enthusiasts looking to save time during busy weeks! You can prepare the chocolate mixture, including melting the chocolate and mixing in the Rice Krispies, up to 24 hours in advance. Simply follow the steps to combine your ingredients and store the mixture covered in the refrigerator. When you're ready to serve, pour the mixture into the lined baking dish and refrigerate until set, which will only take about 1 hour. This way, you'll have delightfully crunchy bars waiting for you with minimal effort when cravings strike! Plus, keeping them in an airtight container in the fridge ensures they stay just as delicious for up to 7 days.
Expert Tips for Homemade Nestle Crunch Chocolate Bar Recipe
-
Microwave Safeguard: Ensure your microwave is set to low power to avoid burning the chocolate, keeping it smooth and luscious.
-
Chill Time: Don't rush the refrigeration! Allow at least 1 hour for the chocolate to set properly; this ensures your bars hold their shape perfectly.
-
Cutting Technique: Use a sharp knife for clean cuts. This will give you beautifully shaped bars, making them look as fantastic as they taste!
-
Flavor Enhancements: Feel free to add extras like nuts or dried fruit to your homemade Nestle Crunch chocolate bar recipe for unique flavor twists.
-
Storage Know-How: Keep bars in an airtight container in the fridge for up to a week to maintain freshness and crispiness.
Storage Tips for Homemade Nestle Crunch Chocolate Bar
Room Temperature: Keep sealed bars at room temperature for up to 3 days if you prefer a softer texture. Just make sure they are in a cool, dry place.
Fridge: For optimal freshness, store your homemade Nestle Crunch chocolate bars in an airtight container in the refrigerator for up to one week. This helps maintain their delightful crunch.
Freezer: To prolong shelf life, you can freeze the bars for up to 3 months. Wrap each piece in plastic wrap and place them in an airtight freezer bag, ensuring minimal air exposure.
Reheating: There's no need to reheat these bars; simply take them out of the fridge or freezer and enjoy! If they are frozen, allow them to thaw for about 10 minutes before serving for the best texture.
Homemade Nestle Crunch Chocolate Bar Variations
Feel free to personalize your creation with these fun and delicious twists!
-
Dark Chocolate: Swap out milk chocolate for dark to enhance richness and bittersweet notes. This choice elevates the flavor profile wonderfully.
-
Nutty Crunch: Stir in chopped almonds or peanuts for added texture and a delightful nutty flavor that complements the chocolate beautifully!
-
Coconut Delight: Add a sprinkle of shredded coconut for a tropical twist that pairs perfectly with the chocolate and crisped rice.
-
Berry Bliss: Mix in dried cranberries or cherries to add a fruity zing, making each bite a tasty explosion of flavors.
-
Peanut Butter Swirl: Drizzle melted peanut butter on top before chilling for a nutty finish that will have your taste buds dancing!
-
Spicy Kick: Incorporate a pinch of cayenne or chili powder into the chocolate for a surprising and exciting spicy kick.
-
Maple Infusion: Swap coconut oil for maple syrup for a naturally sweet flavor boost and a hint of caramel-like richness.
-
Vegan Version: Use dairy-free chocolate and coconut oil to create a fully vegan treat that doesn't compromise on taste. Enjoy the guilt-free indulgence!
What to Serve with Homemade Nestle Crunch Chocolate Bar?
Satisfy your sweet cravings and elevate your dessert experience with delightful pairings for these crispy, chocolate-covered treats.
- Vanilla Ice Cream: A classic choice, the creaminess of vanilla ice cream perfectly balances the crunchy chocolate bar for a comforting dessert experience.
- Fresh Berries: Juicy strawberries or raspberries add a refreshing tartness, enhancing the sweetness of your Nestle Crunch bars while introducing vibrant colors.
- Nutty Trail Mix: Crunchy nuts and dried fruits bring an extra layer of flavor and texture; they complement the bars beautifully without overwhelming their sweetness.
- Coffee: A rich, bold brew enhances the chocolate flavor, making it an ideal drink to enjoy alongside your bars, especially after a sumptuous meal.
- Chocolate Sauce: For the chocoholics, a drizzle of warm chocolate sauce serves as an indulgent dip, turning your treat into a decadent experience.
- Homemade Whipped Cream: Light and airy whipped cream adds a touch of elegance and balances the richness of the chocolate bars with its fluffy texture.
These pairings not only create a well-rounded dessert experience but also bring joy and excitement to your homemade chocolate bar enjoyments!
Homemade Nestle Crunch Chocolate Bar Recipe FAQs
What type of chocolate should I use for the Homemade Nestle Crunch Chocolate Bar Recipe?
Absolutely! You can choose from milk, semi-sweet, or dark chocolate, depending on your preference for sweetness. If you're looking for a richer flavor, dark chocolate is a fantastic option. Just remember that the higher the cocoa content, the less sweet the chocolate will be.
How should I store my Homemade Nestle Crunch Chocolate Bars?
For optimal freshness, I recommend storing your homemade bars in an airtight container in the refrigerator, where they'll stay fresh for up to one week. If you want to keep them at room temperature, they'll last for about 3 days, but they may soften a bit. Always ensure they are kept in a cool, dry place.
Can I freeze these Homemade Nestle Crunch Chocolate Bars?
Yes, you can! To freeze your bars, individually wrap each piece in plastic wrap and then place them in an airtight freezer bag. They can be frozen for up to 3 months. When you're ready to enjoy them, simply take them out and let them thaw at room temperature for about 10 minutes for the best texture.
What if my chocolate mixture is too thick or seizes up while melting?
Very common! If your chocolate appears to seize, try adding a bit more coconut oil-about a teaspoon at a time-to help smooth it out. Be sure to melt the mixture in short intervals and stir vigorously to prevent overheating. If it still doesn't cooperate, don't hesitate to start over with a fresh batch!
Are there any dietary considerations for the Homemade Nestle Crunch Chocolate Bar Recipe?
Definitely! This recipe is gluten-free as long as you use gluten-free Rice Krispies; some brands offer them specifically for this purpose. However, if you or your guests have allergies, always check the chocolate ingredients, as some brands may contain allergens such as nuts or dairy. Adjust the recipe accordingly to ensure everyone can enjoy these delightful bars!
Can I customize the ingredients in the Homemade Nestle Crunch Chocolate Bar Recipe?
Absolutely! Feel free to play around with the chocolate type, using white chocolate or even flavored chocolates for a twist. You can also stir in nuts or dried fruit for added texture and flavor. Just remember to ensure any add-ins are evenly coated with the chocolate mixture for the best results.

Irresistibly Easy Homemade Nestle Crunch Chocolate Bar Recipe
Equipment
- microwave-safe bowl
- rubber spatula
- 9x9 inch baking dish
Ingredients
For the Chocolate Mixture
- 1 cup Chocolate Select milk, semi-sweet, or dark chocolate.
- 2 tablespoons Coconut Oil Can substitute with vegetable oil.
For the Crunch
- 3 cups Rice Krispies Essential for the crunch.
Instructions
How to Make Homemade Nestle Crunch Chocolate Bar
- Line a 9x9 inch baking dish with parchment or wax paper.
- In a microwave-safe bowl, combine chocolate chips and coconut oil. Heat in 30-second intervals, stirring after each, until melted and smooth, about 1-2 minutes.
- Stir in the Rice Krispies gently until evenly coated with the chocolate mixture.
- Pour the chocolate-Rice Krispie mix into the prepared baking dish and spread it evenly with a rubber spatula.
- Refrigerate for at least 1 hour, until the chocolate is firm.
- Remove from dish and cut into bars or break into pieces.
- Store in an airtight container in the refrigerator for up to one week.

Leave a Reply