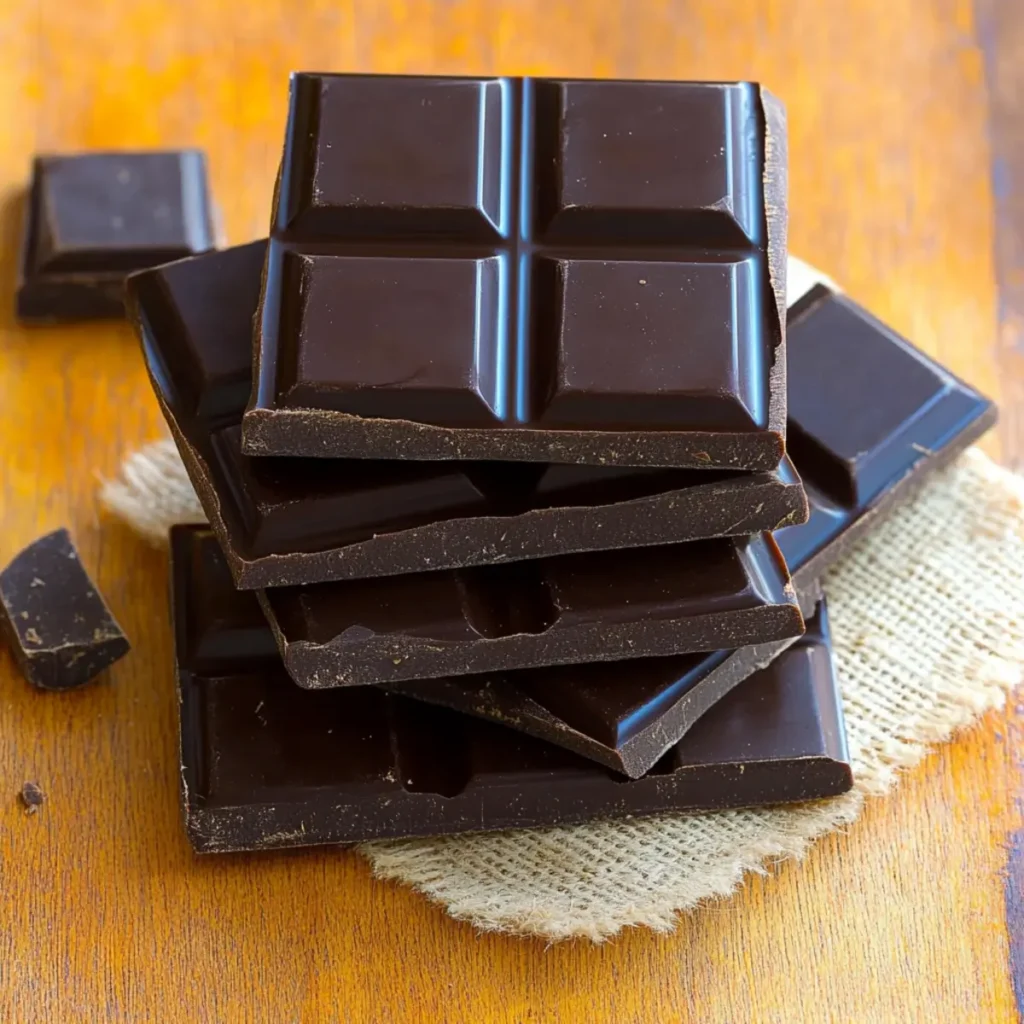
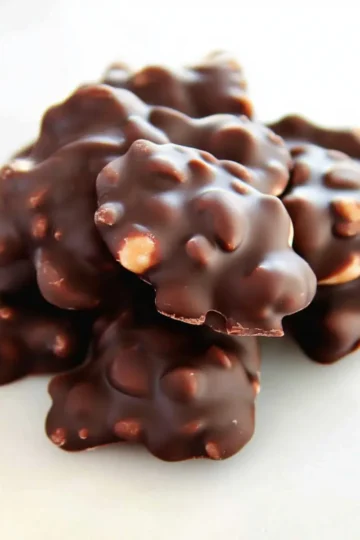
The moment the chocolate hits my tongue, I'm transported back to my childhood, where every piece felt like a decadent treat savored slowly. But life gets busy, and with fast food and store-bought sweets dominating our days, it's easy to forget that homemade can be both simpler and more satisfying. That's why I've embraced the world of 3-Ingredient Homemade Chocolate Bars. Picture this: smooth, rich bars that come together in under five minutes with hardly any fuss!
This recipe is not only quick and easy but also endlessly customizable, allowing you to tailor flavors to your own taste-from refreshing mint to indulgent espresso. Whether you're avoiding added sugars or simply looking to indulge with a guilt-free twist, these bars fit perfectly into any diet. Say goodbye to the hustle of chocolate cravings and hello to a homemade delight that'll impress both your palate and your pantry! Let's dive in and create your next batch of delicious chocolate magic.
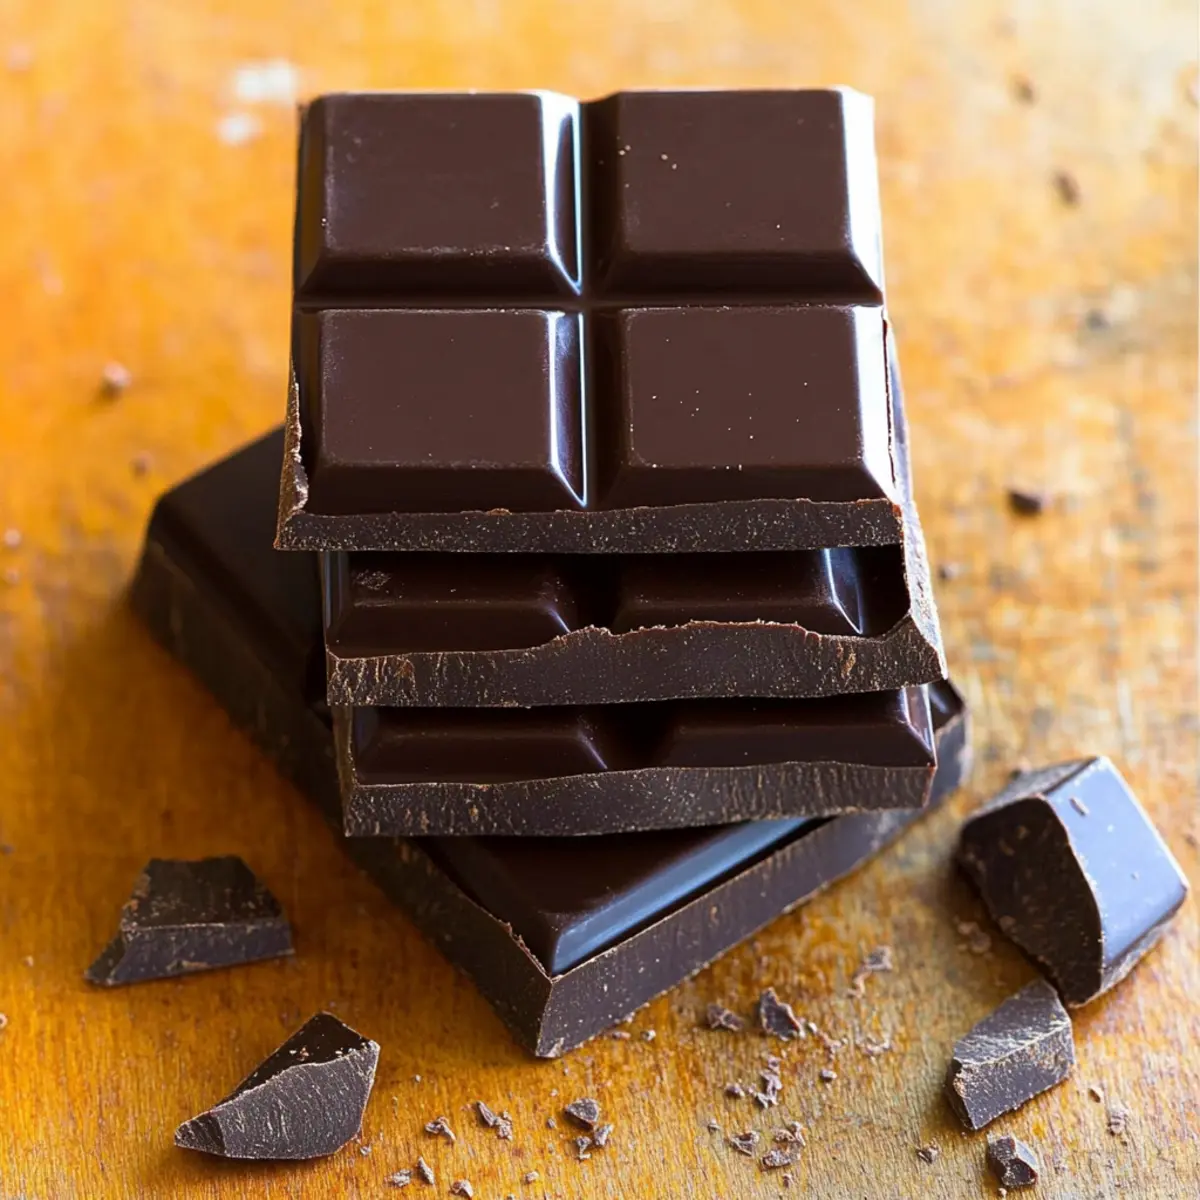
Why You'll Love Homemade Chocolate Bars
Simplicity at Its Best: Made with only three ingredients, these bars are quick to whip up, making them perfect for busy days.
Endless Customization: Feel free to experiment with flavors, from rich espresso to refreshing mint, to satisfy every kind of sweet tooth.
Guilt-Free Indulgence: With options for sugar-free and keto-friendly ingredients, you can enjoy your favorite treat without the added sugar.
Crowd-Pleasing Delight: These bars are sure to impress at gatherings, serving as a fun snack or a delightful dessert.
Time-Saving: With just five minutes of prep time, you can have delectable treats ready to chill and enjoy in no time!
Unleash your creativity and discover how easy it is to make 3-Ingredient Homemade Chocolate Bars that will wow your friends and family!
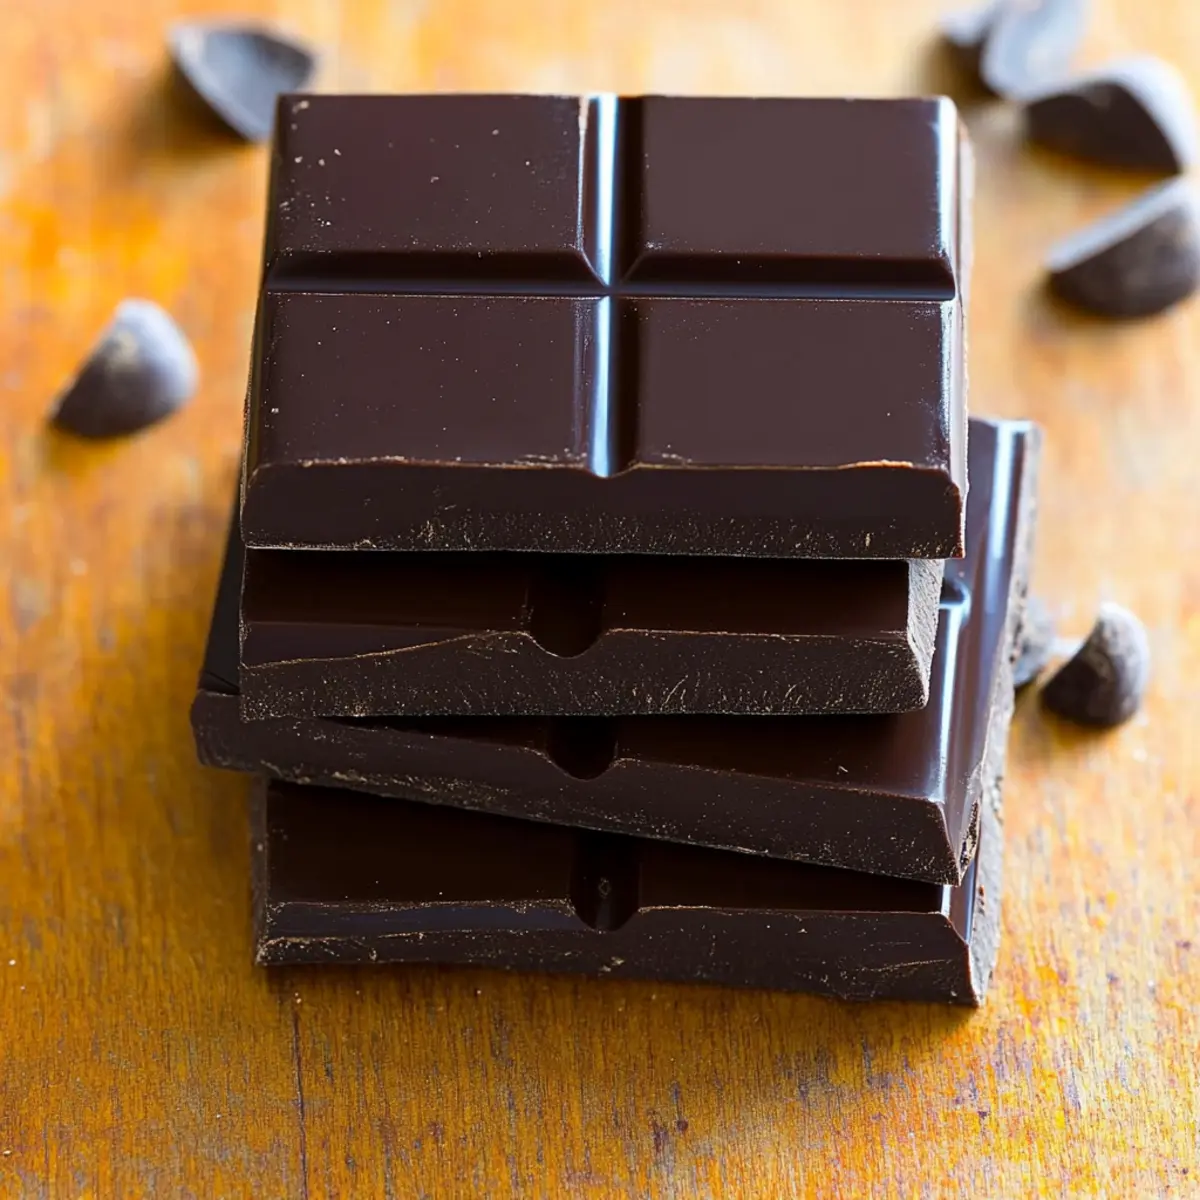
Homemade Chocolate Bars Ingredients
For the Base
• Cacao or Cocoa Powder - Provides the rich chocolate flavor; you can use carob powder for a unique twist.
• Coconut Oil - Acts as the main fat that binds everything together; substitute with cacao butter for a firmer texture.
• Maple Syrup, Honey, or Agave - Adds the necessary sweetness; opt for liquid stevia for a sugar-free homemade chocolate bars version.
Optional Add-ins
• Extracts (vanilla, mint, etc.) - Enhance flavor; a little goes a long way so add sparingly.
• Cacao Nibs - For added crunch and chocolate intensity; they provide a nice textural contrast.
• Nuts or Dried Fruits - Add interesting flavors and enrich the nutritional profile; mix and match based on your preference.
• Chia Seeds - Boosts nutrition and adds a lovely texture; they also help to thicken the mixture slightly.
How to Make Homemade Chocolate Bars
-
Warm Coconut Oil: Begin by gently heating coconut oil in a small saucepan over low heat. Stir occasionally until completely melted, ensuring a smooth texture for your chocolate base.
-
Combine Ingredients: In a mixing bowl, whisk together the melted coconut oil, cacao powder, and your choice of sweetener until the mixture is thick and silky smooth. It should be free of lumps and well combined.
-
Pour into Molds: Carefully transfer the luscious chocolate mixture into silicone molds or flat containers. Spread it evenly to ensure uniform thickness for each bar, making them easier to break or cut later.
-
Chill: Place your filled molds in the refrigerator and allow them to chill for at least 30-60 minutes. You'll know they're ready when they feel firm to the touch and are set all the way through.
-
Store: Once solid, gently remove the chocolate bars from the molds. Store them in an airtight container in the refrigerator or freezer to keep them fresh, and enjoy them whenever the sweet cravings hit!
Optional: Drizzle with melted dark chocolate for an extra decadent topping.
Exact quantities are listed in the recipe card below.
Variations & Substitutions for Homemade Chocolate Bars
Feel free to let your creativity shine by customizing these delightful chocolate bars! Amplify flavors and textures for a truly unique treat.
-
Nutty Crunch: Add chopped nuts, such as almonds or hazelnuts, for a satisfying crunch that contrasts beautifully with the smooth chocolate.
-
Spiced Delight: Incorporate a pinch of cinnamon or cayenne pepper for an unexpected warmth and extra depth of flavor.
-
Coconut Bliss: Mix in shredded coconut to bring a tropical twist to your chocolate bars, enhancing both texture and taste.
-
Caramel Drizzle: Swirl homemade or store-bought caramel into the mixture before chilling for a decadent surprise in each bite.
-
Fruit Infusion: Toss in dried fruits like cranberries or raisins for a chewy addition that pairs well with the rich chocolate.
-
Zesty Orange: Add orange zest to the chocolate mixture for a citrusy lift that pairs wonderfully with the cocoa richness.
-
Matcha Chocolate Bars: For a fun variation, blend in matcha powder to create a vibrant green hue and earthy flavor that's equally delicious.
-
S mocha Java: Stir in brewed coffee or espresso for an energized chocolate fix, perfect for your afternoon pick-me-up!
Expert Tips for Homemade Chocolate Bars
-
Melt Coconut Oil Fully: Ensure the coconut oil is completely melted before mixing. This is crucial for a smooth consistency in your homemade chocolate bars.
-
Avoid Over-Sweetening: Start with less sweetener; you can always add more if needed. Remember, the bars should balance well with rich chocolate flavors.
-
Use Silicone Molds: Opt for silicone molds for easy removal after chilling. They prevent sticking and keep your bars intact and visually appealing.
-
Experiment Wisely: When adding spices or extracts to the chocolate, start with small amounts to prevent overpowering the chocolate taste in your bars.
-
Customize Texture: For a crunchier experience, incorporate your favorite nuts or cacao nibs, but make sure they're evenly distributed in the mixture.
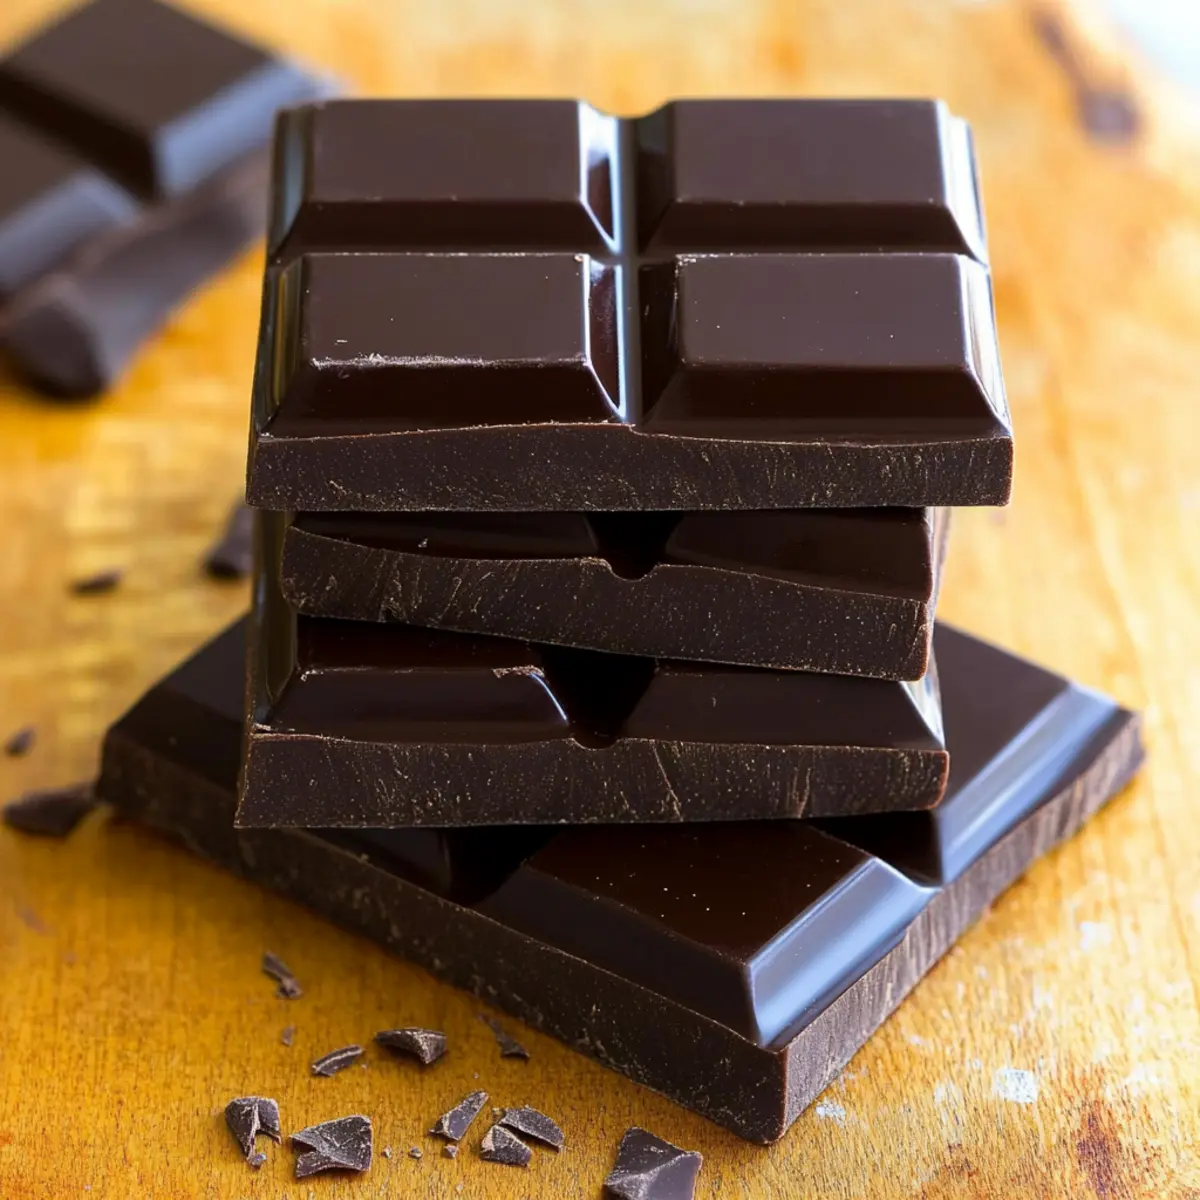
Storage Tips for Homemade Chocolate Bars
Fridge: Store the chocolate bars in an airtight container in the refrigerator for up to 2 weeks to maintain freshness and flavor.
Freezer: For longer shelf life, freeze the bars in a single layer, then transfer to a suitable container. They can last for up to 3 months, making them a convenient treat!
Thawing: When ready to enjoy, thaw your frozen homemade chocolate bars in the fridge for a few hours for a perfectly smooth texture.
Reheating: If you'd like to melt the bars down for a luscious chocolate sauce, simply place them in a microwave-safe bowl and heat in short intervals, stirring until smooth.
What to Serve with Homemade Chocolate Bars?
Indulging in a homemade chocolate bar is made even more delightful when paired with complementary treats and flavors.
-
Fresh Berries: Juicy strawberries or tart raspberries add a bright contrast that cuts through the richness of the chocolate bars, enhancing your experience.
-
Nut Butter Spread: A dollop of almond or peanut butter brings creaminess and depth, making each bite even more satisfying and luxurious.
-
Coconut Chips: The slight crunch and subtle sweetness of toasted coconut chips create a wonderful texture and a tropical vibe that pairs perfectly.
-
Whipped Cream: Light and airy whipped cream adds a dreamy texture that balances the dense chocolate bars, offering a delightful contrast of sensations.
-
Espresso or Coffee: A cup of rich espresso or a mocha complements the chocolate flavors beautifully while providing a caffeine boost, making this a fulfilling treat.
-
Dark Chocolate Sauce: Drizzling extra melted dark chocolate over the bars creates an indulgent touch, elevating each bite to pure bliss.
Embrace these pairings to create a full dessert experience that leaves everyone craving more!
Make Ahead Options
These 3-Ingredient Homemade Chocolate Bars are perfect for meal prep enthusiasts! You can easily prepare the chocolate mixture up to 24 hours in advance. Simply follow the initial steps by melting the coconut oil, mixing it with the cacao powder and sweetener, and then refrigerating the mixture in molds until firm. When you're ready to indulge, just remove the chocolate bars from the molds and enjoy them straight away or store in an airtight container. To maintain their quality, keep them in the refrigerator, where they can stay fresh for up to two weeks. This makes it a breeze to have a delicious, homemade treat ready to satisfy your sweet cravings any time!
Homemade Chocolate Bars Recipe FAQs
What type of cacao or cocoa powder should I use?
Absolutely! For the best flavor and results in your homemade chocolate bars, opt for high-quality cocoa or cacao powder. Cocoa powder is processed with heat and may have a lighter flavor, while cacao powder retains more nutrients and has a richer taste. If you're looking for something unique, feel free to experiment with carob powder, which can provide a delightful twist.
How should I store my homemade chocolate bars?
Very good question! To keep your homemade chocolate bars fresh, store them in an airtight container in the refrigerator where they'll remain delicious for up to 2 weeks. If you want to keep them for longer, freeze them! Simply place the bars in a single layer until firm, then transfer them to a freezer-safe container, where they'll last up to 3 months.
Can I freeze these chocolate bars? If so, how?
Yes, you can! Freezing these bars is incredibly easy. First, allow the chocolate bars to chill in the refrigerator until solid. Then, place them in a single layer on a baking sheet and freeze them until firm (about 1-2 hours). After they're solid, transfer them to a freezer-safe bag or container, placing parchment paper between layers if needed to prevent sticking. Just remember to thaw them in the fridge for a few hours before indulging for the best texture!
I added ingredients but my chocolate bars are too soft. What should I do?
No worries-this can happen sometimes! If your homemade chocolate bars end up too soft, consider the following tips: First, check the ratio of liquid to solid ingredients; ensure your coconut oil is fully melted and evenly mixed. To fix the texture, try adding a bit more cocoa or cacao powder for thickness. If it's already set but still too soft, return the bars to the fridge for a bit longer to solidify. If you're in a hurry, you can also place them in the freezer for 15-30 minutes.
Are these chocolate bars suitable for pets?
Great question! Chocolate can be toxic to pets, particularly dogs and cats. Make sure to keep your homemade chocolate bars stored away from pets to avoid any accidental snacking. If you're looking for a pet-friendly treat, consider making something specifically designed for them, such as homemade peanut butter dog biscuits.
Can I make these chocolate bars sugar-free?
Absolutely! For sugar-free homemade chocolate bars, simply swap out the sweeteners with liquid stevia or erythritol for an excellent low-carb option. Just keep in mind that the amount may vary, so start with a small amount and taste as you go to achieve your desired level of sweetness without overpowering the chocolate flavor!

Irresistibly Easy Homemade Chocolate Bars - Just 3 Ingredients!
Equipment
- Saucepan
- Mixing Bowl
- silicone molds
Ingredients
Base Ingredients
- 1 cup Cacao or Cocoa Powder
- ½ cup Coconut Oil melted
- ¼ cup Maple Syrup or Honey or Agave
Optional Add-ins
- Extracts (vanilla, mint, etc.) to taste
- Cacao Nibs for crunch
- Nuts or Dried Fruits to taste
- Chia Seeds optional for texture
Instructions
Preparation Steps
- Warm Coconut Oil: Begin by gently heating coconut oil in a small saucepan over low heat until completely melted.
- Combine Ingredients: In a mixing bowl, whisk together the melted coconut oil, cacao powder, and your choice of sweetener until thick and silky smooth.
- Pour into Molds: Carefully transfer the mixture into silicone molds or flat containers, spreading evenly.
- Chill: Place the molds in the refrigerator and chill for at least 30-60 minutes until firm.
- Store: Gently remove the bars from the molds and store in an airtight container.

Leave a Reply