
The moment I opened the door to the enchanting world of DIY projects, I was instantly transported to a realm where creativity and sensory joy collide. Imagine transforming simple household ingredients into delightful treasures that ignite your child's sense of wonder! That's exactly what my Glow Bubble Foam Play offers-a magical experience that's not only fun but also beautifully tactile. With vibrant colors and fluffy textures, this engaging activity is designed to keep little hands busy while encouraging motor skills and imaginative play.
As a parent, I often find myself looking for activities that captivate my kids without the added stress of complicated preparations. This foam is quick to whip up and provides boundless opportunities for exploration. Whether you're looking to entertain on a rainy day or seeking the perfect addition for a playdate, this sensory foam will surely become a household favorite. Dive in with me, and let's create some bubbly magic together!

Why will you love DIY Aroma Stones?
Natural and Non-Toxic: Made from simple ingredients, ensuring safety for kids and the environment.
Creative Expression: Let your child personalize their stones with colors and scents, sparking creativity!
Sensory Delight: Engaging textures and delightful fragrances provide a multi-sensory experience.
Quick to Create: Easy preparation means you can enjoy this fun activity on a whim.
Ideal for Playdates: A perfect, crowd-pleasing activity that keeps little hands busy and imaginations flowing.
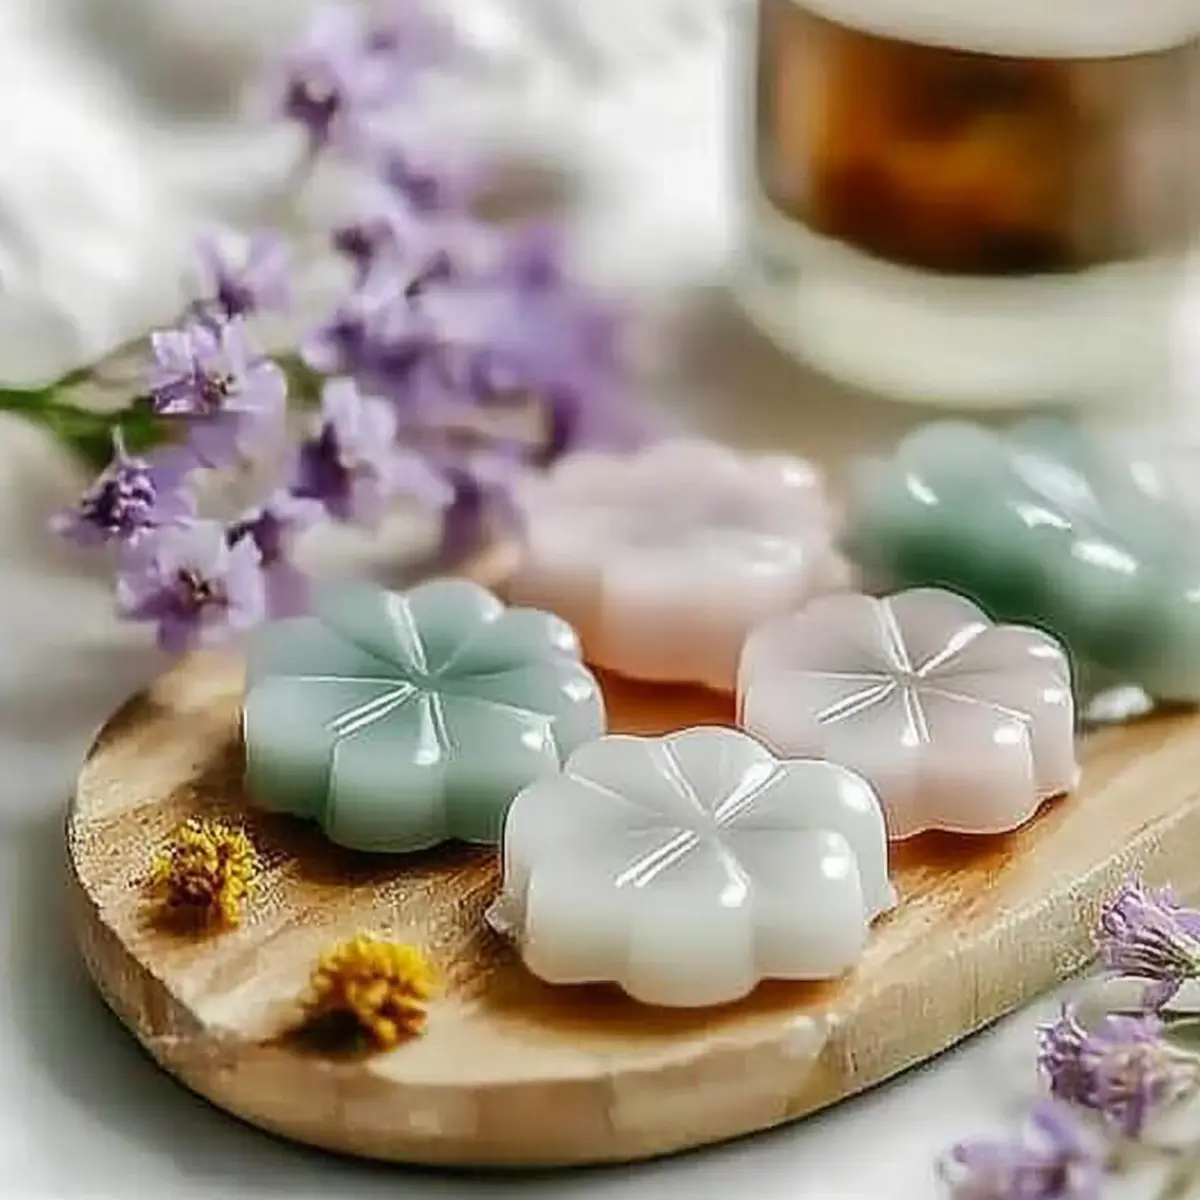
A Lasting Keepsake: These beautifully handmade aroma stones serve as charming decor while offering delightful scents.
DIY Aroma Stones Ingredients
• Create wonderful, scented keepsakes from simple ingredients!
For the Base
- Cornstarch - Acts as the primary binder for your aroma stones, providing structure and stability.
- Baking Soda - Helps create a smooth texture and adds a lightness to the stones.
- Water - Essential for mixing, use warm water to help dissolve the ingredients thoroughly.
For the Scent
- Essential Oils - Choose your child's favorite scents to personalize the aroma stones; ensure they are safe for kids.
- Coloring Agents - Use non-toxic liquid food coloring to add vibrant hues to each stone.
Optional Add-ins
- Herbs or Flowers - Infuse natural elements for added texture and fragrance, enhancing the sensory experience.
- Molds - Silicone molds work wonders for shaping your stones into fun figures or designs, making them even more appealing.
Creating these DIY Aroma Stones is a delightful way to combine creativity and sensory play, ensuring a memorable experience for both you and your little ones!
How to Make DIY Aroma Stones
-
Mix Ingredients: In a mixing bowl, combine 1 cup of cornstarch, ½ cup of baking soda, and ¾ cup of warm water. Stir until the mixture is smooth and free of lumps.
-
Add Scents: Carefully incorporate 15-20 drops of your chosen essential oils. This is the fun part-let your child pick their favorite scents! Stir until evenly blended.
-
Incorporate Color: If using food coloring, add a few drops until you achieve the desired shade. Mix gently to maintain a smooth texture without creating bubbles.
-
Shape the Stones: Pour the mixture into silicone molds, pressing it down to eliminate air pockets. For playful designs, use fun-shaped molds to make the stones extra special.
-
Dry the Stones: Allow the filled molds to sit at room temperature for about 24-48 hours until completely dry. Once dry, gently pop them out of the molds.
-
Store and Enjoy: Place the aroma stones in a cool, dry place. Use them to add delightful scents to any room and enjoy the creative process with your kids!
Optional: Try adding dried herbs or flower petals for enhanced texture and fragrance.
Exact quantities are listed in the recipe card below.

Make Ahead Options
These DIY Aroma Stones are perfect for busy home cooks looking to save time while engaging their kids in creative play! You can mix the base ingredients (cornstarch, baking soda, and warm water) and prepare the scent and color components up to 3 days in advance. Simply store the mixture in an airtight container to prevent any drying out. When you're ready to create, combine the scent and color with the base mixture, pour into molds, and let dry for 24-48 hours. By prepping ahead, you ensure the stone-making process fits seamlessly into your schedule, leaving you more time to enjoy the delightful, aromatic results with your little ones!
Expert Tips for DIY Aroma Stones
- Choose Safe Oils: Select essential oils that are specifically safe for kids, avoiding any potential irritants to ensure a worry-free crafting experience.
- Maintain Smooth Texture: Avoid overmixing when adding your coloring agents; this helps maintain a smooth consistency in your DIY Aroma Stones.
- Watch Drying Time: Be patient! Ensure the stones dry completely for the best texture and scent retention. Rushing this process might leave them damp and less effective.
- Creative Molds: Use fun silicone molds to engage children further! This makes shaping the stones exciting and gives them a unique flair.
- Experiment with Add-Ins: Consider incorporating dried herbs or floral petals for added visual appeal and texture, enhancing the sensory escapade.
DIY Aroma Stones Variations
Get ready to personalize your aromatic experience in a fun and colorful way!
- Herb-Infused: Add dried lavender or rosemary to enhance the scent and give your stones a natural touch.
- Glittery Fun: Incorporate biodegradable glitter for a sparkly effect that dazzles as well as delights.
- Color Layering: Create layers of color by adding colored mixtures in stages; it gives your stones a beautiful marbled effect.
- Playful Shapes: Use cookie cutters instead of molds to craft unique stone shapes that will captivate your child's interest.
- Scent Combinations: Encourage creativity by mixing different essential oil scents, such as citrus and mint, for a refreshing aroma.
- Natural Dyes: Explore natural coloring agents like beet juice or turmeric for a more earthy, eco-friendly approach to coloring.
- Mini Aroma Sachets: Instead of stones, press the mixture into small sachets for a portable scent experience-perfect for drawers or closets.
- Festive Themes: Use seasonal scents like cinnamon for winter or floral blends in spring to celebrate the changing seasons with your aroma stones.
Storage Tips for DIY Aroma Stones
Room Temperature: Store your aroma stones in a cool, dry place to maintain their lovely scent and texture. Avoid direct sunlight that may fade colors.
Airtight Container: For longer-lasting freshness, keep the stones in an airtight container when not in use. This helps preserve their fragrance and prevents moisture absorption for up to 6 months.
Scent Refreshing: If the scent fades over time, simply reapply a few drops of your favorite essential oil to rejuvenate the aroma stones. Enjoy their delightful scents once more!
Use with Care: Handle the stones gently to avoid breaking, and keep them out of reach of small children or pets, ensuring a safe play environment for your little ones.
What to Serve with DIY Aroma Stones?
Transforming simple ingredients into a sensory masterpiece creates a delightful experience that deserves a lovely setting!
- Crisp Apple Slices: Their refreshing sweetness pairs beautifully with the aromatic experience, balancing the delightful scents with a satisfying crunch.
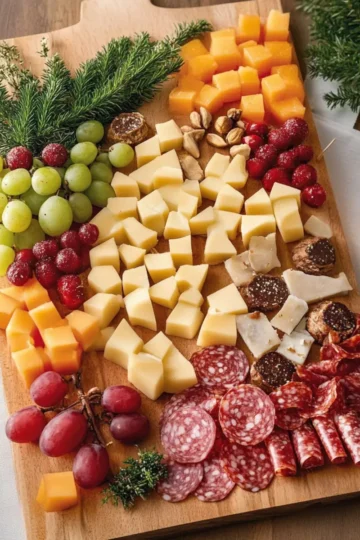
- Cheese and Crackers: A savory snack that brings a touch of sophistication and pairs wonderfully with the creativity of crafting aroma stones.
- Herbal Iced Tea: Cool and refreshing, this drink complements the sensory play with its calming herbal notes, enhancing the creative atmosphere.
- Fluffy Cloud Dough: This textured play material serves as a perfect accompaniment, encouraging further tactile exploration for your young creators.
- Fresh Fruit Salad: Bursting with color and natural sweetness, it adds a vibrant touch to your crafting session while enhancing sensory experiences.
- Sweet Lemonade: A zesty drink that brightens the mood, offering a delightful contrast to the earthy aroma of the stones, making for joyful sipping.
- Mini Cupcakes: These colorful confections can double as a treat and a festive centerpiece, igniting excitement for crafting while satisfying a sweet tooth!
- Creative Molds: Use additional fun-shaped silicone molds for crafting seasonal-themed aroma stones, making the activity even more engaging for kids.
- Inviting Music Playlist: Set the mood with a whimsical soundtrack that inspires creativity and enhances the overall sensory experience during playtime!
- Cozy Blankets: Create a comfortable space where kids can relax after crafting, surrounded by their beautiful creations, encouraging imaginative play and storytelling.
DIY Aroma Stones Recipe FAQs
What type of cornstarch should I use for the DIY Aroma Stones?
Absolutely! It's best to use regular cornstarch, as it provides the perfect binding texture when combined with baking soda and water. Avoid using any starch substitutes, as they may not yield the same results.
How should I store my aroma stones after making them?
For optimal preservation, keep your aroma stones in a cool, dry place. An airtight container works wonders for maintaining their delightful scent and texture for up to six months. This will also protect them from moisture, preserving their quality and vibrant colors.
Can I use any type of essential oil?
The more the merrier! It's essential to select essential oils that are specifically safe for children and avoid any known irritants. Popular choices include lavender, sweet orange, or chamomile. Always perform a patch test with the oils, especially if your child has sensitive skin or allergies.
How can I refresh the scent if it fades over time?
Very simple! When you notice the delightful aroma diminishing, you can easily rejuvenate your aroma stones. Just apply a few drops of your favorite essential oil directly onto the stones and wait a bit for it to absorb. This way, you can enjoy a long-lasting fragrance without having to make a new batch.
How long does it take for the aroma stones to dry completely?
For the best results, allow your aroma stones to air dry at room temperature for 24 to 48 hours. Ensure they are entirely dry before removing them from the molds. Rushing this process might lead to damp stones that won't hold their shape or scent as effectively.
Can I add anything else to the aroma stones for extra texture?
Absolutely! Incorporating dried herbs or flower petals can enhance the sensory experience. These not only provide added visual appeal but also deliver delightful scents when the stones are used. Just mix them in during the shaping step for the best results!
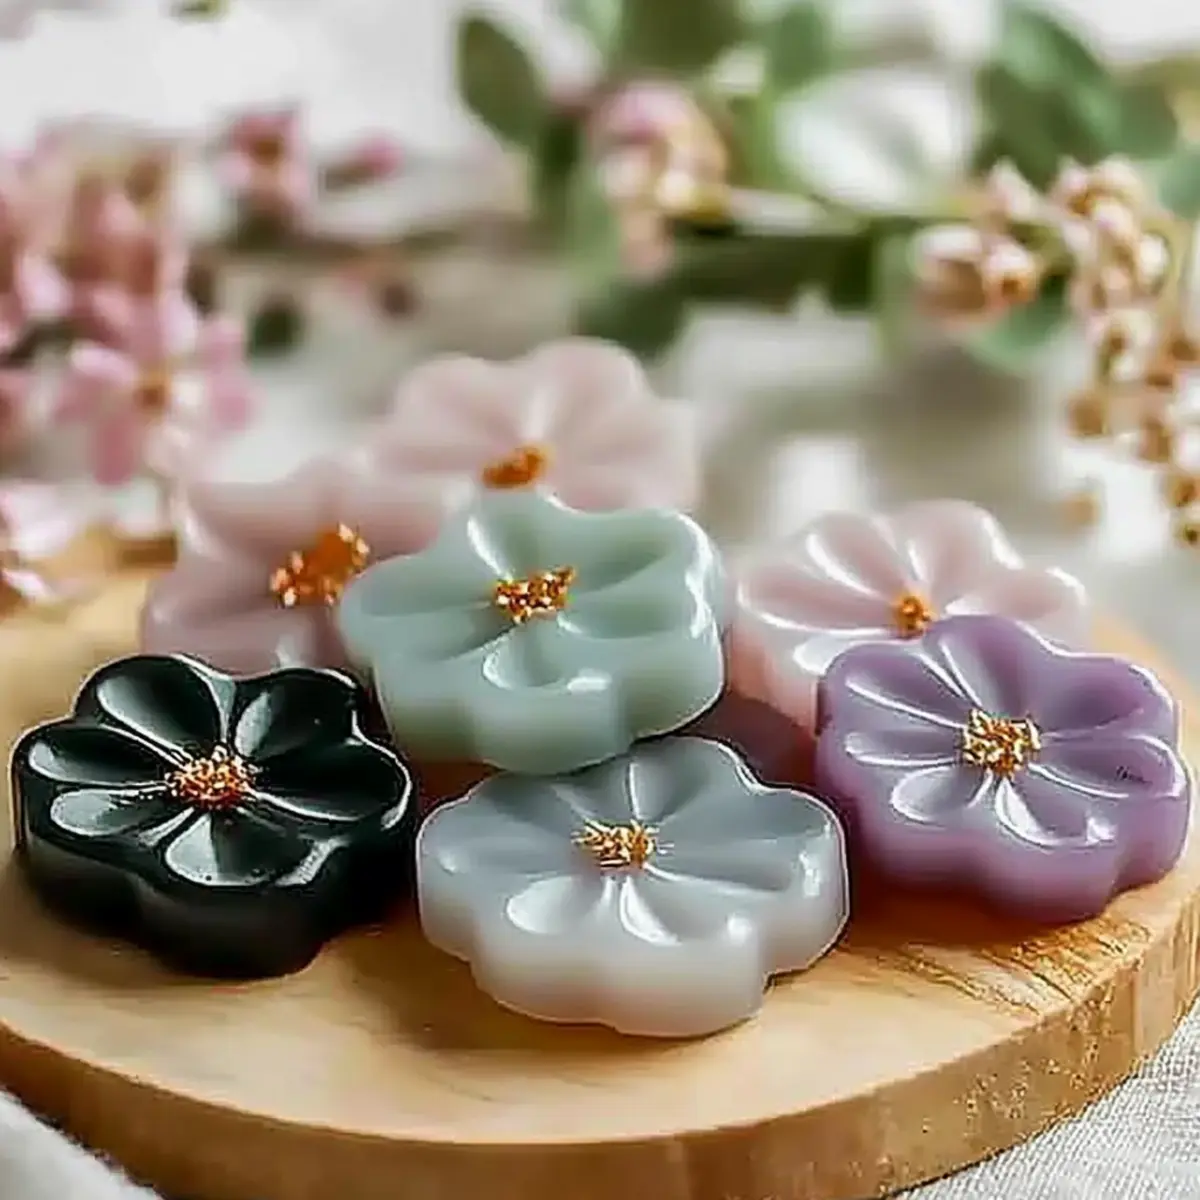
DIY Aroma Stones: Naturally Scented and Beautifully Handmade
Equipment
- Mixing Bowl
- silicone molds
- spoon for mixing
Ingredients
For the Base
- 1 cup cornstarch Acts as the primary binder for your aroma stones.
- ½ cup baking soda Helps create a smooth texture and adds lightness.
- ¾ cup warm water Essential for mixing, helps dissolve ingredients.
For the Scent
- 15-20 drops essential oils Choose your child's favorite scents; ensure they are safe for kids.
- a few drops non-toxic liquid food coloring Adds vibrant hues to each stone.
Optional Add-ins
- herbs or flowers Infuse natural elements for added texture and fragrance.
- silicone molds Work wonders for shaping your stones into fun figures.
Instructions
Mixing and Shaping
- In a mixing bowl, combine 1 cup of cornstarch, ½ cup of baking soda, and ¾ cup of warm water. Stir until the mixture is smooth and free of lumps.
- Carefully incorporate 15-20 drops of your chosen essential oils. Stir until evenly blended.
- If using food coloring, add a few drops until you achieve the desired shade. Mix gently to maintain texture.
- Pour the mixture into silicone molds, pressing it down to eliminate air pockets.
- Allow the filled molds to sit at room temperature for about 24-48 hours until completely dry. Once dry, gently pop them out.
- Place the aroma stones in a cool, dry place. Use them to add delightful scents to any room.


Leave a Reply