
The first whiff of fresh lavender had me hooked; it transported me to sunny fields, free from stress and clutter. That's the beauty of DIY Aroma Stones-they're not just decorative pieces; they're small portals to bliss. As I experimented in my kitchen, I realized how easy it is to craft these charming, eco-friendly stones that infuse any space with delightful scents.
Whether you're looking to elevate your home's atmosphere or searching for a thoughtful, handmade gift, these customizable gems are perfect for you. A dash of baking soda, a sprinkle of cornstarch, and your favorite essential oils come together to create alluring fragrances that are not only chemical-free but also reusable! Let me guide you through this fun and creative DIY project that combines sustainability with a touch of personal flair, all while ensuring your home smells as good as it looks!
Why are DIY Aroma Stones a must-try?
Eco-friendly enjoyment: You'll love that these stones are made with natural ingredients, allowing you to embrace a sustainable lifestyle.
Customizable scents: Mix and match your favorite essential oils to create a signature fragrance that reflects your personality.
Creative outlet: This simple DIY project lets you express your artistic side while making something beautiful for your home or as a gift.
Reusable fragrance: Unlike store-bought air fresheners, these stones can be refreshed with new scents, making them both economical and environmentally friendly.
Perfect gifts: Share the joy of natural living with friends and family by gifting these charming Aroma Stones in personalized sachets.
DIY Aroma Stones Ingredients
For the Dough
- Baking Soda - Provides structure and forms the basis of the dough; consider using a natural alternative for a unique texture.
- Cornstarch - Acts as a binder to enhance the texture; arrowroot can be used instead for a similar effect.
- Warm Water - Activates the dry ingredients to form a pliable dough; use as directed for the best consistency.
For the Fragrance
- Essential Oils (lavender, lemon, peppermint, eucalyptus, etc.) - Adds delightful scents to your stones; mix different scents for personalized aromas, beginning with fewer drops to avoid overpowering scents.
For the Aesthetic
- Optional: Mica Powder or Food Coloring - Adds visual appeal; can be excluded for a more natural look.
For Shaping and Drying
- Silicone Molds or Cookie Cutters - Used to shape your stones; choose fun shapes to elevate their decorative quality.
- Parchment Paper or Drying Tray - For drying stones after shaping; ensure proper airflow for even drying.
How to Make DIY Aroma Stones
-
Combine Ingredients: In a mixing bowl, combine 0.5 cup baking soda and 0.5 cup cornstarch, stirring until well mixed. This serves as the foundation for your delightful stones, so ensure even distribution!
-
Activate Dough: Gradually stir in 0.25 cup warm water, mixing until a soft dough forms. If you desire, this is a great time to add mica powder or food coloring for a personalized touch.
-
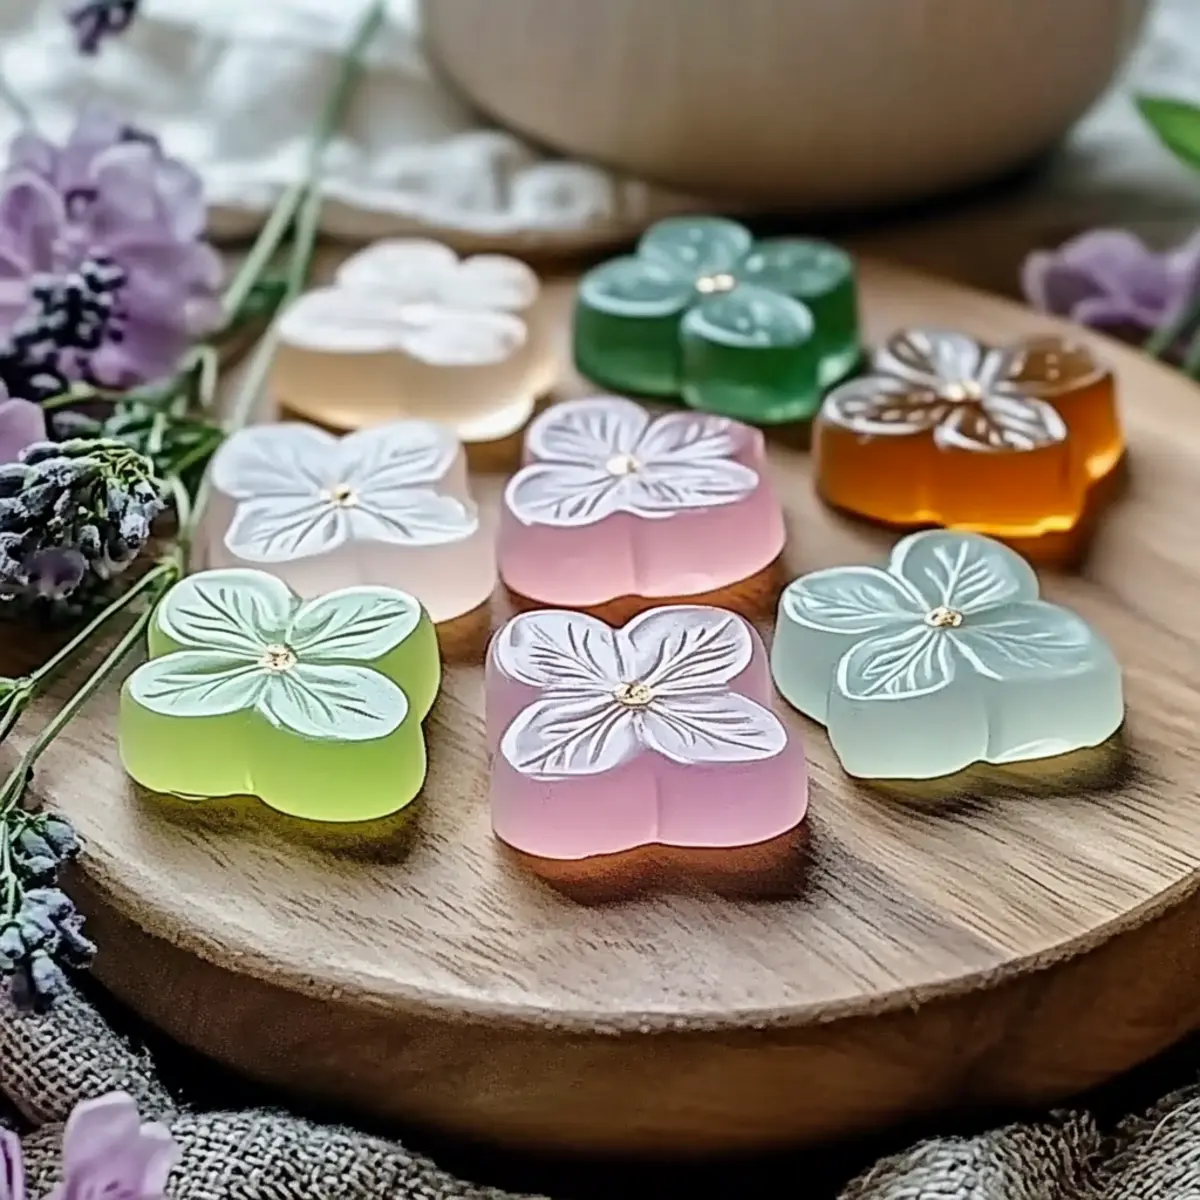
Shape Stones: Firmly press the dough into silicone molds or shape it with cookie cutters. Choose fun shapes that will brighten up any space and let your creativity shine!
-
Drying Time: Place the shaped stones on parchment paper or a drying tray and let dry for 24-48 hours. Remember to flip them halfway to ensure even drying; you want them to be crisp and ready for use.
-
Add Fragrance: Once dry, apply 3-5 drops of your favorite essential oil to each stone. Allow them to absorb for a bit before using or gifting them to friends who appreciate nature's aromas.
Optional: Consider incorporating dried herbs for an added texture and scent complexity.
Exact quantities are listed in the recipe card below.
Expert Tips for DIY Aroma Stones
• Essential Oil Balance: Start with a few drops of essential oil on your stones; you can always add more for a stronger scent without overpowering the aroma.
• Drying Technique: Ensure proper airflow while drying by flipping the stones halfway through. This helps them dry evenly and prevents any moisture from lingering.
• Label Storage: If you make several different scents, store them in airtight containers with labels. This way, you'll know exactly which fragrance you'll be reaching for next.
• Add Texture: For added interest, consider mixing in dried herbs like lavender or chamomile. This not only enhances the scent but adds a lovely visual aspect to your DIY Aroma Stones.
• Experiment Freely: Don't hesitate to mix and match essential oils to create your signature scent. This DIY project is all about customization, so make it personal!
Make Ahead Options
These DIY Aroma Stones are perfect for busy home cooks looking to save time while still enjoying a touch of personal flair in their space! You can prepare the dough up to 24 hours in advance by mixing 0.5 cup baking soda, 0.5 cup cornstarch, and 0.25 cup warm water, keeping it in an airtight container to maintain moisture. Once shaped, let the stones dry for 24-48 hours on parchment or a drying tray-just remember to flip them halfway through for evenness. When it's time to enjoy or gift your stones, simply apply your favorite essential oils, and they'll be just as delightful as freshly made! This way, you can create beautiful, fragrant decor with minimal effort when you need it most.
DIY Aroma Stones Variations
Feel free to let your imagination run wild as you tailor these delightful aroma stones to suit your unique preferences and needs.
- Natural Alteration: Swap cornstarch with arrowroot for a different texture and a slightly enhanced aroma that intrigues your senses.
- Herbal Addition: Mix in dried herbs like lavender or chamomile to deepen the fragrance and add a rustic touch to your stones.
- Citrus Twist: Use citrus essential oils such as orange or grapefruit for a brighter, uplifting scent that invigorates your space.
- Color Explosion: Embrace creativity by adding a variety of food colorings to create vibrant stones that match your home decor beautifully.
- Spice It Up: Incorporate a few drops of cinnamon or clove essential oils for a warm, comforting aroma, perfect for those cozy evenings.
- Floral Fusion: Blend different floral scents like rose and jasmine for a luxurious aroma that transports you to a blooming garden.
- Minty Fresh: Experiment with spearmint or peppermint oils for a refreshing, rejuvenating fragrance that wakes up any room.
- Personalized Blends: Mix and match your favorite essential oils to create a signature scent that tells your unique story through fragrance.
Let your creativity shine as you explore these variations, crafting aroma stones that reflect your personality and enhance your environment!
How to Store and Freeze DIY Aroma Stones
Cool, Dry Place: Store unused DIY Aroma Stones in a cool, dry place to retain their lovely fragrance and texture for up to six months.
Airtight Container: Keep them in an airtight container to prevent moisture from compromising their scent and structure. Consider labeling for easy identification.
Refreshing Fragrance: When the scent begins to fade, simply add a few more drops of essential oil to rejuvenate your Aroma Stones and extend their lifespan.
Gift-Ready Storage: If you're creating these as gifts, ensure they're well packaged in decorative sachets or jars to maintain their charm and fragrance until opened.
What to Serve with DIY Aroma Stones?
Transforming your home with delightful scents brings warmth and charm to any space.
-
Scented Candles: Enhance the ambiance with flickering light and complementary fragrances that blend beautifully with your Aroma Stones.
-
Herbal Tea Gift Sets: Pair your aromatic creations with soothing herbal teas that celebrate natural flavors and aromas, creating a cozy experience.
-
Essential Oil Diffusers: Expand your scent profile by using diffusers alongside your Aroma Stones for a layered aromatic atmosphere.
-
Handwritten Recipe Cards: Include custom recipes for natural remedies or scents on beautiful cards to share your love of DIY projects and make gifting more personal.
-
Decorative Jars: Store your stones in charming jars that not only look great but also protect them, adding a decorative element to your home.
-
Cozy Blankets: Complement the warm, inviting scents with soft blankets, making your space a haven of comfort and relaxation.
DIY Aroma Stones Recipe FAQs
How do I select the best essential oils for my Aroma Stones?
Absolutely! When choosing essential oils, opt for high-quality, pure scents. Popular choices like lavender, lemon, and eucalyptus provide delightful aromas. I recommend starting with a few drops and mixing different scents to create your unique fragrance blend. Just trust your nose and have fun experimenting!
How should I store my DIY Aroma Stones?
You'll want to keep your unused DIY Aroma Stones in a cool, dry place to help retain their fragrance for up to six months. Storing them in an airtight container is crucial; this prevents moisture from seeping in and compromising their lovely scent and structure. I often label my containers if I have multiple scents; it saves time when I need a specific aroma!
Can I freeze my DIY Aroma Stones?
While it's not necessary to freeze DIY Aroma Stones, you can certainly keep unused ones in the freezer for up to three months if you want to extend their shelf life. To do this, wrap them gently in plastic wrap and place them in an airtight container. When you're ready to use them, simply let them thaw at room temperature for a bit before applying essential oils.
What if my Aroma Stones are crumbly or don't hold shape?
Very commonly, stones can turn crumbly if they are not mixed properly or if too much water was added. For a perfect fix, add a splash of warm water gradually until you achieve a pliable dough. If your stones are not holding shape, pressing them more firmly into molds can help ensure they maintain their structure during drying. Don't hesitate to troubleshoot as needed-you've got this!
Are there any allergies I should be aware of with essential oils?
Absolutely! Some individuals may have allergies to specific essential oils, so it's vital to conduct a patch test before use. If you're gifting your Aroma Stones, consider checking with recipients about any allergies to essential oils. It's always better to be safe! Plus, there are many hypoallergenic options available like fragrance-free scents.
Can I reuse my Aroma Stones once the scent fades?
Yes, you can absolutely refresh your Aroma Stones! When their fragrance starts to fade, simply add a few drops of your chosen essential oil to rejuvenate them. This makes them reusable and allows you to change their scent whenever you want! It's a fabulous way to keep your space smelling fresh without the worry of waste.
DIY Aroma Stones: The Best Natural Way to Freshen Any Space
Equipment
- Mixing Bowl
- silicone molds
- Parchment Paper
- Cookie cutters
- Drying tray
Ingredients
For the Dough
- 0.5 cups Baking Soda Provides structure; consider using a natural alternative.
- 0.5 cups Cornstarch Acts as a binder; arrowroot can be used instead.
- 0.25 cups Warm Water Activates ingredients to form pliable dough.
For the Fragrance
- 3-5 drops Essential Oils e.g., lavender, lemon, peppermint; mix for personalized aromas.
For the Aesthetic
- Mica Powder or Food Coloring Optional, for visual appeal.
For Shaping and Drying
- Silicone Molds or Cookie Cutters Used to shape stones.
- Parchment Paper or Drying Tray For drying stones after shaping.
Instructions
Instructions
- In a mixing bowl, combine 0.5 cup baking soda and 0.5 cup cornstarch, stirring until well mixed.
- Gradually stir in 0.25 cup warm water, mixing until a soft dough forms.
- Firmly press the dough into silicone molds or use cookie cutters to shape it.
- Place the shaped stones on parchment paper or a drying tray and let dry for 24–48 hours, flipping them halfway.
- Once dry, apply 3–5 drops of your favorite essential oil to each stone and allow them to absorb before using.


Leave a Reply