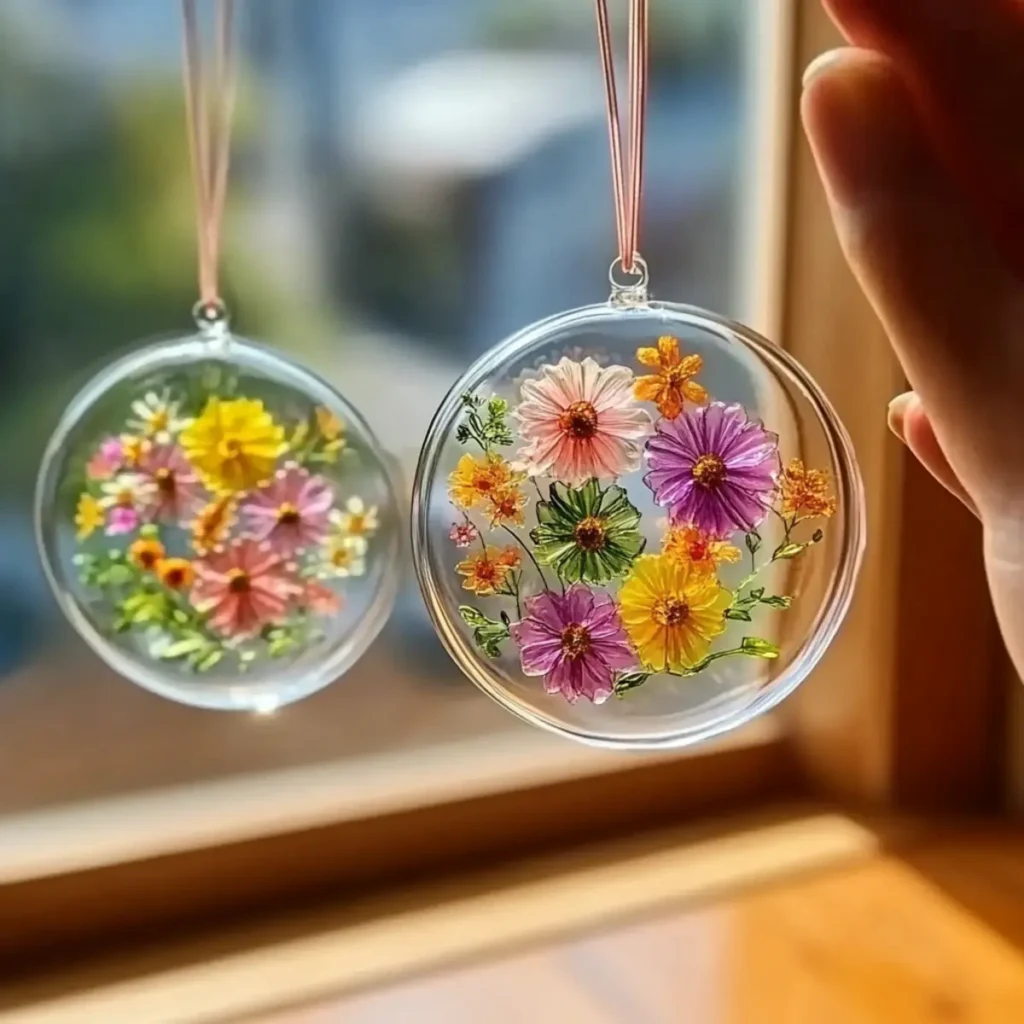
There's something enchanting about a sunlight-drenched room, where vibrant colors dance through the air. I discovered the joy of creating Clear Glue Flower Suncatchers one rainy afternoon when I felt a pressing need to brighten my space. Armed with a handful of pressed flowers and a bottle of clear school glue, I stumbled into a world of creativity that not only transformed my windows but also lifted my spirits.
This delightful DIY project is not just for seasoned crafters; it's perfect for anyone looking to add a splash of color to their home. With the simplest of materials and just a bit of time, you can create stunning suncatchers that bring joy to anyone who sees them. Imagine the delight of watching your artistic flair capture sunlight, filling your space with a kaleidoscope of hues! Whether you're crafting with kids or simply exploring your artistic side, this project is bound to spark joy. So, let's get started and turn those ordinary sunny days into extraordinary ones!
Why love Clear Glue Flower Suncatcher?
Unleash your creativity: This project is an accessible gateway to DIY artistry, making it suitable for all ages.
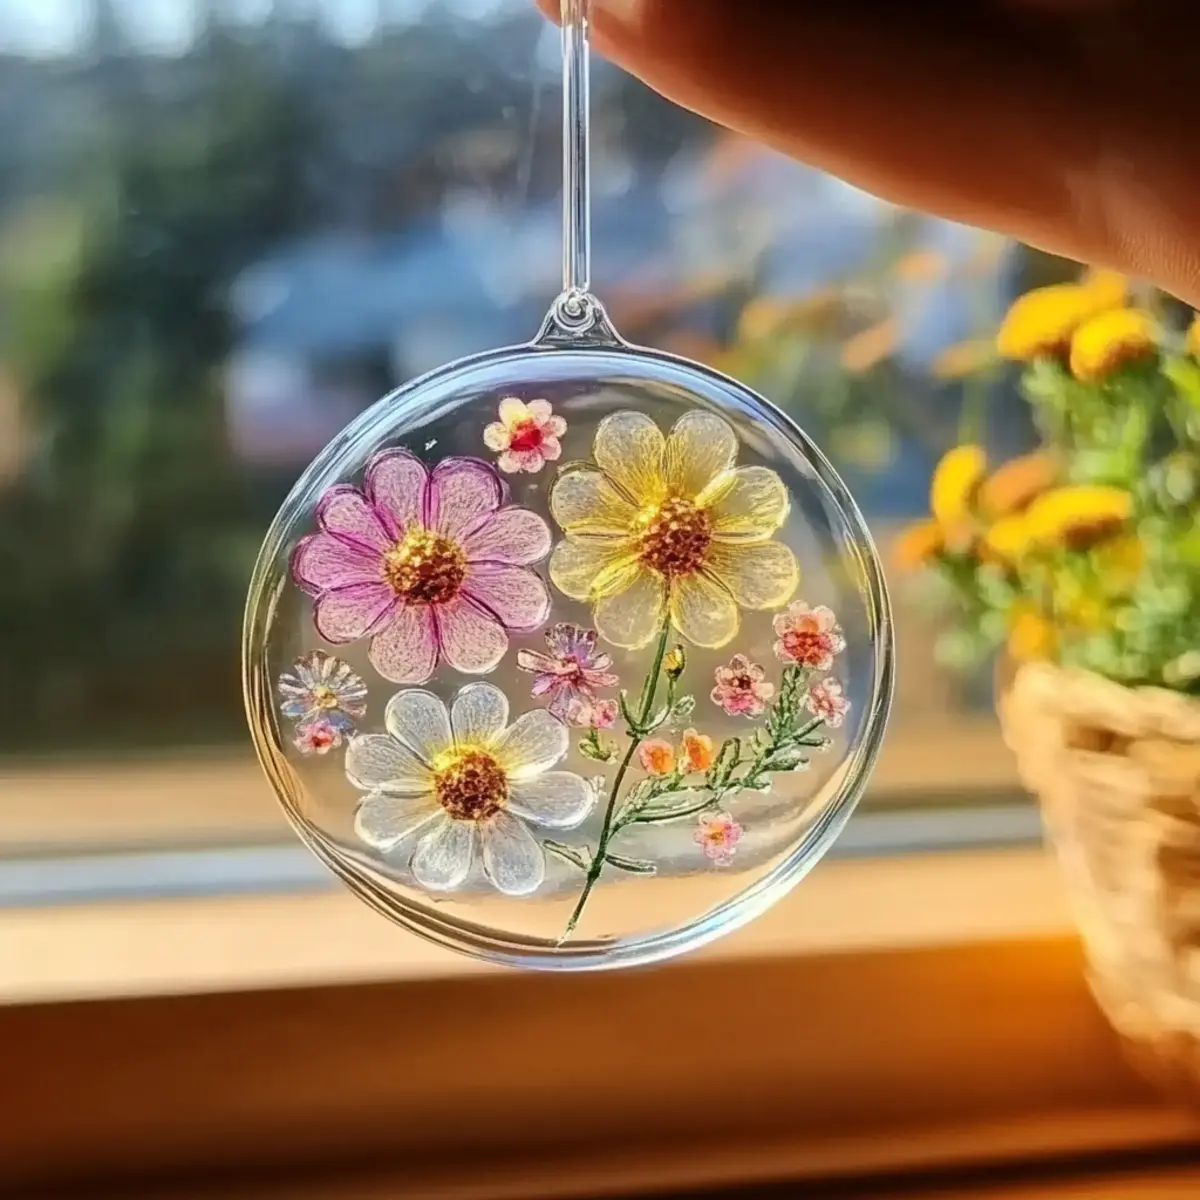
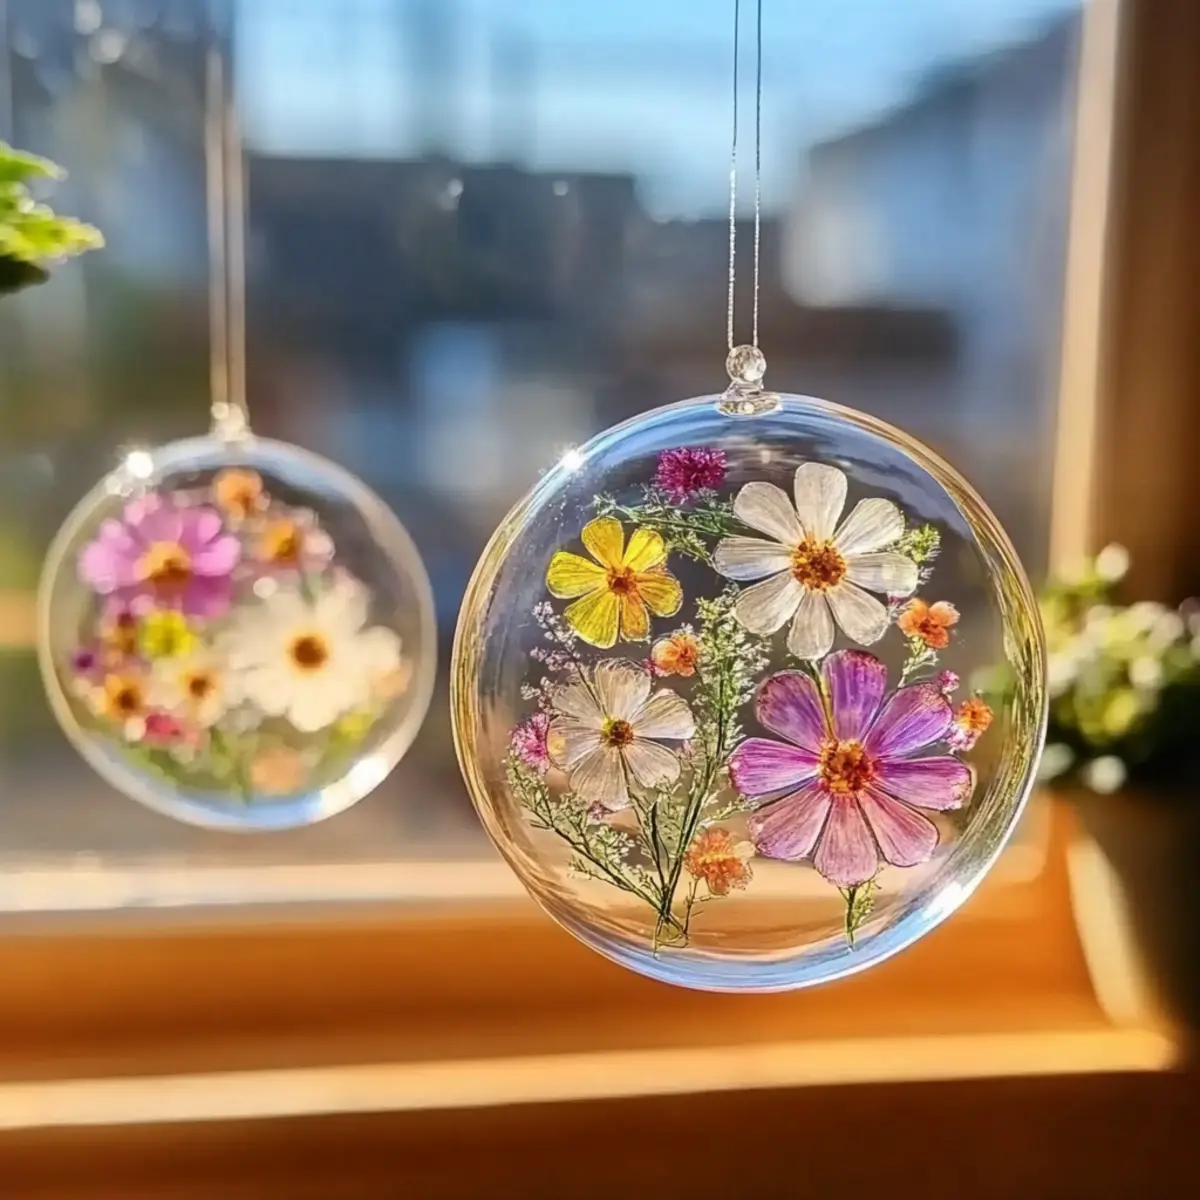
Vibrant colors: The pressed flowers create enchanting reflections, turning your plain windows into stunning artwork.
Quick and easy: With just a handful of materials and minimal time, you'll have beautiful suncatchers in no time.
Endless customization: Add your personal touch with fabric scraps, glitter, or themed shapes.
Joyful family activity: Crafting together fosters bonding and sparks creativity in children and adults alike.
Perfect home accent: Display these suncatchers anywhere sunlight touches for a cheerful ambiance. Get inspired and make your own today!
Clear Glue Flower Suncatcher Ingredients
Make it happen with these essentials:
For the Base
- Clear school glue - This provides a transparent finish, ensuring your designs shine through beautifully.
- Plastic lid (or clear acetate sheet) - Acts as a sturdy base for your suncatcher; smooth surfaces work best.
For the Decoration
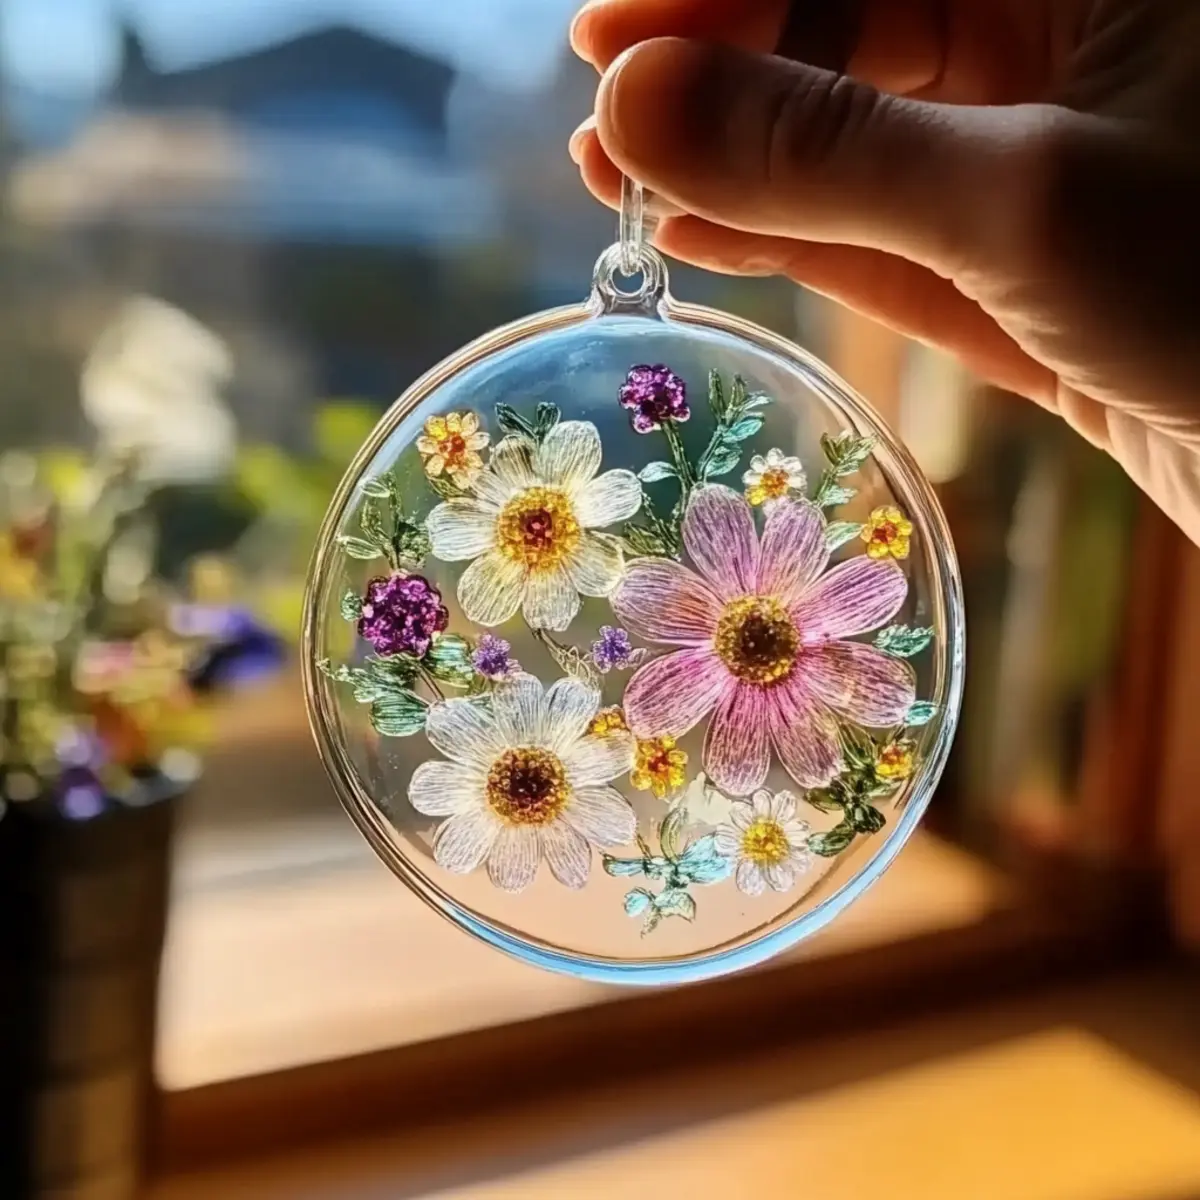
- Pressed flowers - Bring natural vibrancy to your project; choose from store-bought or homemade options for a personal touch.
- Optional add-ins (tissue paper scraps, glitter, sequins, dried leaves) - Use these to customize your suncatcher with added flair.
For the Finishing Touches
- String or suction cup hook - Necessary for hanging your lovely creation where it can catch the light.
- Scissors - Essential for trimming any excess edges after your masterpiece has dried.
To Protect Your Space
- Wax paper or parchment paper - Place this down to shield your work surface while crafting.
- Optional black marker or dark paper - Perfect for creating a decorative frame that enhances your suncatcher's aesthetic.
With these ingredients ready, you're all set to create your Clear Glue Flower Suncatcher and bring a burst of color to your home!
How to Make Clear Glue Flower Suncatcher
-
Prepare Your Workspace:
Lay down wax or parchment paper to protect your surface. This will make cleanup a breeze and keep your crafting area nice and tidy! -
Set Up the Base:
Place the plastic lid or clear acetate sheet as your suncatcher's backdrop. Ensure it's on a flat surface to help keep your design even and stable. -
Apply Glue:
Spread a thin layer of clear school glue uniformly over the base. This clear adhesive is key to ensuring that your pressed flowers adhere beautifully and are showcased brilliantly. -
Arrange Flowers:
Lay down the pressed flowers artfully, ensuring they don't overcrowd each other. Position them to create the most visual impact; let your imagination blossom! -
Customize (Optional):
Now's the time to sprinkle in your optional add-ins like tissue paper scraps, glitter, or sequins. These elements add a personal flair that makes your suncatcher uniquely yours. -
Finish with a Layer of Glue:
Apply another thin layer of glue over your flowers and add-ins. This seals everything in place and adds a lovely glossy finish to your masterpiece. -
Drying Time:
Let your suncatcher dry thoroughly for a full day before handling. Be patient! This is where the magic happens, and the colors will set beautifully. -
Trim Excess:
Once your suncatcher has dried, use scissors to trim any overhanging edges from your flowers or materials. This helps to give your suncatcher a neat, polished look. -
Hang Your Suncatcher:
Attach the string or suction cup hook and find the perfect spot to display your suncatcher! Choose a sunny window where it can catch the light and brighten your day.
Optional: For an extra pop, frame your suncatcher with a colorful border using a black marker or dark paper.
Exact quantities are listed in the recipe card below.
What to Serve with Clear Glue Flower Suncatcher?
Bring a splash of color to your home with these enchanting suncatchers that catch sunlight and delight the senses!
- Sunlit Window Gardens: Create a mini indoor garden by placing small potted plants nearby to enhance the bright ambience of your suncatcher.
- Colorful Table Settings: Surround your suncatcher with a vibrant table setting for meaningful gatherings, allowing light to reflect through floral-patterned plates and glasses.
- Bright Artwork: Pair your suncatcher with colorful paintings or drawings to create an inspiring artistic corner, blending light and creativity beautifully.
- Natural Accents: Incorporate natural elements like driftwood, stones, or seashells in your display area to harmonize with the organic feel of your pressed flowers.
- Whimsical Fairy Lights: Add twinkling fairy lights around your suncatcher for a magical nighttime display, creating glowing reflections that dance through the room.
- Refreshing Beverages: Serve light, refreshing drinks like lemon-infused water or herbal iced tea to complement the vibrant atmosphere your suncatcher creates.
- Sunny-Scented Candles: Enhance the sensory experience with candles that have fresh, floral, or citrus scents, creating a joyful, uplifting environment.
- Cheerful Music: Set the mood with uplifting tunes while enjoying the colorful reflections, making your crafting space feel even more inviting.
Expert Tips for Clear Glue Flower Suncatcher
-
Choose Flat Flowers: Ensure your pressed flowers are flat and evenly arranged. This helps maintain maximum visibility in your suncatcher design.
-
Avoid Overcrowding: Less is more! Space out your flowers and add-ins to prevent them from overshadowing each other and losing vibrant colors.
-
Even Glue Application: Apply a thin, even layer of clear glue to avoid air bubbles in your suncatcher, which can affect the final look.
-
Custom Size Options: Experiment with various lid sizes or acetate sheets to create suncatchers of different dimensions, enhancing your window decor.
-
Consider Drying Time: Be patient and let your suncatchers dry for a full day before handling. This ensures that all elements stick properly and look stunning.
Make Ahead Options
These Clear Glue Flower Suncatchers are perfect for busy crafters looking to save time! You can prepare the base with the clear school glue and pressed flowers up to 24 hours in advance. Simply set everything up on the plastic lid or clear acetate as a backdrop, arrange your flowers, and cover with a thin layer of glue. To maintain quality, ensure your suncatchers are dried thoroughly and kept in a cool, dry place, away from direct sunlight to prevent fading. When you're ready to enjoy or gift your suncatchers, simply apply an additional layer of glue, let them cure for any remaining time, and hang them up. You'll have beautiful decorations with minimal effort!
Storage Tips for Clear Glue Flower Suncatcher
Cool, Dry Place: Keep your suncatchers in a cool, dry spot, away from direct sunlight, to prevent fading or damage. They can be stored like this for up to a month.
Wrap Carefully: If storing multiple suncatchers, wrap each one in tissue paper or bubble wrap to prevent scratching and ensure they stay intact until you're ready to hang them.
Display with Care: Once hung, these suncatchers generally do not require removal, but be mindful of the space and avoid heavy cleaning near them to prolong their lifespan.
Rehang with Ease: If you need to take them down, simply reattach your string or suction cup hook to display your beautiful clear glue flower suncatcher wherever the sun shines brightest!
Clear Glue Flower Suncatcher Variations & Substitutions
Feel free to let your imagination run wild as you transform this delightful DIY project into your own unique masterpiece!
-
Seasonal Themes: Use seasonal decorations like autumn leaves or winter snowflakes to match holiday vibes beautifully.
-
Color Palette: Switch up the pressed flowers for different colors; bright spring blooms or subdued autumn leaves can create vastly different moods.
-
Textured Add-Ins: Incorporate textured materials like small pebbles or lace for a multidimensional effect that catches light in intriguing ways.
-
Creative Shapes: Instead of sticking to traditional flower shapes, consider using cookie cutters to create fun designs out of tissue paper or dried leaves!
-
Layered Effects: For added depth, create multiple suncatchers with varying layers. Stack smaller ones on top of larger pieces for a stunning visual effect.
-
Glittery Twist: Add a pinch of glitter to the glue before applying it to give your creation a sparkly finish that delights in the sunlight.
-
Nature Prints: Use fresh leaves, flowers, or even ferns for an imprint technique that brings a fresh burst of nature right into your home decor.
-
Colorful Frames: Experiment with colored markers or paints instead of dark paper to frame your suncatcher, enhancing the overall design with personal flair.
Let each variation whisper your personal story, turning an ordinary craft into an extraordinary piece of art!
Clear Glue Flower Suncatcher Recipe FAQs
What kind of flowers should I use for my suncatcher?
Absolutely! For your Clear Glue Flower Suncatcher, flat and pressed flowers are ideal. If you're using fresh flowers, make sure to press them properly to eliminate moisture, which will help them retain their color and shape in the suncatcher. Avoid using bulky flowers or those with thick petals, as they can create a less appealing look.
How should I store my finished suncatchers?
After creating your suncatcher, store it in a cool, dry place away from direct sunlight to prevent any fading or damage. Wrap each suncatcher carefully in tissue paper or bubble wrap if you have multiple, ensuring they don't scratch against one another. They can typically be stored this way for up to a month, keeping their colors vibrant and beautiful until you're ready to hang them!
How long does it take for the suncatcher to dry?
The drying time for your suncatcher is part of the magic! I recommend allowing it to dry thoroughly for a full day. This ensures that all the flowers and add-ins are securely bonded and that the glue has fully set. Be patient! Rushing this step may compromise the structure and appearance of your beautiful creations.
Can I freeze my suncatchers?
While freezing isn't recommended for your Clear Glue Flower Suncatcher, you can certainly store them safely in a dry place. Freezing might affect the integrity of the glue and the pressed flowers, leading to a less appealing outcome when thawed. Instead, simply hang them up in a spot where they can catch the sunlight and show off their vibrant colors!
Are these suncatchers safe for pets?
Very! As long as you use non-toxic clear school glue and natural materials like pressed flowers, your Clear Glue Flower Suncatcher is generally safe for homes with pets. However, it's best to hang them out of reach to prevent any curious nibbles (or accidents!). If your pet tends to chew on decorative items, opt for safer display locations.
Can I customize my suncatcher with other materials?
Absolutely! The possibilities are endless when it comes to creativity! You can personalize your Clear Glue Flower Suncatcher with a variety of add-ins like tissue paper scraps, glitter, sequins, or even dried leaves. Let your imagination flow and create something truly unique that reflects your artistic flair!

Clear Glue Flower Suncatcher: Easy DIY to Brighten Your Day
Equipment
- scissors
- Flat surface
Ingredients
For the Base
- 1 bottle Clear school glue Provides a transparent finish.
- 1 lid Plastic lid or clear acetate sheet Acts as a sturdy base.
For the Decoration
- 5 pieces Pressed flowers Store-bought or homemade options.
- 1 handful Optional add-ins Tissue paper scraps, glitter, sequins, dried leaves.
For the Finishing Touches
- 1 each String or suction cup hook Necessary for hanging.
- 1 each Scissors For trimming excess edges.
To Protect Your Space
- 1 sheet Wax paper or parchment paper To shield your work surface.
- 1 each Optional black marker or dark paper For decorative framing.
Instructions
How to Make
- Lay down wax or parchment paper to protect your surface.
- Place the plastic lid or clear acetate sheet as your base.
- Spread a thin layer of clear school glue uniformly over the base.
- Lay down the pressed flowers artfully, ensuring they don’t overcrowd each other.
- Sprinkle in optional add-ins like tissue paper scraps, glitter, or sequins.
- Apply another thin layer of glue over your flowers and add-ins.
- Let your suncatcher dry thoroughly for a full day before handling.
- Once dried, use scissors to trim overhanging edges.
- Attach the string or suction cup hook and hang your suncatcher.


Leave a Reply