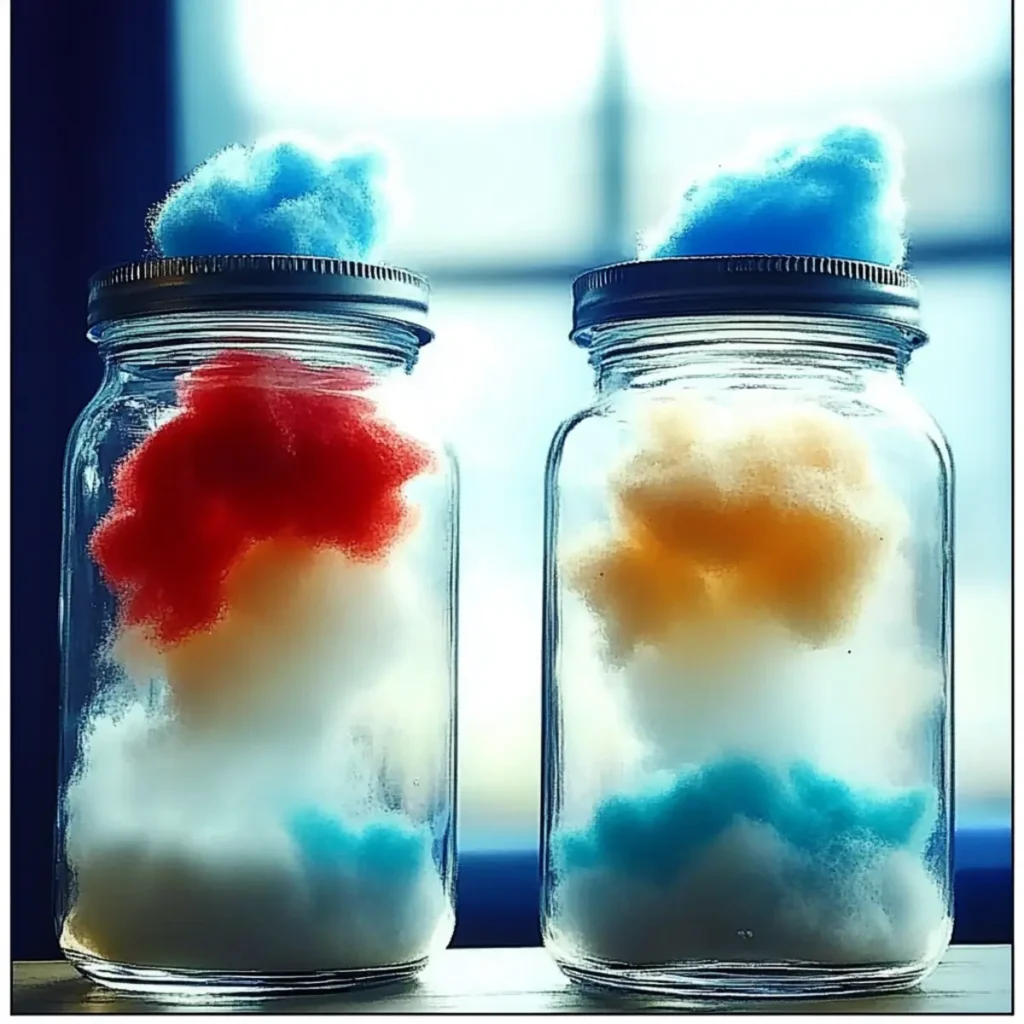
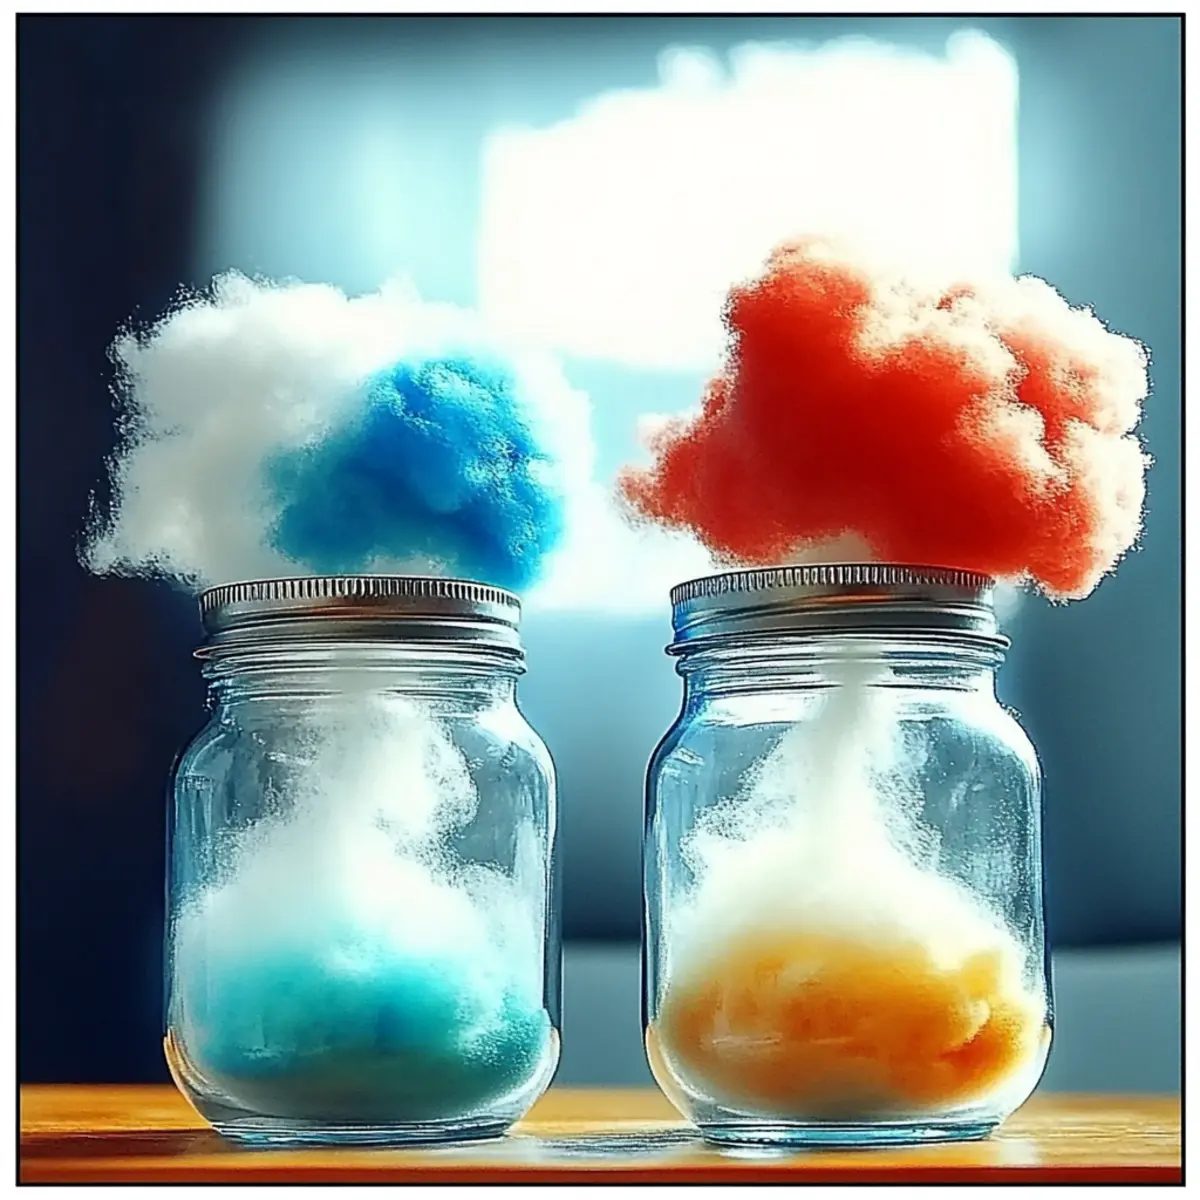
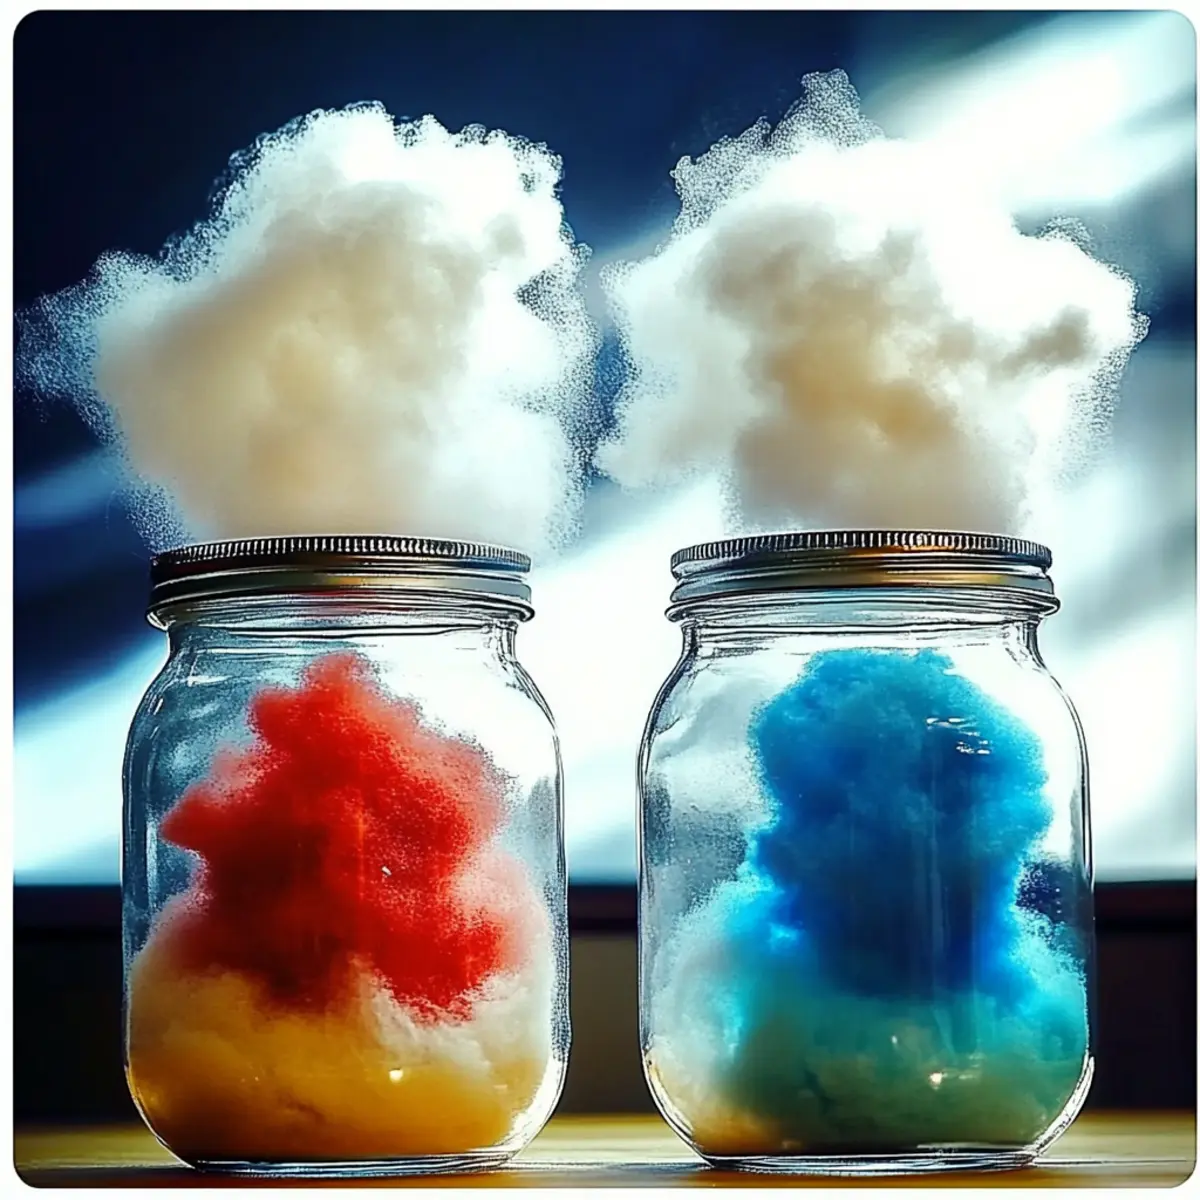
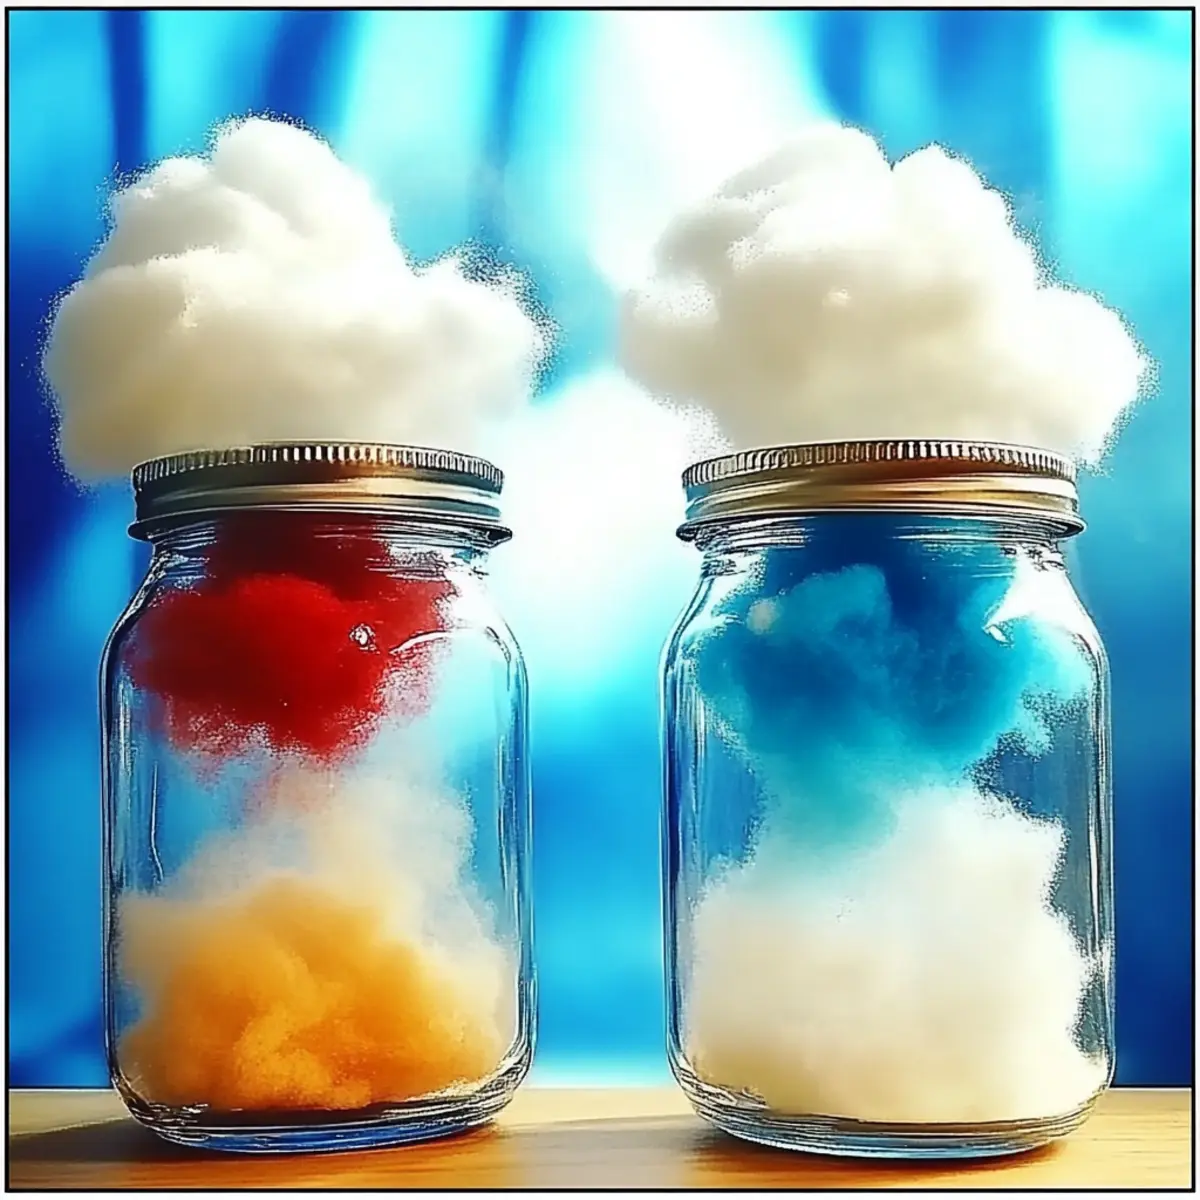
There's a certain excitement that fills the room when science and creativity collide, especially when it's a hands-on experience like "Create Your Own Rain Cloud!" Picture this: your kids, eyes wide with wonder, as a fluffy cloud rains colorful droplets right before them. This delightful experiment isn't just a fun way to spend an afternoon; it's a brilliant introduction to fascinating scientific concepts like the water cycle and weather phenomena.
I stumbled upon this engaging activity while searching for ways to make learning more interactive for my little ones. The materials are simple-things you probably already have at home! From a clear jar to shaving cream, each item plays a crucial role in this colorful display, making science accessible and enjoyable. So, roll up your sleeves, gather your supplies, and let's dive into this amazing rainy adventure that will leave your kids mesmerized and asking for more!
Create Your Own Rain Cloud at Home?
Excitement fills the air with this interactive experiment, perfect for curious minds. Visual Learning transforms abstract concepts into a hands-on experience that kids will love. Simple Ingredients mean you likely have everything you need, making setup a breeze. Colorful Variations spark creativity, allowing for endless experimentation. This activity not only entertains but also educates, making science both fun and accessible. So, gather your supplies and embark on this rainy adventure today!
Create Your Own Rain Cloud Ingredients
• For the Cloud and Rain
- Large Clear Glass Jar - Essential for visualizing cloud and rain formation; the bigger, the better!
- Water - Fill about three-quarters full to simulate the atmosphere; leave room for your fluffy cloud.
- Shaving Cream (Foamy kind) - Use this to create the cloud's soft texture; avoid gel types for the best effect.
- Blue Food Coloring - Colors the "rain"; feel free to experiment with different colors for a vibrant effect.
• For Mixing and Dispensing
- Small Bowl - Perfect for mixing food coloring with water; makes preparation easy and clean.
- Spoon or Dropper - Ideal for dispensing the colored water onto the cloud; a dropper allows for more control.
- Measuring Spoons or Cups - Ensures accuracy when measuring water and food coloring; don't skip this for best results!
• For Setup
- Flat Table or Surface - Utilize a clean surface for your setup; this makes for easier cleanup later.
Gather these ingredients, and get ready to Create Your Own Rain Cloud at Home: A Fun, Educational Experiment for Kids!
How to Make Your Own Rain Cloud
-
Fill the Jar: Pour water into the large clear glass jar until it's about three-quarters full. This represents the atmosphere, leaving enough space for your fluffy cloud to form on top!
-
Make the Cloud: Generously spray the foamy shaving cream over the water to create a thick layer that resembles a cloud. Aim for a puffy look, as this will help create that magical rain effect!
-
Prepare the Rain: In a small bowl, mix a few drops of blue food coloring with a tiny bit of water to create your colored rain. Be creative! You can mix in different colors for a vibrant effect.
-
Start the Rain: Using a spoon or dropper, carefully release the colored water onto the shaving cream. Watch in awe as it seeps through, mimicking raindrops falling into the jar below.
Optional: Add glitter to your colored water for an extra sparkle effect!
Exact quantities are listed in the recipe card below.
Expert Tips for Creating Your Own Rain Cloud
-
Warm Water Works: Using warm water in your jar helps the colored rain seep through the shaving cream faster, enhancing the excitement!
-
Experiment Freely: Encourage kids to try different amounts of food coloring. This allows them to see how variations impact the "rain" and keeps the learning engaging.
-
Controlled Dispensing: Using a dropper for the colored water gives more precision when starting the rain. This helps avoid creating a mess and makes the experiment smoother.
-
Fluffy Clouds Ahead: If you add more shaving cream, it will hold onto moisture longer. This prolongs the activity, allowing for more viewing time during the rain effect.
-
Creative Variations: Don't hesitate to mix things up! Use different food colors to create a rainbow effect or swap shaving cream for cotton balls for a different cloud texture. Enjoy the process of creating your own rain cloud at home!
Make Ahead Options
These "Create Your Own Rain Cloud" experiments are a fantastic way to save time and ensure a smooth activity for your little ones! You can gather and measure all the ingredients-water, shaving cream, and food coloring-up to 24 hours in advance. Store the water-filled jar in the refrigerator to keep it fresh, while the shaving cream can be kept at room temperature. When you're ready to dive into the fun, simply assemble the cloud and rain by following the final steps: spray the shaving cream on top of the water and mix the food coloring with some water in a bowl. Just like magic, your captivating rain cloud will be ready to wow the kids with minimal prep effort!
Storage Tips for Create Your Own Rain Cloud
-
Room Temperature: Once completed, the "rain cloud" can sit out for about 1 hour before it starts to deteriorate. If not used immediately, it's best to avoid using it again.
-
Cleanup: After your fun experiment, clean the jar and utensils with warm, soapy water. This helps remove any leftover shaving cream and food coloring residue easily.
-
Reuse Materials: The ingredients can be gathered again for future experiments. Store any leftover colored water in an airtight container in the fridge and use within 2 days for new creations.
-
Set It Up: If you plan to recreate the rain cloud, prepare the materials in advance to keep the excitement alive. Gather them a day ahead to ensure a spontaneous science day!
What to Serve with Create Your Own Rain Cloud?
Imagine transforming your science experiment into an imaginative adventure, where creativity and learning flow seamlessly together!
-
Colorful Drawing Supplies: Encourage kids to sketch what they think a rain cloud looks like. Engaging their creativity deepens their understanding of the concepts while making it fun.
-
Refreshing Lemonade: A cool glass of lemonade pairs wonderfully as you take a science break. The vibrant color and tangy flavor provide a bright accompaniment to your experiment!
-
Cloud-themed Snacks: Fluffy marshmallows as cloud bites can capture their interest and delight their taste buds. Turn snack time into a fun moment by sparking conversations about weather!
-
Science Storybooks: Match the activity with educational books about weather. This complements the experiment, allowing kids to dive deeper into the science of clouds, rain, and the water cycle.
-
Color Mixing Station: Set up a small table with various colors and clear containers, letting kids experiment with mixing colors. This hands-on element enhances their learning through exploration.
-
Nature Walk: After the experiment, take a walk to observe real clouds. This real-world connection reinforces their understanding and appreciation of what they've just created.
Each pairing enriches the experience, transforming a simple science activity into a memorable and educational journey!
Create Your Own Rain Cloud Variations
Let's spark your creativity as you customize this delightful science experiment for even more fun and learning!
- Rainbow Rain: Use multiple food colors to create a vibrant rainbow effect; watch as colorful droplets descend together.
- Cotton Ball Clouds: Swap shaving cream for cotton balls for a lighter, fluffier cloud effect; they'll look adorable floating on top!
- Glittery Rain: Add a sprinkle of edible glitter to the colored water for a magical sparkling effect that will delight every child.
- Mini Tornado: After starting the rain, gently swirl the jar to create a mini tornado effect, adding excitement to your weather show!
- Scented Clouds: Mix a few drops of essential oils into the shaving cream for a delightful aroma while you create your rain cloud, making the experience even more sensory.
- Temperature Play: Use cold water instead of warm for a slower rain effect; this contrast will spark discussions about weather variations.
- Texture Exploration: Experiment with different textured clouds by combining shaving cream and whipped cream for a unique look and feel.
- Color Mixing: Encourage kids to blend different colors of food coloring to watch the cool effects; they'll learn about color theory while having fun!
Create Your Own Rain Cloud Recipe FAQs
How do I choose the best shaving cream for this experiment?
Absolutely! For optimal results, choose a foamy shaving cream rather than a gel type. The foamy cream creates the fluffy cloud appearance needed for this science activity. Look for brands that emphasize "foamy" on the label, as they work best to simulate clouds effectively!
How long can I keep my rain cloud experiment before it starts to deteriorate?
Very good question! The created rain cloud can be left out at room temperature for about 1 hour. After that, it begins to lose its structure and can become messy. If you want to clean it up, use warm, soapy water to rinse the jar and utensils thoroughly.
Can I freeze the ingredients for future use?
Excellent inquiry! While it's not recommended to freeze the created rain cloud itself, you can prepare the colored water in advance and store it. Simply mix the food coloring with water, put it into an airtight container, and keep it in the fridge. Use it within 2 days for another fun session! Freezing isn't ideal for the shaving cream, as it may change its texture.
What should I do if the colored water doesn't seep through the shaving cream?
Ah, don't worry; this can happen! If the colored water is not seeping through, try using warm water when mixing it. Warm water helps the color penetrate the shaving cream faster. Also, if you're using too much shaving cream, reduce the amount slightly to allow space for the water to flow through.
Are there any dietary concerns for pets or allergies with this experiment?
It's essential to be cautious! The ingredients in this experiment, especially shaving cream and food coloring, are not intended for consumption. Keep this activity out of reach from pets and ensure kids are aware not to taste any of the items. If allergies are a concern, check the product labels for any ingredients you might want to avoid.
Can I modify the colors or textures for a more exciting rain cloud?
Oh, absolutely! Experiment with different food coloring blends to create a rainbow effect. Additionally, you can swap shaving cream for cotton balls for a lighter cloud look or even add glitter to the colored water for a magical sparkle effect. The more the merrier when it comes to creativity in this fun science experiment!

Create Your Own Rain Cloud at Home: A Fun Science Break!
Equipment
- Large Clear Glass Jar
- small bowl
- Spoon or Dropper
- Measuring Spoons or Cups
- Flat Table or Surface
Ingredients
For the Cloud and Rain
- 1 large Clear Glass Jar Essential for visualizing cloud and rain formation; the bigger, the better!
- ¾ full Water Fill about three-quarters full to simulate the atmosphere; leave room for your fluffy cloud.
- 1 can Shaving Cream (Foamy kind) Use this to create the cloud's soft texture; avoid gel types for the best effect.
- few drops Blue Food Coloring Colors the 'rain'; feel free to experiment with different colors for a vibrant effect.
For Mixing and Dispensing
- 1 small Bowl Perfect for mixing food coloring with water.
- 1 Spoon or Dropper Ideal for dispensing the colored water onto the cloud.
- 1 Measuring Spoons or Cups Ensures accuracy when measuring water and food coloring.
For Setup
- 1 Flat Table or Surface Utilize a clean surface for your setup.
Instructions
How to Make Your Own Rain Cloud
- Pour water into the large clear glass jar until it's about three-quarters full.
- Generously spray the foamy shaving cream over the water to create a thick layer that resembles a cloud.
- In a small bowl, mix a few drops of blue food coloring with a tiny bit of water to create your colored rain.
- Using a spoon or dropper, carefully release the colored water onto the shaving cream.
- Optional: Add glitter to your colored water for an extra sparkle effect!


Leave a Reply