
When the sun begins to peek through the clouds, casting its warm beams across our living space, I can't help but think of a delightful way to capture and play with that light. Enter the vibrant world of DIY crayon suncatchers! This craft not only transforms broken crayons into stunning visual art but also offers a fantastic opportunity for kids to unleash their creativity.
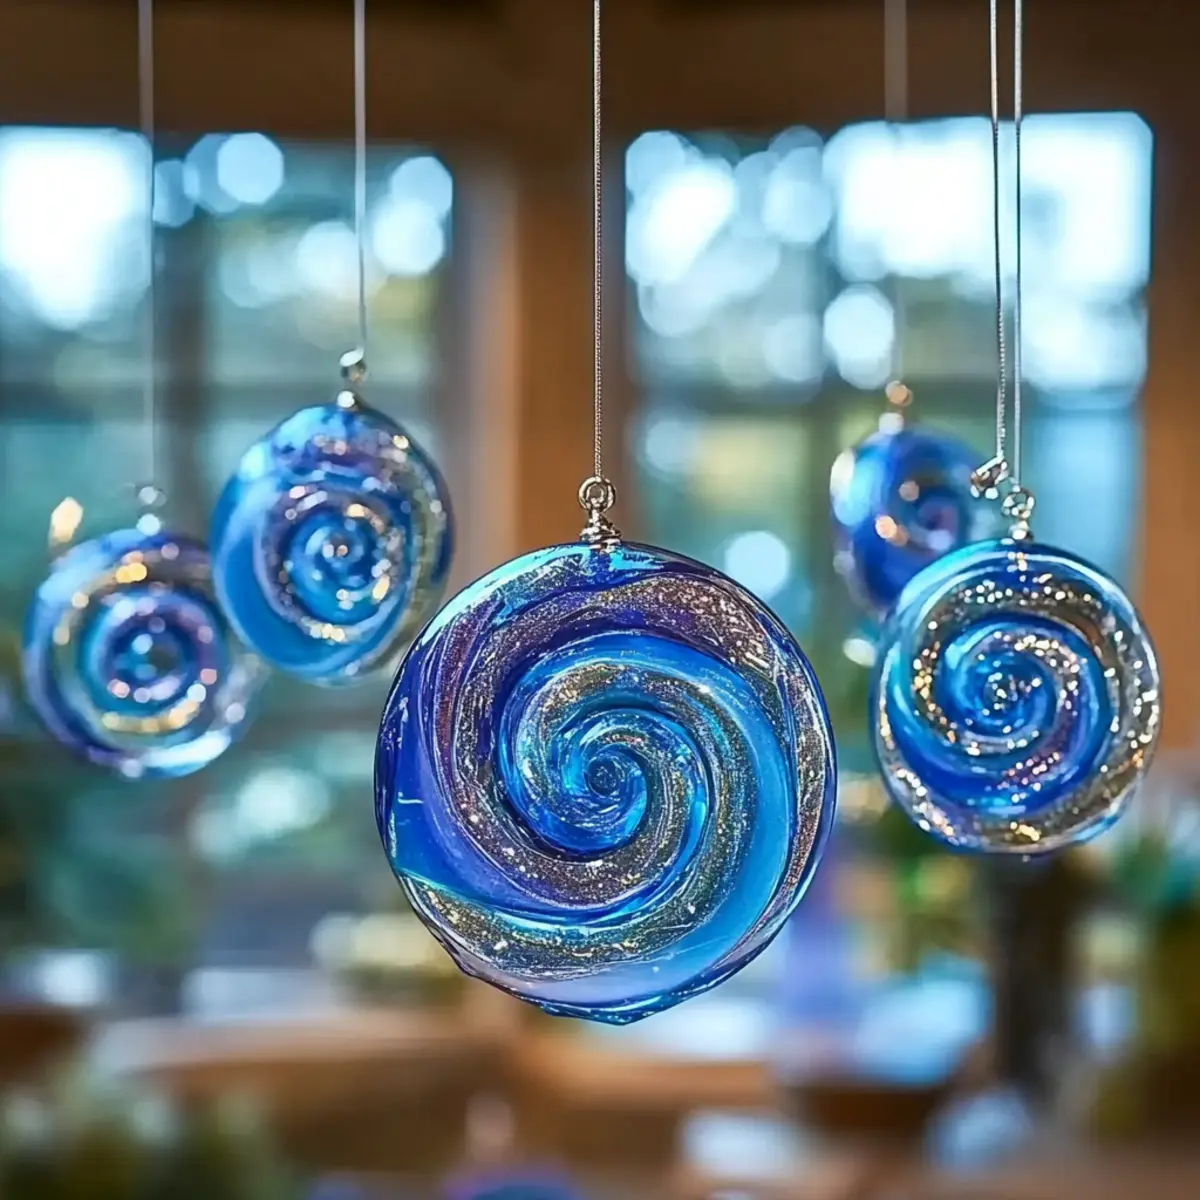
Picture the rich blues and swirling shades coming together, creating a playful dance of color as they catch the sunlight. This simple, one-hour project is a wonderful blend of sensory experience and artistic expression, making it the perfect afternoon activity for children (and adults who want to join in on the fun). With just a few basic supplies, you can create beautiful pieces that brighten your windows and your day. Let's dive into this creative adventure and craft these charming suncatchers that will fill your home with warmth and wonder!
Why Crayon Suncatchers are a Must-Try?
Creativity Unleashed: Your kids will love experimenting with color combinations, as they create stunning blue hues that light up your home.
Easy Process: This craft takes only one hour to complete, making it a perfect weekend project.
Sensory Fun: Melting crayons engages the senses, adding a delightful element to the activity.
Eye-Catching Decor: Once finished, these vibrant suncatchers resemble beautiful stained glass, enhancing any room.
Interactive Learning: Kids develop fine motor skills while crafting, making learning enjoyable and creative.
For more arts and crafts, don't forget to check out some of my other exciting DIY projects!
Crayon Suncatchers Ingredients
For the Suncatcher Base
- Blue Crayons (light and dark shades) - These provide rich blue hues for your suncatchers; feel free to use broken or leftover crayons.
- Wax Paper - Acts as a protective layer during melting; you'll need two sheets to fully encase the crayon shavings.
For Assembling Tools
- Pencil or Crayon Sharpener - Perfect for shaving crayons into fine pieces, which helps with melting and color distribution.
- Iron - Essential for melting the crayon shavings; use it on low heat to prevent burning.
- Scissors - Handy for cutting out shapes once your suncatchers have cooled and set properly.
For Hanging
- String or Thread - Use this to hang your beautiful suncatchers in a window, allowing them to catch the light beautifully.
- Hole Punch (Optional) - Makes threading the string or thread easier, ensuring your masterpiece can hang with ease.
For Cleanup and Protection
- Old Dish Towel or Parchment Paper - Protects the iron from crayon residue during the melting process; a crucial step to keep everything neat and tidy!
Get ready to embark on this colorful craft adventure that turns simple crayon shavings into radiant crayon suncatchers!
How to Make Crayon Suncatchers
-
Prepare Crayons: Start by using your sharpener to shave the blue crayons into small pieces. The more colorful shavings you have, the better the final product will be!
-
Assemble Layers: Lay one sheet of wax paper on a flat surface, sprinkle the crayon shavings evenly across it, and cover with a second sheet of wax paper. This creates a beautiful canvas for melting.
-
Melt Crayons: Set your iron to a low heat, and gently press it on the wax paper for a few seconds. Watch as the crayon shavings melt into soft, flowing colors that create vibrant effects!
-
Cut Shapes: After letting the melted creation cool slightly, peel off the wax paper. Use scissors to cut out fun shapes that reflect your child's imagination.
-
Punch Holes: If you'd like hanging options, use a hole punch at the top of your shapes to make threading string a breeze. This step is optional but adds a lovely finishing touch.
-
Hang Suncatchers: Attach the string or thread through the holes and hang your colorful suncatchers in windows. They'll light up beautifully when the sun shines through!
Optional: Add a touch of glitter to the melted crayons for extra sparkle.
Exact quantities are listed in the recipe card below.
What to Serve with DIY Crayon Suncatchers?
Crafting beautiful suncatchers can be a delightful experience that inspires wonderful memories, so let's add a splash of fun to your crafting day!
-
Colorful Fruit Salad: A medley of seasonal fruits brings freshness and sweetness to the table, making it a healthy, vibrant snack while you create.
-
Mini Sandwiches: Thoughtful, bite-sized sandwiches are perfect for little hands. Fill them with cream cheese and veggies for a nutritious treat.
-
Sparkling Lemonade: A refreshing drink that can keep energy levels high during your crafting session. The fizz adds a celebratory touch to your family fun.
-
Veggie Platter: Crisp, colorful veggies served with a tasty dip can complement the vibrant experience of creating the suncatchers, offering a healthy crunch.
-
Cheesy Quesadillas: These warm, cheesy delights can be cut into fun shapes for a playful twist, capturing your children's imagination even more.
-
Sweet Treats: Finish off the day with some homemade cookies or brownies to satisfy the sweet tooth and celebrate your creative efforts together!
-
Crafting Playlist: Create an upbeat playlist to inspire creativity and energy during the crafting process, adding a lively atmosphere to your colorful creation.
-
Creative Aprons: Consider a tie-dye experience that mirrors the swirling hues of your suncatchers, turning a simple apron into a colorful masterpiece!
Engaging in these delicious and playful pairings turns your DIY suncatcher project into a full sensory experience for everyone involved!
Tips for the Best Crayon Suncatchers
- Color Mixing Magic: Experiment with blending in shades like white or yellow to create ocean-wave effects; this will enhance the beauty of your crayon suncatchers.
- Layering Technique: Ensure your crayon shavings are evenly spread; clumps will melt unevenly, so avoid this for a smoother, more vibrant finish.
- Iron Care: Use a low heat setting on your iron to melt the crayons without burning; keeping it at a safe temperature will prevent accidents.
- Cutting Shapes Safely: Wait for the melted suncatcher to cool enough before cutting; this will make it easier to manage and help maintain shape integrity.
- Sunlight Precautions: To preserve colors, hang your suncatchers away from direct sunlight; this will prevent fading and keep them looking fresh longer.
Storage Tips for Crayon Suncatchers
Leftover Crayons: Store broken or unused crayons in a cool, dry place for future crafts; they can last indefinitely if kept out of direct sunlight and heat.
Display Time: Keep your finished suncatchers hanging in windows; they can brighten up your home for as long as they're not exposed to constant direct sunlight, preventing color fading.
Protection: If not displayed immediately, lay your suncatchers flat between sheets of wax paper or plastic wrap to avoid bending or scratching.
Reheating: Should your suncatchers lose their shape or need a touch-up, gently reheat them with an iron on low for a few seconds, watching closely to prevent burning.
Make Ahead Options
These DIY Crayon Suncatchers are a fantastic project to prep in advance, making them ideal for busy days! You can shave the blue crayons and store the shavings in an airtight container for up to 3 days to keep them fresh and vibrant. Additionally, you can precut the wax paper to the desired size and have it ready, making the assembly process a breeze. When you're ready to create, simply layer the crayon shavings between wax paper and proceed to melt them with a low-heat iron. This way, you can transform leftover crayons into gorgeous suncatchers without spending extra time, ensuring fun and creativity at a moment's notice!
Crayon Suncatchers Variations
Feel free to let your creativity shine by customizing your suncatchers with these fun variations!
- Gradient Blues: Layer darker shades at the bottom and lighter shades at the top to create a beautiful ombre effect. This technique adds depth and visual interest.
- Color Blends: Mix in vibrant colors like pink or green alongside your blue crayons. This not only enhances color vibrancy but creates a unique visual effect when light passes through.
- Metallic Touch: Incorporate metallic crayons for shimmering highlights in your designs. Once the light hits them, they'll reflect a fabulous sparkle that elevates your suncatchers!
- Seasonal Designs: Use colors that correspond with different holidays or seasons-think warmer hues for fall or pastels for spring. This allows for thematic decorations throughout the year.
- Shape Variety: Instead of standard shapes, try cutting out hearts, stars, or animals! Unique shapes can make your suncatchers even more personalized and fun.
- Layering Textures: Incorporate tissue paper pieces between your crayon layers before melting. It introduces a different texture while adding color and dimension to your creations!
- Single Color Pop: Keep it simple by using various shades of just one color. This minimalist approach can be striking and create a serene aesthetic perfect for any decor.
- Suncatcher Garland: Instead of individual hangings, craft several suncatchers, and string them together to create a cheerful garland. Drape it across a window for a playful display!
By exploring these exciting variations, your crayon suncatchers will become a true reflection of your family's artistic flair!
Crayon Suncatchers Recipe FAQs
What type of crayons should I use?
Absolutely! For this project, I recommend using blue crayons in both light and dark shades. You can definitely use broken or leftover crayons, making it a fantastic way to repurpose them while creating beautiful suncatchers.
How should I store leftover crayons?
Store any leftover crayons in a cool, dry place away from direct sunlight and heat. Keeping them protected will allow you to use them indefinitely for future crafty projects. If your kids are inspired, they'll have a ready supply for more colorful adventures!
Can I freeze my suncatchers?
Although I wouldn't advise freezing them, you can keep your suncatchers beautiful with the right precautions. If, for any reason, they become misshapen, you can reheat them briefly with an iron on low to restore their original form without any damage.
Why do my suncatchers not melt evenly?
Very! This can happen if your crayon shavings are clumped together or not spread evenly. Make sure to sprinkle them across the wax paper in a thin, even layer for a smoother melting process. Keep the iron at a low temperature to achieve that lovely stained glass effect!
Are crayon suncatchers safe for kids?
Definitely! This project is safe for children, as long as they're supervised during the melting process. Just be cautious around the hot iron, and let them enjoy the sensory fun of melting crayons while developing their creativity!
How can I display my suncatchers to avoid color fading?
For the best results, hang your suncatchers in windows that don't get constant direct sunlight. If you position them where they can catch some light without being constantly exposed, their colors will remain vibrant for a much longer time.
Crayon Suncatchers: Stunning Blue Hues That Light Up Your Home
Equipment
- Pencil or Crayon Sharpener
- Iron
- scissors
- Hole Punch (Optional)
Ingredients
For the Suncatcher Base
- 10 pieces Blue Crayons (light and dark shades) Use broken or leftover crayons.
- 2 sheets Wax Paper Acts as a protective layer during melting.
For Hanging
- 1 string String or Thread For hanging the suncatcher.
For Cleanup and Protection
- 1 towel Old Dish Towel or Parchment Paper To protect the iron from crayon residue.
Instructions
How to Make Crayon Suncatchers
- Start by using your sharpener to shave the blue crayons into small pieces.
- Lay one sheet of wax paper on a flat surface, sprinkle the crayon shavings evenly across it, and cover with a second sheet of wax paper.
- Set your iron to a low heat, and gently press it on the wax paper for a few seconds.
- After letting the melted creation cool slightly, peel off the wax paper.
- Use scissors to cut out fun shapes that reflect your child's imagination.
- If you'd like hanging options, use a hole punch at the top of your shapes.
- Attach the string or thread through the holes and hang your colorful suncatchers in windows.


Leave a Reply