
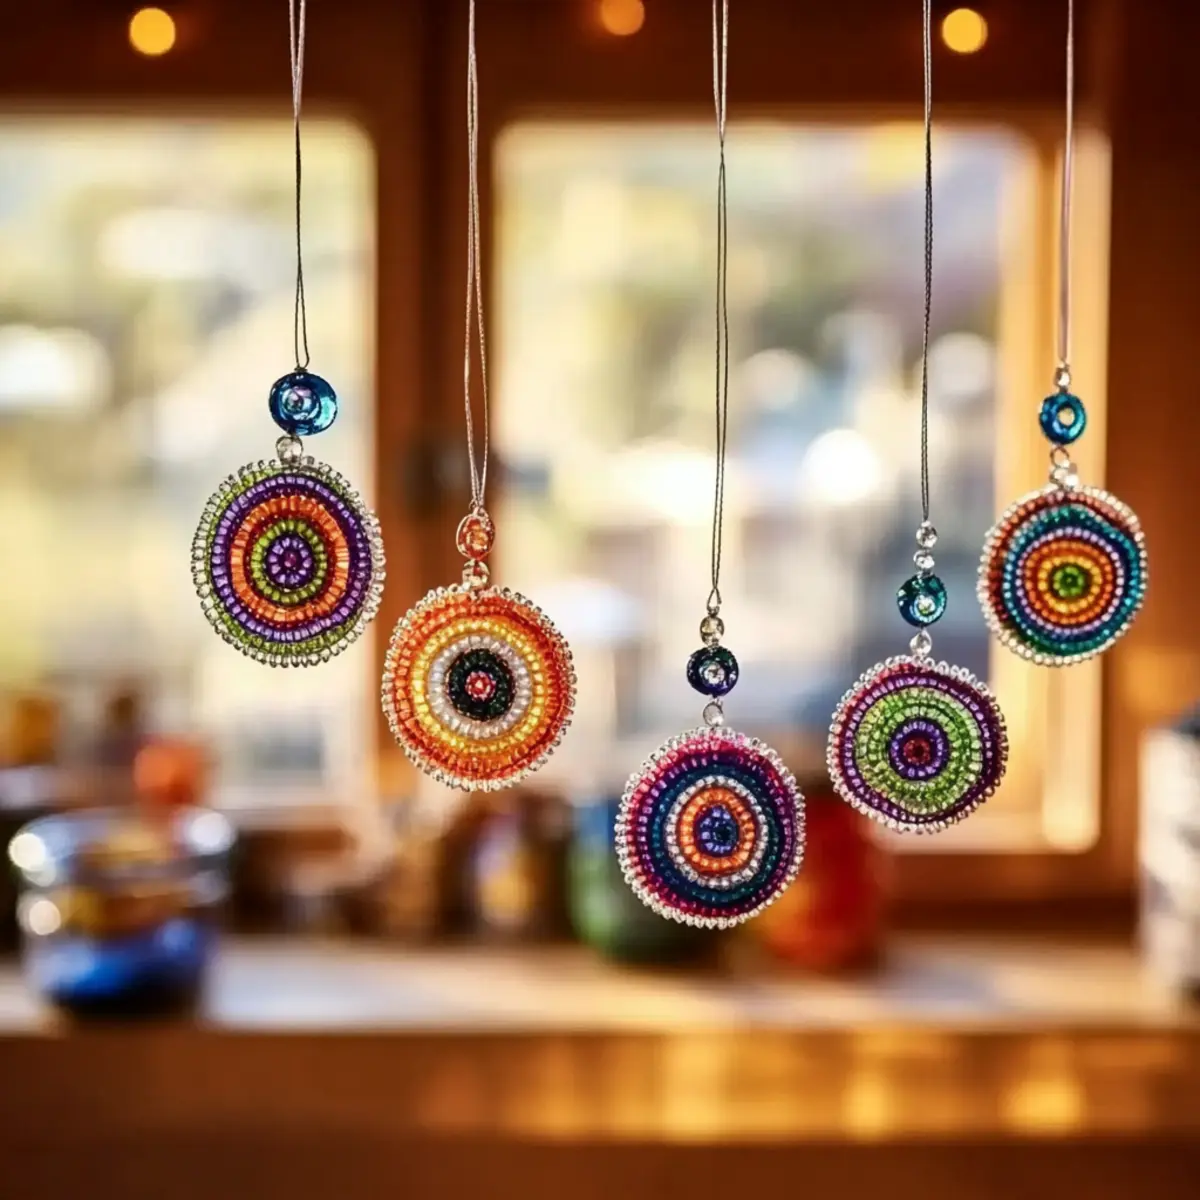
As I rummaged through my craft supplies, the vibrant array of translucent pony beads caught my eye, instantly sparking my creativity. There's something truly delightful about transforming simple materials into something magical, and these Cool Beads Suncatchers do just that! Whether you're looking for an engaging weekend project with the kids or a fun way to breathe new life into your home decor, this craft is perfect for all ages. The way these suncatchers shimmer in the sunlight is reminiscent of stained glass, adding a cheerful pop of color to any garden or window. Plus, each creation can be entirely unique, allowing little hands to design their own dazzling patterns. So, gather the family, and let's dive into this fun-filled, colorful project that's bound to spark joy and creativity!
Why will you adore Cool Beads Suncatchers?
Endless Creativity: This craft encourages imagination, letting kids design unique patterns.
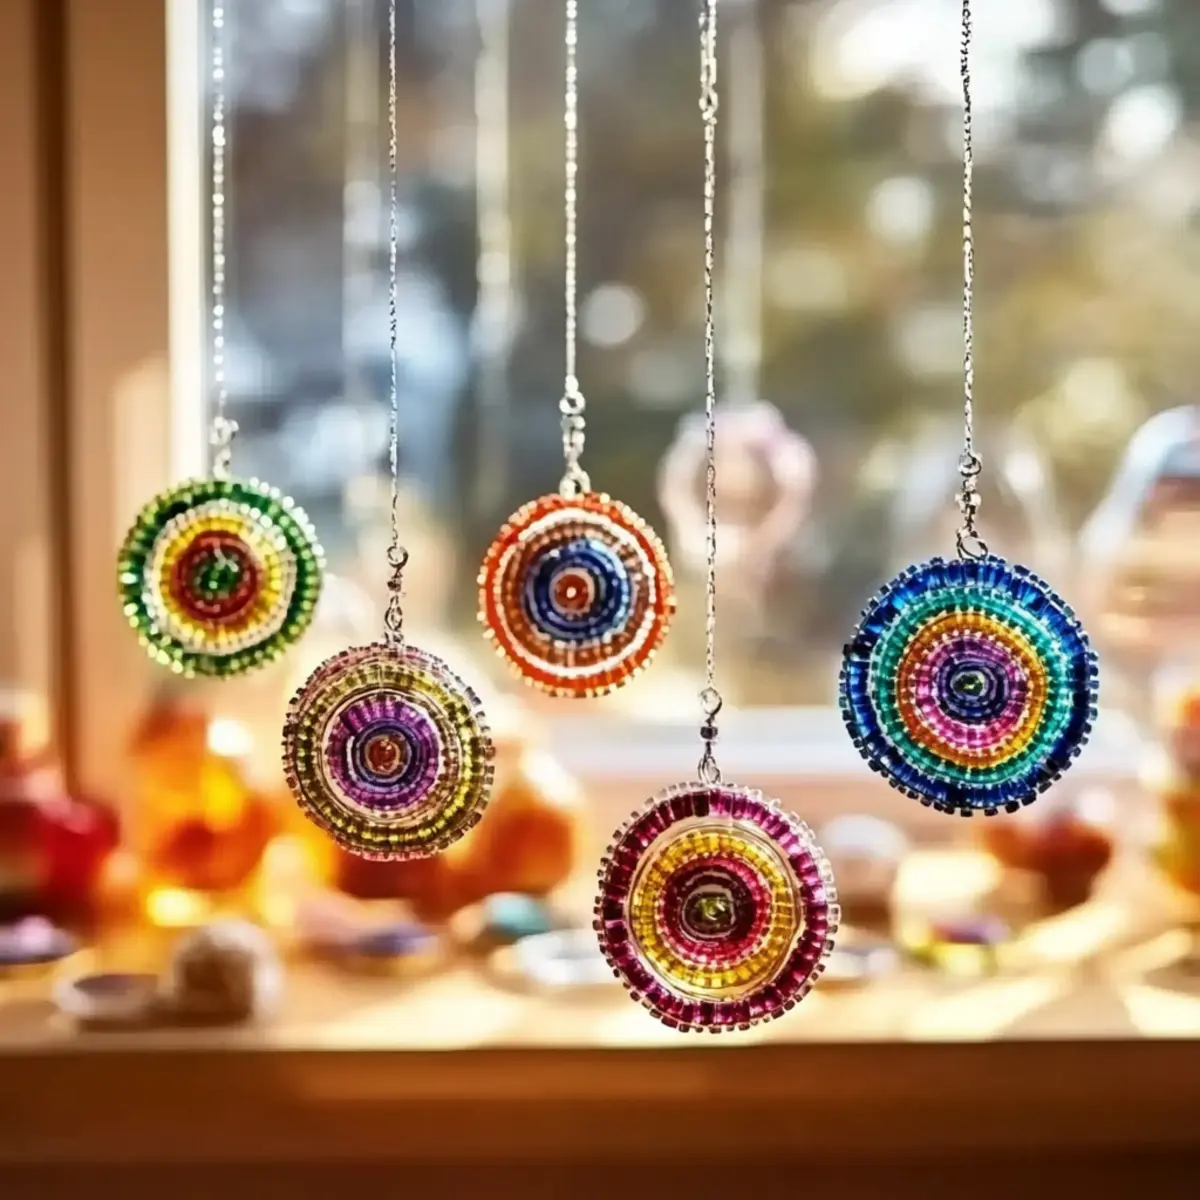
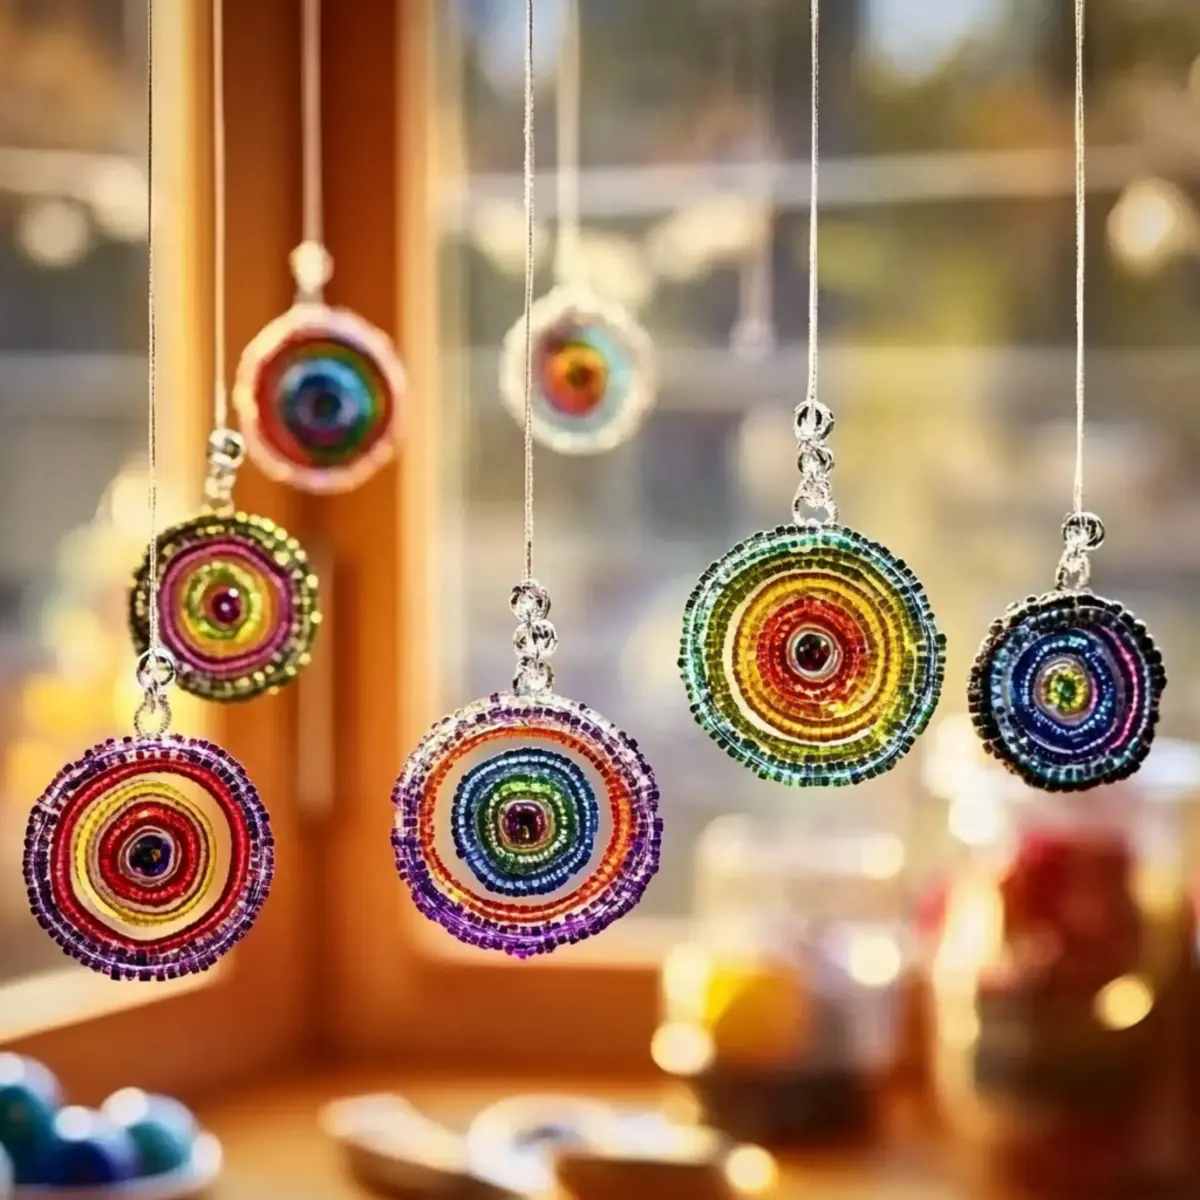
Vibrant Colors: Translucent beads beautifully catch sunlight, creating magical displays.
Family Fun: It's an engaging project that brings joy for all ages at home.
Simple Supplies: With just a few materials, you can whip up these delightful suncatchers in no time.
Versatile Designs: Different molds allow for seasonal themes, keeping the craft fresh.
Great for Gifting: These personalized suncatchers make wonderful handmade gifts for friends and family.
Cool Beads Suncatchers Ingredients
Create stunning Cool Beads Suncatchers with these easy-to-find materials that make crafting a delight!
- Translucent plastic pony beads (assorted colors): The star of this project-choose vibrant colors to ensure a bright finish for your suncatchers.
- Foil-lined baking sheet: This will prevent sticking and make it easier to remove your creations once baked.
- Metal baking molds (muffin tins, cookie cutters, mason jar lids): Use these to shape your suncatchers into fun designs-feel free to personalize based on what's available!
- Nonstick spray (optional): A quick spray helps the suncatchers release easily from the molds, ensuring they come out intact.
- String, fishing line, or ribbon: Perfect for hanging your finished suncatcher, adding a lovely decorative touch.
- Glitter beads: If you want that extra sparkle, these optional beads will dazzle and enhance the visual appeal.
- Glow-in-the-dark pony beads: Add a magical twist for nighttime allure that kids will adore!
Whether you're a crafty parent or a hands-on grandparent, these ingredients will set the stage for a fun-filled crafting session. Let's bring some colorful magic into your home!
How to Make Cool Beads Suncatchers
-
Preheat the Oven: Begin by preheating your oven to 400°F. Make sure the area is well-ventilated, as a little fresh air can make your crafting experience more pleasant.
-
Prepare Baking Sheet and Molds: Line a baking sheet with foil, which will prevent sticking. Place your metal baking molds or cookie cutters on top, ready to be filled with colorful beads.
-
Layer Beads: Let the creative fun begin! Layer your translucent pony beads in different colors within the molds. Encourage kids to express their creativity by designing their own dazzling patterns.
-
Add Glitter Beads (Optional): For an extra touch of sparkle, sprinkle some glitter beads into the design. For a magical night display, consider adding glow-in-the-dark beads to the mix!
-
Bake: Slide the baking sheet into the oven and bake for approximately 25 minutes. Keep an eye on them, watching for that glossy finish-indicating the beads have melted together beautifully.
-
Cool and Remove: Once done, allow the suncatchers to cool completely. Carefully take them out of the molds once they are firm to touch.
-
Finish and Hang: To complete your project, attach string, fishing line, or ribbon to your suncatchers for hanging. They're now ready to brighten up your garden or window!
Optional: Add a dash of nature by hanging your suncatchers where they can catch the breeze and sunlight.
Exact quantities are listed in the recipe card below.
Cool Beads Suncatcher Variations
Invite your creativity to flourish by trying out these delightful twists on your suncatchers.
-
Seasonal Shapes: Use cookie cutters in autumn leaf, winter snowflake, or spring flower shapes to match the season and keep your decor lively.
-
Metallic Beads: Incorporate metallic or marbled pony beads for a sophisticated, shimmering look that adds depth to your designs.
-
Glow-in-the-Dark Twist: Mix in glow-in-the-dark beads for enchanting nighttime displays that will captivate both kids and adults alike.
-
Themed Collections: Design suncatchers based on themes, like ocean creatures or favorite animals, letting kids create their mini art galleries.
-
Clear Beads: Replace some colored beads with clear translucent beads to allow more light to pass through, enhancing the brightness of the final piece.
-
Personalized Letters: Use alphabet-shaped molds and spell out names or fun words, creating custom gifts for friends or family.
-
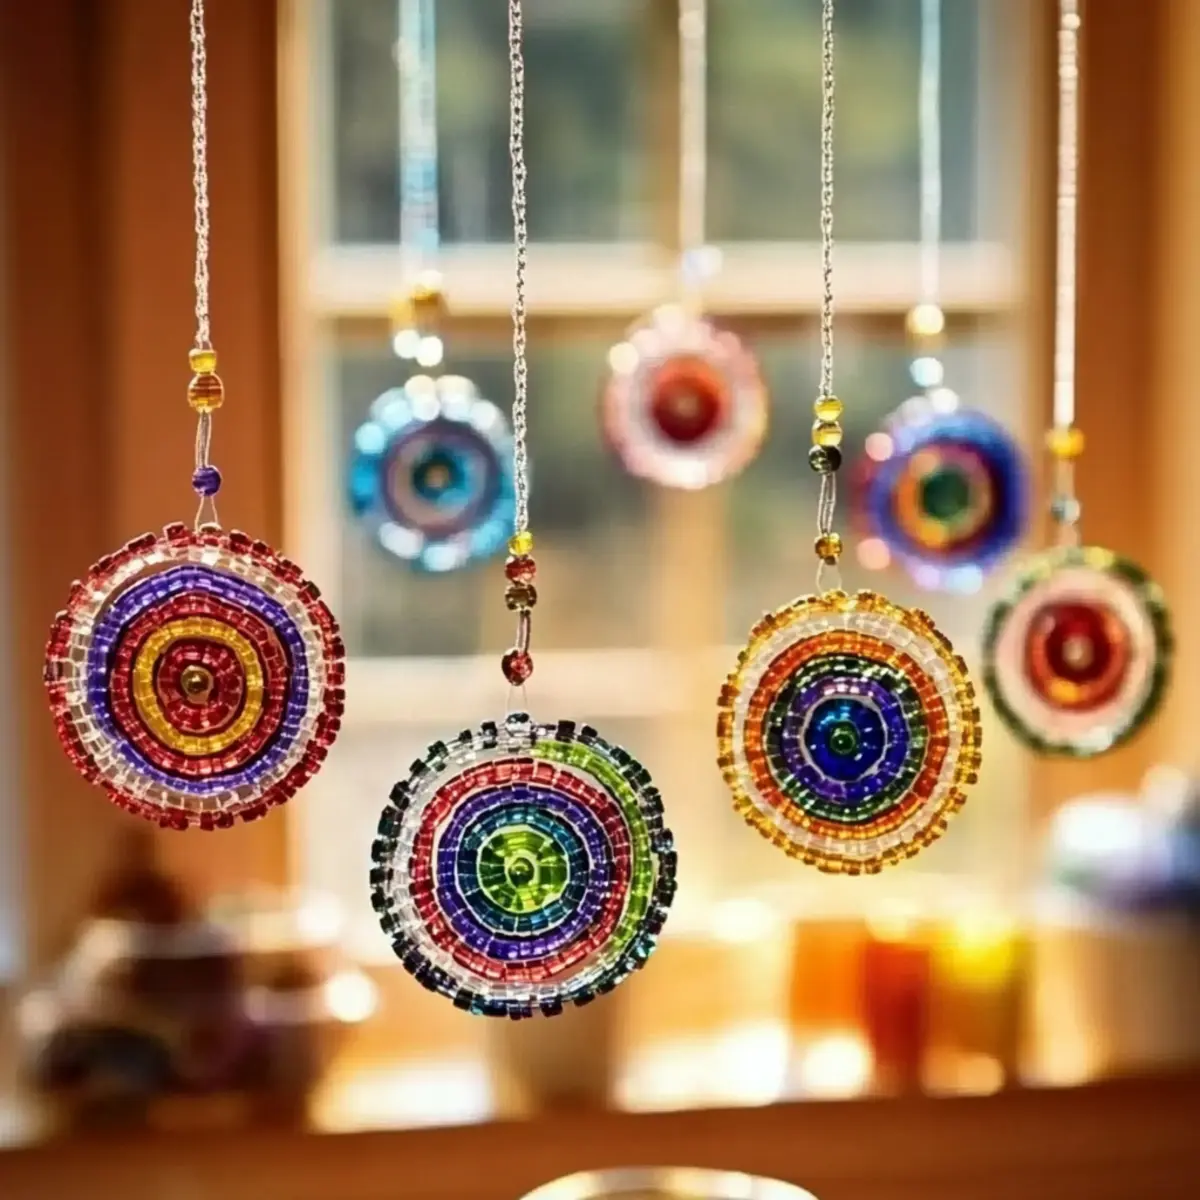
Layered Designs: Instead of a single layer of beads, try adding layers of varying colors for a striped or gradient look that's simply eye-catching.
-
Nature-Inspired Elements: Fill the molds with small leaves or flower petals between the beads for a natural touch, providing a beautiful organic aesthetic.
What to Serve with Cool Beads Suncatchers?
Creating enchanting suncatchers is not only colorful but also a delightful way to brighten your environment and bring the family together.
-
Sunshine Tea: This refreshing drink complements the bright colors of your suncatchers, bringing a touch of zest to your crafting afternoon.
-
Fruit Skewers: A mix of vibrant fruits not only provides a healthy snack but also visually mirrors the colorful palette of your suncatchers.
-
Artistic Aprons: Dress up the kids in fun, colorful aprons that echo the project, sparking creativity and adding a playful element to your crafting session.
-
Crafty Playlist: Set the crafting mood with lively music; a fun playlist enhances the atmosphere and keeps the energy high as everyone creates together.
-
Colorful Cupcakes: Bake or buy rainbow cupcakes that serve as a whimsical treat, perfectly aligning with the vibrant theme of your DIY project.
-
Picnic Blanket: If crafting outdoors, lay out a cheerful blanket for snacks and refreshments; it creates a cozy space for creativity and community.
-
Outdoor Games: Consider a quick break for some fun games outside, allowing the kids to release their energy before diving back into decorating their suncatchers.
How to Store and Freeze Cool Beads Suncatchers
Room Temperature: Keep your suncatchers in a cool, dry place away from direct sunlight to preserve their colors and prevent warping. They can last for several months this way.
Fridge: For extra longevity, you can store them in the refrigerator, which helps maintain their vibrant appearance. Just ensure they're in a sealed container to prevent moisture.
Freezer: Although freezing isn't necessary, if you choose to do so, wrap each suncatcher individually in tissue paper and place them in a freezer-safe bag. They can be frozen for up to 6 months without any issues.
Display Tips: To enjoy your Cool Beads Suncatchers fully, hang them where they can sway gently in the breeze and catch the sunlight, creating a beautiful display in your home or garden.
Make Ahead Options
These Cool Beads Suncatchers are perfect for busy home cooks looking to save time during craft sessions! You can prep your molds with layered translucent beads up to 24 hours in advance, simply cover them with plastic wrap to maintain freshness. Once you're ready to create, just pop them into a preheated oven at 400°F and bake for about 25 minutes until they're beautifully melted and glossy. To ensure the finished suncatchers remain vibrant, store them in a cool, dry place out of direct sunlight until you're ready to hang them. With these make-ahead options, you'll enjoy a seamless crafting experience that can bring creativity into your home without the hassle!
Expert Tips for Cool Beads Suncatchers
-
Choose Translucent Beads: Use only translucent pony beads to achieve that vibrant, sun-catching effect that makes your suncatchers shine.
-
Mind Your Mold Space: Avoid overcrowding molds; the beads expand when heated. Leave adequate space for them to meld together without overflowing.
-
Keep a Close Eye: Watch your suncatchers closely while they bake. Ovens can vary, and you want to ensure they don't burn; look for a glossy finish to indicate they've melted properly.
-
Experiment with Designs: Encourage creativity by using different molds or patterns. Seasonal or themed shapes can keep this craft fresh and exciting for repeat projects.
-
Secure Your Hangers: When attaching string or ribbon for hanging, ensure it's secure so your suncatchers can sway gracefully in the breeze.
Cool Beads Suncatchers Recipe FAQs
What type of pony beads should I use for suncatchers?
Absolutely go for translucent plastic pony beads! These colorful beads are designed to catch sunlight beautifully, creating a stunning effect reminiscent of stained glass. Avoid using opaque beads as they won't provide the same visual appeal.
How should I store my suncatchers after making them?
To store your suncatchers, keep them in a cool, dry place, away from direct sunlight. They can last for several months this way. If you want extra protection, consider placing them in a sealed container in the refrigerator, which can help maintain their vibrant colors.
Can I freeze my Cool Beads Suncatchers?
Yes, you can freeze your suncatchers if necessary! Wrap each one in tissue paper and place them in a freezer-safe bag. They can be stored this way for up to 6 months. When ready to use, allow them to thaw at room temperature before displaying them.
What should I do if my beads didn't melt properly?
If your suncatchers didn't melt properly, it could be due to oven temperature or overcrowding the molds. Make sure your oven is preheated to 400°F and always leave some space between the beads in the molds. If they're still not melting after 25 minutes, return them to the oven for a few more minutes but keep a close eye on them to avoid burning.
Are these suncatchers pet-friendly?
While the materials used are non-toxic, it's best to keep the finished suncatchers out of reach of pets. Some pets might be curious and try to chew on them, which can lead to ingestion of non-food items. Consider displaying them high up or in areas where pets can't access them.
Can I use different molds for my suncatchers?
Very! Feel free to get creative with different molds. Muffin tins, cookie cutters, or even mason jar lids can all be excellent choices for customizing your suncatchers. Enjoy experimenting with seasonal shapes like stars for summer or leaves for autumn to match the time of year!
Craft Bright Cool Beads Suncatchers: A Colorful DIY Delight!
Equipment
- Oven
- baking sheet
- Metal baking molds
- foil
- Nonstick spray
Ingredients
Crafting Ingredients
- 1 bag Translucent plastic pony beads (assorted colors) Choose vibrant colors for a bright finish.
- 1 sheet Foil-lined baking sheet Prevents sticking.
- 1 set Metal baking molds (muffin tins, cookie cutters, mason jar lids) For shaping the suncatchers.
- 1 spray Nonstick spray (optional) Helps release suncatchers from molds.
- 1 roll String, fishing line, or ribbon For hanging the finished suncatcher.
- 1 bag Glitter beads Optional for extra sparkle.
- 1 bag Glow-in-the-dark pony beads Optional for nighttime allure.
Instructions
Suncatcher Steps
- Preheat the oven to 400°F, ensuring the area is well-ventilated.
- Line a baking sheet with foil and place the metal molds or cookie cutters on top.
- Layer your translucent pony beads in different colors within the molds to create unique patterns.
- If desired, sprinkle glitter beads into the design for extra sparkle.
- Bake for approximately 25 minutes, watching for a glossy finish as an indicator.
- Allow the suncatchers to cool completely before carefully removing them from the molds.
- Attach string, fishing line, or ribbon for hanging the completed suncatchers.


Leave a Reply