When the sun shines brightly and the weekend stretches ahead, I can't resist diving into a fun DIY project-especially one that sparks joy and creativity. That's how I stumbled upon the enchanting world of Colorful Bouncy Balls: a delightful science craft that's not only perfect for kids but also a whimsical escape for adults like me. Picture this: mixing glue, borax, and vibrant food coloring to create bouncy wonders right in your kitchen!
This simple yet engaging activity is more than just a craft; it's a hands-on lesson in polymers while igniting imaginations with every colorful sphere. The process is incredibly satisfying, as each vibrant ball forms under your fingers and springs back to life with an energetic bounce. Whether you decide to color-code each ball or mix hues for a stunning rainbow effect, the options are as endless as your creativity. Grab your ingredients and let's turn your kitchen into a playful lab, where both kids and adults can experience the magic of creating something beautiful together!
Why Are Colorful Bouncy Balls So Fun?
Versatile Fun: This DIY project is perfect for all ages, encouraging creativity while providing satisfying sensory play.
Engaging Learning: Kids dive into the science of polymers as they mix ingredients, making it educational and enjoyable.
Customizable Creations: Mix and match colors, add glitter, or even create a rainbow ball-your imagination is the limit!
Quick & Easy: With just a few simple ingredients, you can whip up these bouncy balls in no time, making it an ideal weekend activity.
Perfect for Groups: Great for parties or rainy day playdates, these colorful bouncy balls guarantee hours of entertainment!
Colorful Bouncy Balls Ingredients
Optional Note: Gather these simple ingredients to create your very own colorful bouncy balls!
For the Bouncy Ball Base
• Warm Water - Aids in dissolving borax; distilled water ensures clearer results.
• Borax Powder - Activates the glue to form a solid structure; essential for creating the bouncy texture.
• Clear Glue - Forms the base of the bouncy balls; can be substituted with white glue if desired.
For Colorful Creations
• Food Coloring or Liquid Watercolors - Adds vibrant colors to your balls; use any shade to personalize your fun!
With these Colorful Bouncy Balls ingredients, you're all set to embark on a delightful DIY science craft adventure!
How to Make Colorful Bouncy Balls
-
Prepare Water: In a bowl, pour ½ cup of warm water. This warm water will help dissolve the borax, creating a smooth solution for your bouncy balls.
-
Mix Borax: Add 1 tablespoon of borax powder to the warm water. Stir until completely dissolved, ensuring you have a clear borax solution ready for the next steps.
-
Divide Solution: Pour the borax solution into small cups-one for each color you plan to create. This way, you can mix and match colors to your heart's content!
-
Add Color: Into each cup, add your desired food coloring or liquid watercolors. Stir each mixture until the color is evenly distributed throughout the solution.
-
Measure Glue: In separate small containers, measure out 1-2 teaspoons of clear glue for each color. If you want a brighter shade, feel free to add a little more food coloring to the glue.
-
Combine Mixtures: Pour the colored glue into its corresponding borax cup. Stir gently until it starts to clump together, forming your bouncy ball's core.
-
Shape Balls: Carefully remove the clump from the cup. Gently squeeze it, then roll it between your palms to shape it into a ball that's about the size of a marble.
-
Adjust Stickiness: If the balls feel sticky while you're molding them, briefly dip them back into the borax solution to ease the shaping process.
-
Create Rainbow Balls: For a vibrant twist, press smaller colored balls together and roll them into one larger rainbow ball. This is where creativity truly shines!
-
Dry Time: Place your finished balls on parchment paper and let them dry for several hours. Once set, they will be ready for bouncing!
Optional: Add a sprinkle of glitter to the glue for a sparkly touch!
Exact quantities are listed in the recipe card below.
Colorful Bouncy Balls Variations
Unlock your creativity and take your colorful bouncy balls to the next level with these exciting twists!
-
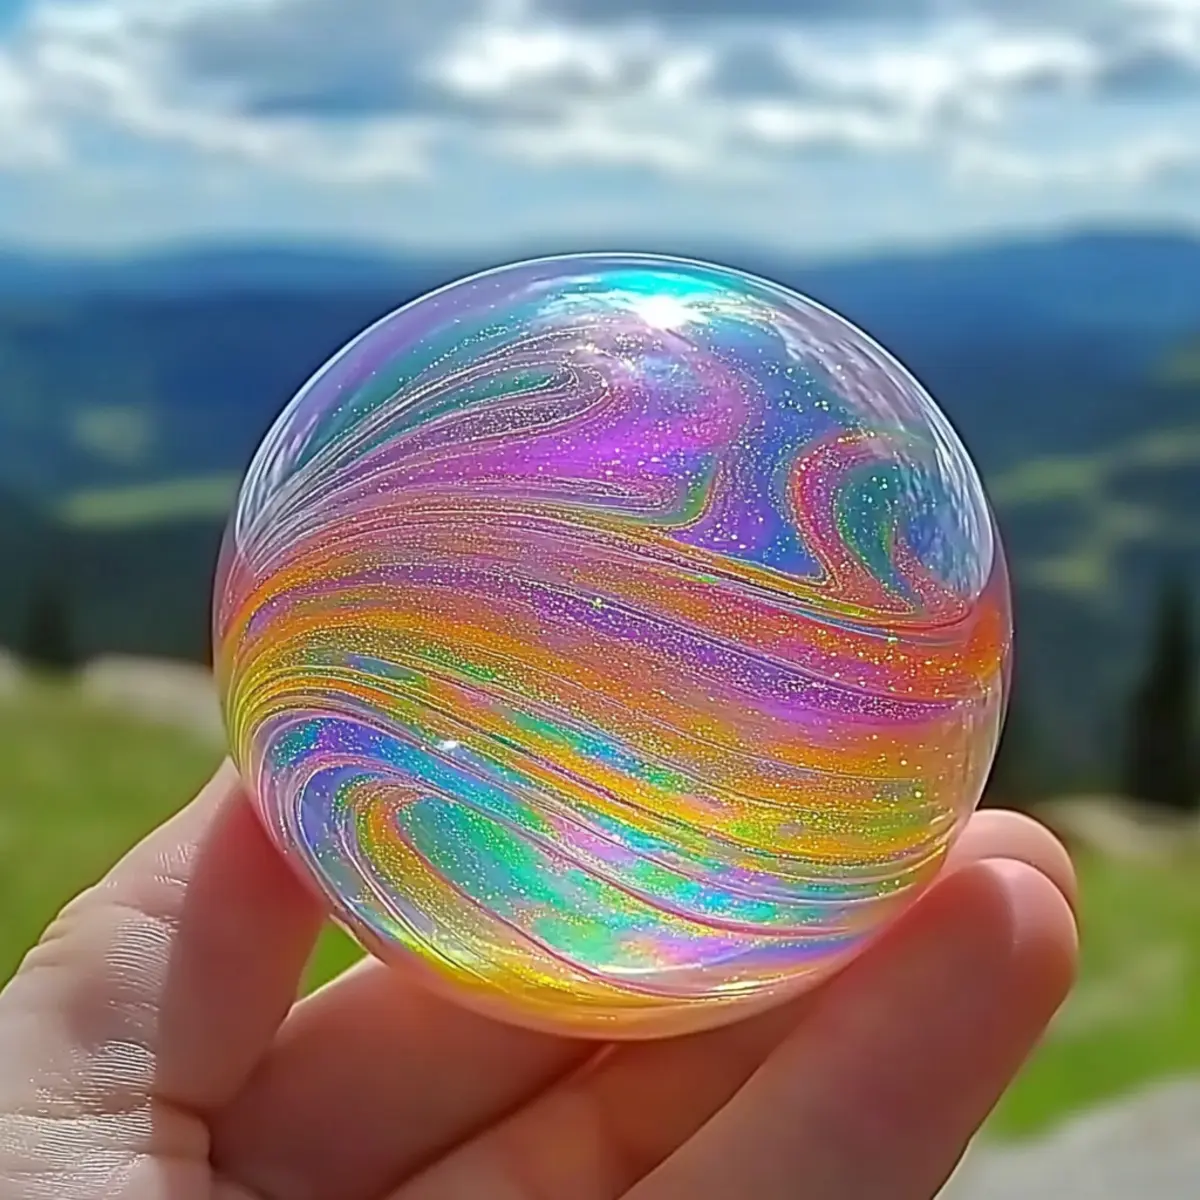
Glitter Balls: Add a pinch of glitter to your glue for sparkling bouncy balls that dazzle in the sunlight. Watching them shimmer will bring pure delight!
-
Flavored Fun: Mix in a few drops of flavored extract like mint or vanilla to create scented balls. The smell adds a layer of sensory fun during play.
-
Glow-in-the-Dark: Use glow-in-the-dark paint in place of food coloring for nighttime bouncy balls. These glowing creations will light up your evening adventures!
-
Texture Twist: Swap clear glue for tacky glue to create a softer, squishier ball. The different texture can lead to entirely new bouncing experiences.
-
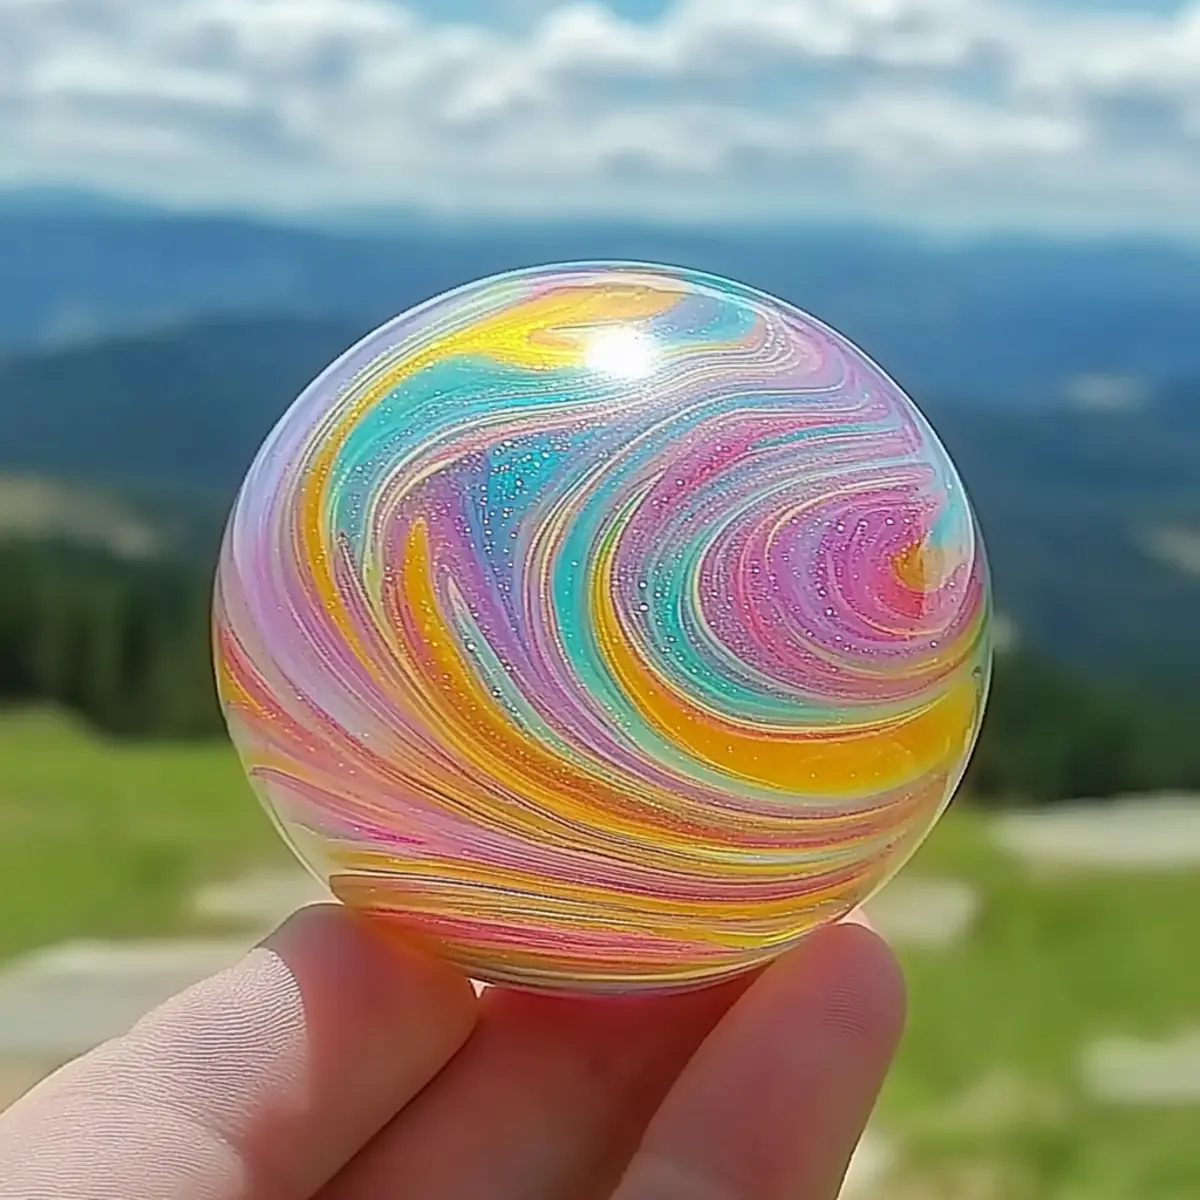
Rainbow Surprise: Instead of creating separate colors, try layering your colored glue solution to form a rainbow ball. Each bounce will reveal vibrant layers of color!
-
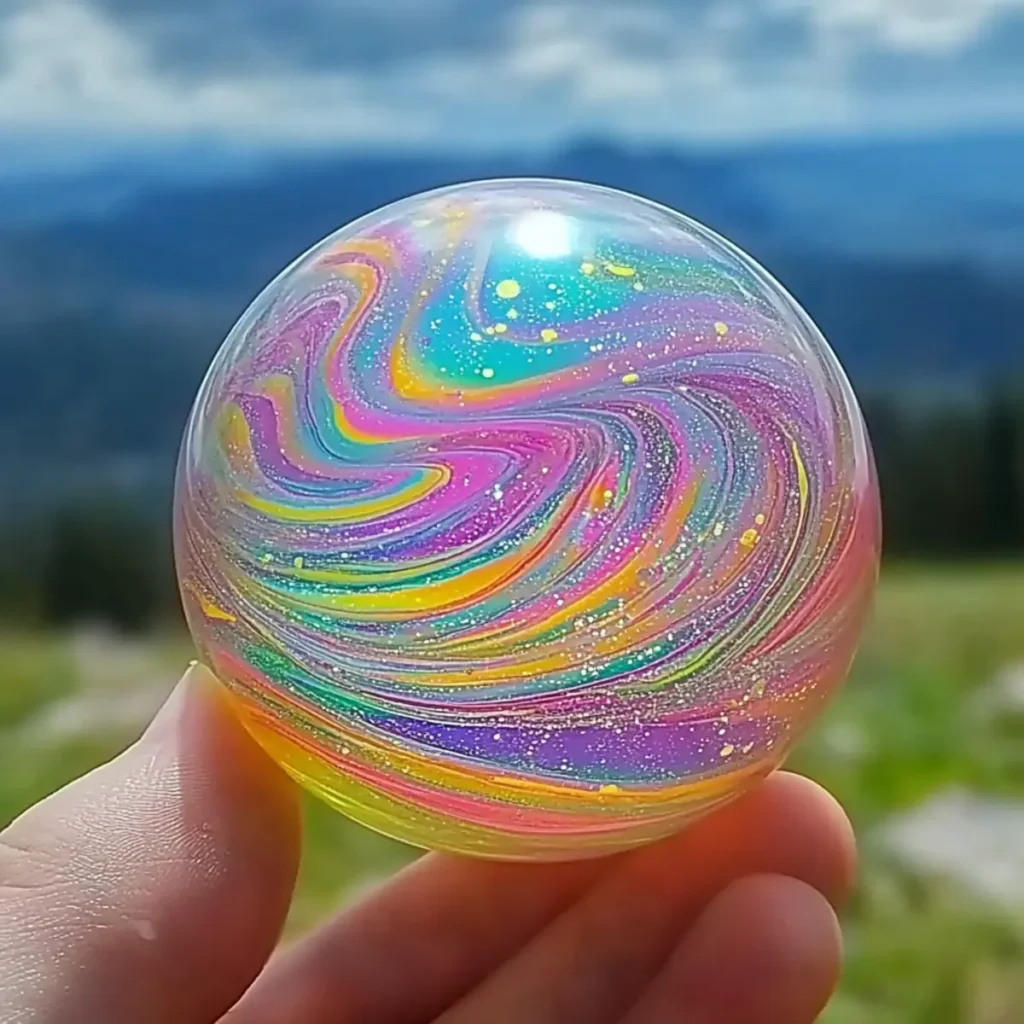
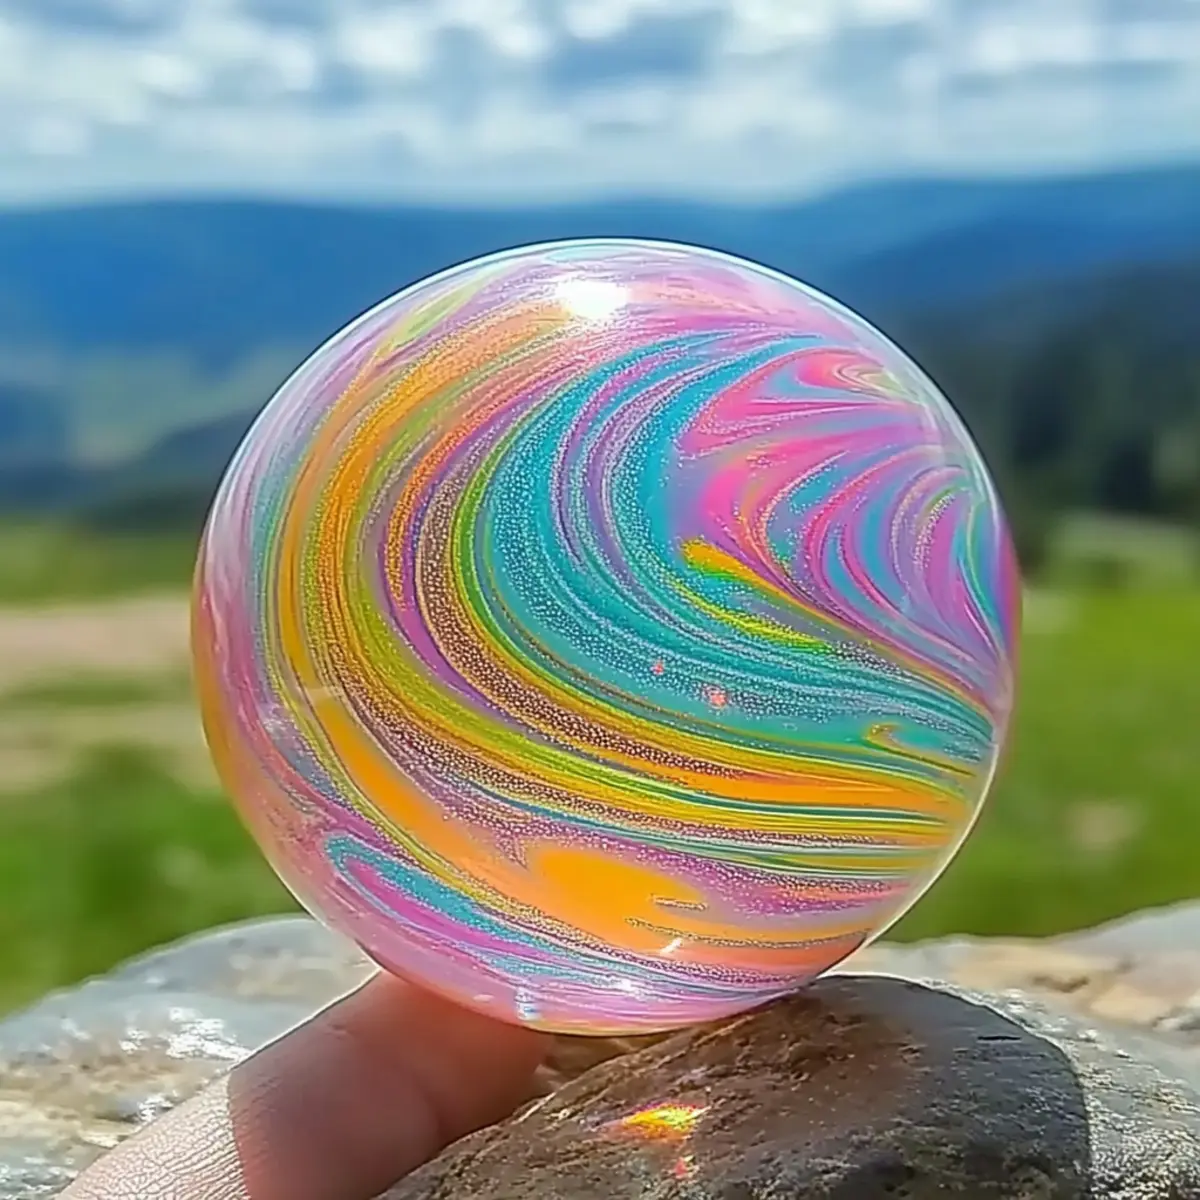
Marble Effect: Swirl two or three different colors together in the same cup for a marbled effect. This adds an artistic vibe to your bouncy balls that's visually stunning.
-
Larger Balls: Increase the glue and borax quantities to make giant bouncy balls. These larger counterparts will definitely take bouncing fun to a new level!
-
Mini Bouncy Balls: Use less glue and make small bouncy balls for intricate playsets. Kids will spend hours enjoying these tiny colorful wonders!
Make Ahead Options
Creating Colorful Bouncy Balls in advance is an excellent way to save time, especially for busy craft days. You can prepare the borax solution (1 tablespoon of borax dissolved in ½ cup of warm water) up to 24 hours ahead; simply store it in a sealed container. You can also measure out the clear glue (1-2 teaspoons per color) and add your chosen food coloring in advance-these can be kept in separate airtight containers for up to 3 days. When ready to finish your bouncy balls, just combine the prepped ingredients, mold them into balls, and let them dry for several hours. This way, you can enjoy crafting without the last-minute rush while still achieving those vibrant, bouncy results!
How to Store and Freeze Colorful Bouncy Balls
-
Room Temperature: Keep your colorful bouncy balls in a cool, dry place away from direct sunlight for short-term use. They can last up to 1 week this way.
-
Fridge: For longer-lasting bouncy balls, store them in an airtight container in the fridge. This can help retain their bounce for up to 2 weeks.
-
Freezer: While freezing isn't recommended, if you must, place the bouncy balls in a freezer-safe bag. They can be kept for up to a month, but be cautious of thawing them to preserve their texture.
-
Reheating: If the balls become sticky after storage, allow them to come to room temperature before using. This will help re-establish their fun bouncy texture!
What to Serve with Colorful Bouncy Balls?
Creating these vibrant bouncy balls is a joyful experience, perfect for livening up playtime at home or in the classroom.
- Creative Crafts Station: Set up a colorful crafting area with additional art supplies, allowing kids to explore their creativity and make bouncy balls with custom designs.
- Outdoor Play Area: These bouncy balls are perfect for outdoor fun; pair them with an open way for endless bouncing and running games that keep kids entertained for hours.
- Party Favors: Pack the finished colorful bouncy balls in cute bags as fun party favors for guests to take home, adding a personal touch to any celebration.
- Sensory Play Bin: Combine the bouncy balls with various textures like sand and water beads in a sensory play bin to engage kids' senses and enhance their play experience.
- Family Game Night: Incorporate these vibrant creations into your family game night, designing simple obstacle courses or "bouncing" contests to spark friendly competition.
- Kids' Science Corner: Utilize the bouncy balls to facilitate discussions about polymers and other scientific concepts, encouraging learning through hands-on engagement.
- Artistic Collaborations: Mix in some paint and other arts and crafts supplies to create a collaborative art piece that celebrates everyone's unique bouncy ball creation!
Expert Tips for Colorful Bouncy Balls
-
Dissolve Completely: Ensure that the borax powder is fully dissolved in warm water for maximum effectiveness in activating the glue.
-
Experiment with Texture: Different types of glue can yield unique textures; try white glue for a softer ball or add glitter for extra sparkle.
-
Mind the Stickiness: If your bouncy balls are sticky during shaping, don't hesitate to re-dip them briefly into the borax solution for smoother handling.
-
Drying Time Matters: Allow ample drying time on parchment paper; this enhances their bounciness and ensures they hold their shape beautifully.
-
Mix Colors Boldly: Get creative by mixing colors in the borax solution for a unique effect that makes your Colorful Bouncy Balls truly one-of-a-kind!
Colorful Bouncy Balls Recipe FAQs
What type of glue should I use for the Colorful Bouncy Balls?
You can use either clear glue or white glue for this recipe. Clear glue gives a smoother finish, while white glue can add a bit more thickness. Experimenting with different glues might yield some interesting textures, too!
How should I store my Colorful Bouncy Balls?
To maintain their bounciness, store your bouncy balls in an airtight container in a cool, dry place away from sunlight. If refrigerated, they can stay fresh for up to 2 weeks. However, they tend to last about a week at room temperature before losing their elasticity.
Can I freeze the bouncy balls?
Freezing is not often recommended for bouncy balls, but if you choose to do so, place them in a freezer-safe bag and keep them for up to a month. When ready to use, let them thaw at room temperature to restore their shape and texture.
What if my balls are sticky after mixing and shaping?
Stickiness can happen. If the balls feel overly sticky, simply dip them back into the borax solution for a brief moment while you shape them. This helps create a smoother surface. If you find they still won't hold together, consider checking the ratios-ensuring equal parts of glue and borax solution often solves this.
Are Colorful Bouncy Balls safe for children?
Absolutely! However, be aware of any allergies to the ingredients. Supervise younger kids, especially if they have sensitive skin or are prone to putting things in their mouths, as some components might not be safe for ingestion. Also, avoid using any non-toxic glitter if creating sparkly bouncy balls.
What can I do to make my Colorful Bouncy Balls more vibrant?
For vibrant colors, don't hesitate to add a little extra food coloring to your glue before combining it with the borax solution. Swirling multiple colors together in one mold can create stunning effects, resulting in one-of-a-kind, eye-catching bouncy balls!
Colorful Bouncy Balls: The Joyful DIY Science Craft Adventure
Equipment
- bowls
- Cups
- spoon
- Containers
- Parchment Paper
Ingredients
For the Bouncy Ball Base
- 0.5 cups Warm Water Use distilled water for clearer results.
- 1 tablespoon Borax Powder Essential for creating the bouncy texture.
- 1-2 teaspoons Clear Glue Can substitute with white glue if desired.
For Colorful Creations
- As desired Food Coloring or Liquid Watercolors Adds vibrant colors to your bouncy balls.
Instructions
Making the Colorful Bouncy Balls
- In a bowl, pour ½ cup of warm water to help dissolve the borax.
- Add 1 tablespoon of borax powder to the warm water and stir until completely dissolved.
- Pour the borax solution into small cups for each color you plan to create.
- Add food coloring or liquid watercolors to each cup and stir until evenly distributed.
- In separate containers, measure out 1-2 teaspoons of clear glue for each color.
- Pour the colored glue into its corresponding borax cup and stir gently until clumping occurs.
- Remove the clump from the cup, shape it into a ball about the size of a marble.
- If sticky, briefly dip back into the borax solution to ease shaping.
- Press smaller colored balls together to create one larger rainbow ball.
- Place finished balls on parchment paper and let dry for several hours.


Leave a Reply