
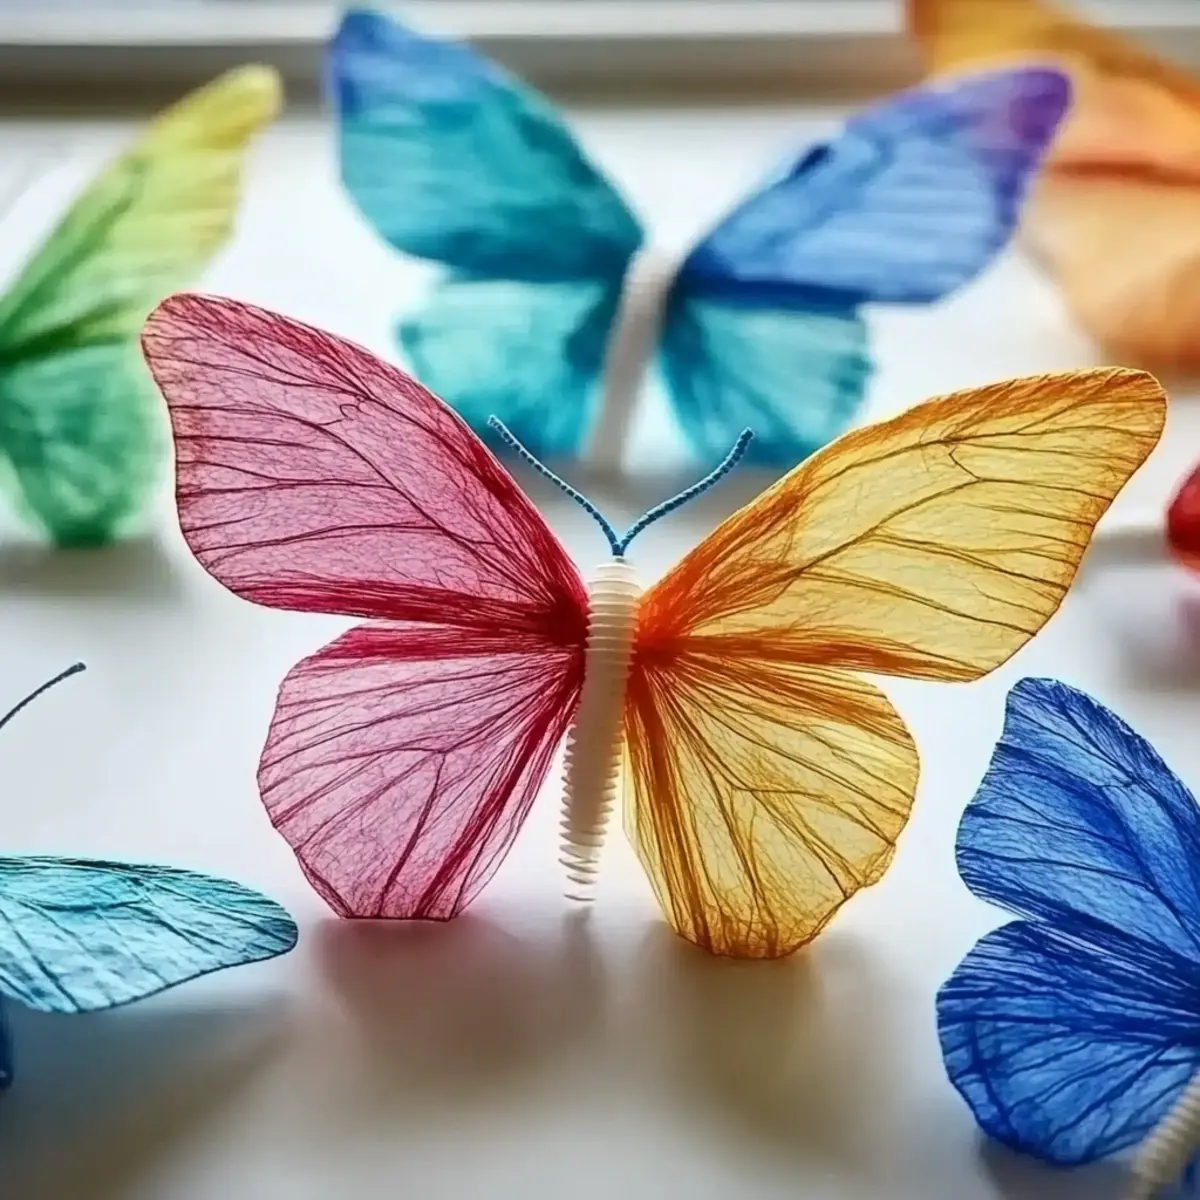
As summer approaches, the backyard transforms into a playground of colors and creativity. I couldn't help but channel the vibrant hues of blooming flowers and fluttering butterflies into a fun project that combines science with art-enter the Chromatography Coffee Filter Butterflies! This delightful activity not only brightens up any crafting day but also introduces kids to the magic of color mixing and chromatography.
With just a few everyday materials, your children will dive into a world of imagination, transforming simple coffee filters into delicate, eye-catching butterflies. The moment they watch the colors blend and bloom is truly magical-a sensory experience that sparks joy and curiosity. Trust me, this project is perfect for family gatherings, rainy afternoons, or even as a colorful decoration for their next party!
Ready to embark on this creative adventure? Let's gather our supplies and get those little hands busy crafting some fluttery masterpieces!

Why love Chromatography Coffee Filter Butterflies?
Imagination Unleashed: This craft combines science and art, providing a stimulating experience that piques children's curiosity.
Vibrant Results: The colors blend beautifully, creating striking butterflies that add cheer to any space.
Easy Setup: With only a few materials, the preparation is a breeze-perfect for busy parents!
Educational Value: Kids will learn about chromatography in a fun, hands-on way while honing their crafting skills.
Endless Variations: From glitter to personalized messages, the creative possibilities are boundless-let imaginations soar!
Looking for more fun kids' activities? Check out our delightful children's crafts collection!
Ingredients for Chromatography Coffee Filter Butterflies
For the Butterflies
• White Coffee Filters - A must-have base; choose unbleached for richer colors when dyeing.
• Washable Markers - Essential for coloring the filters; vibrant hues create stunning designs.
• Spray Bottle or Pipettes - Used to apply water; key for activating the colors and seeing them blend.
• Pipe Cleaners - Perfect for forming the butterfly body and antennae; easy to twist and shape.
Optional Decorations
• Googly Eyes - Add a playful touch to your butterflies; ideal for an extra bit of personality.
• Glitter - Allows for sparkly embellishments; perfect for making your butterflies stand out.
• Stickers - Great for personal touches; let your children express their creativity with fun designs.
How to Make Chromatography Coffee Filter Butterflies
-
Color the Filters: Start by using washable markers to create vibrant patterns on the coffee filters. Let your kids explore their creativity with different designs and colors!
-
Wet the Filters: Lightly spray or use pipettes to apply water to the colored filters. This step is crucial for activating the colors and watching them beautifully bleed and blend together.
-
Dry the Filters: Carefully place the wet filters onto a baking sheet or tray, ensuring they lay flat. Let them dry completely-this should take about 30 minutes-so they hold their shape and colors.
-
Assemble the Butterfly: Once dried, gently pinch the middle of the filter and secure it with a pipe cleaner to form the butterfly's body. Shape the wings to create a lovely butterfly effect!
-
Decorate: Now it's time for the fun part! Use optional items like googly eyes, glitter, or stickers to personalize and give life to your butterflies. Get creative with your decorations!
Optional: Add a sprinkle of glitter for an extra sparkle in your butterfly creations.
Exact quantities are listed in the recipe card below.
Variations & Substitutions for Chromatography Coffee Filter Butterflies
Feel free to get creative and personalize this delightful craft project in a way that reflects your child's unique style and imagination!
-
Monochrome Magic: Use filters in just one color and see surprising shades emerge after spraying water.
-
Sparkle & Shine: Add glitter glue to the colored filters before wetting them for an extra twinkle in your butterflies.
-
Metallic Twist: Swap regular markers for metallic ones to create butterflies that shimmer in the light-wow!
-
Textured Feel: Incorporate different materials like tissue paper or fabric scraps to add depth and texture to your butterflies.
-
Message Wings: Let kids write names, quotes, or wishes on the filters before assembly; it makes each butterfly truly special.
-
Theme Colors: Align colors with a season or holiday, using pastels for spring or warm hues for autumn for a festive touch.
-
Mixed Media Fun: Encourage the use of stamps, stickers, or washi tape to embellish the butterflies and offer a mixed-media experience.
-
Nature Inspired: Incorporate leaf prints or nature patterns to celebrate the beauty of the outdoors and make each butterfly unique!
Embrace these variations and let your crafting adventures lead you to beautiful, one-of-a-kind creations!
Make Ahead Options
These Chromatography Coffee Filter Butterflies are perfect for busy home cooks looking to save time while engaging their kids in creative fun! You can prepare the colored filters up to 24 hours in advance by coloring them and lightly spraying with water to activate the colors. Once wet, lay them flat to dry on a baking sheet; this step helps maintain their vibrant appearance. After they are completely dry, store them between sheets of parchment paper to avoid any shifting or damage. When you're ready to assemble, simply pinch the Filter and secure it with a pipe cleaner, then let the kids add decorations right before showing off their beautiful butterflies. Enjoy the satisfaction of an organized craft session with these helpful make ahead options!
Storage Tips for Chromatography Coffee Filter Butterflies
-
Flat Storage: Keep completed butterflies flat in a large envelope or a shallow box to prevent crushing and maintain their wing shape.
-
Avoid Humidity: Store in a cool, dry place away from humidity to preserve the vibrancy and appearance of the colors.
-
Display Option: Consider hanging them with clothespins on a string for a delightful display, but remember to keep them in a protected area to avoid damage.
-
Longevity: If stored properly, your Chromatography Coffee Filter Butterflies can last for months, bringing joy and color to your home!
Expert Tips for Chromatography Coffee Filter Butterflies
-
Color Selection: Start with bold, vibrant colors that blend well. Avoid overly light colors, as they may not show up after activation.
-
Water Application: Don't oversaturate the filters when spraying water; a light mist is enough to activate the colors without causing them to run too much.
-
Drying Time: Ensure filters are completely dry before handling. This maintains their shape and supports the vivid coloration you achieve during the crafting process.
-
Supervision Required: Always supervise children during the project, especially when using water and markers, to prevent messes and ensure safety.
-
Experimentation: Encourage kids to try different designs, including monochrome filters. It'll surprise them to see hidden colors emerge after spraying!
What to Serve with Chromatography Coffee Filter Butterflies?
These whimsical crafts are not only a joy to create but also perfect for adding a splash of color to any space!
-
Colorful Party Treats: Bright, fruity snacks like rainbow fruit skewers are as vibrant as your butterflies and delightfully refreshing.
-
Craft-Themed Beverages: Serve colorful fruit punch or lemonade to quench thirst while keeping the party atmosphere cheerful.
-
Educational Fun: Pair with books about butterflies or science experiments, extending the learning beyond the craft table.
-
Nature Walks: After crafting, take a stroll outside to spot real butterflies; inspire children with nature and ignite their curiosity.
-
Friendly Music Vibes: Set a joyful tone with fun, upbeat music in the background-perfect for keeping spirits high while crafting!
-
Decorative Displays: Use the butterflies as unique party decorations, hanging them around the gathering space to enhance the festive ambiance.
Let the creativity burst forth with every colorful creation, making memories and sharing laughter along the way!

Chromatography Coffee Filter Butterflies Recipe FAQs
How do I choose the right coffee filters for this craft?
Absolutely, I recommend using unbleached white coffee filters as they tend to absorb colors better, resulting in more vibrant hues. The basket-style filters also offer better structure for shaping your butterflies.
How should I store the completed butterflies?
To keep your Chromatography Coffee Filter Butterflies looking their best, store them flat in a large envelope or shallow box. This prevents any crushing and maintains their wing shape. Ensure they are kept in a cool, dry place, and avoid humidity to preserve their vibrant colors for up to several months.
Can I freeze the butterflies for long-term storage?
Freezing isn't recommended for these butterflies, as the moisture might damage their delicate structure. Instead, follow the flat storage method to keep them intact. If you want to keep their colorful display longer, consider using a resealable plastic bag, laying them flat inside but noting they shouldn't be frozen.
What should I do if the colors don't bleed properly?
If the colors aren't bleeding as they should, check your water application-it's important to use a light mist without oversaturating the filters. If they still don't bleed enough, try using bolder markers or allow them to dry completely before spraying lightly again. It may take practice to get the right balance, so don't hesitate to experiment!
Is this activity safe for younger children?
Very! However, supervision is required, especially when using water and markers. Ensure that younger children use washable markers and that the workspace is covered to avoid messes. This fun craft can be an excellent way to teach them about color mixing and creativity safely.
Can I add other materials to personalize the butterflies?
Absolutely! The more, the merrier! You can use googly eyes, glitter, or stickers for personal touches. Encourage your kids to express their creativity in whichever way they like. Letting them add their names or little wishes on their butterflies can also make the project a cherished keepsake.

Colorful Chromatography Coffee Filter Butterflies: Easy Fun for Kids
Equipment
- Spray Bottle
- Pipettes
- baking sheet
Ingredients
For the Butterflies
- 1 pack White Coffee Filters Choose unbleached for richer colors.
- 8 count Washable Markers Vibrant colors for stunning designs.
- 1 count Spray Bottle or Pipettes Use to apply water.
- 3 count Pipe Cleaners For forming the butterfly body and antennae.
Optional Decorations
- 8 count Googly Eyes For an extra bit of personality.
- 1 pack Glitter For sparkly embellishments.
- 1 pack Stickers For personal touches.
Instructions
How to Make Chromatography Coffee Filter Butterflies
- Start by using washable markers to create vibrant patterns on the coffee filters. Let your kids explore their creativity with different designs and colors!
- Lightly spray or use pipettes to apply water to the colored filters. This step is crucial for activating the colors and watching them beautifully bleed and blend together.
- Carefully place the wet filters onto a baking sheet or tray, ensuring they lay flat. Let them dry completely—this should take about 30 minutes—so they hold their shape and colors.
- Once dried, gently pinch the middle of the filter and secure it with a pipe cleaner to form the butterfly's body. Shape the wings to create a lovely butterfly effect!
- Now it's time for the fun part! Use optional items like googly eyes, glitter, or stickers to personalize and give life to your butterflies. Get creative with your decorations!


Leave a Reply