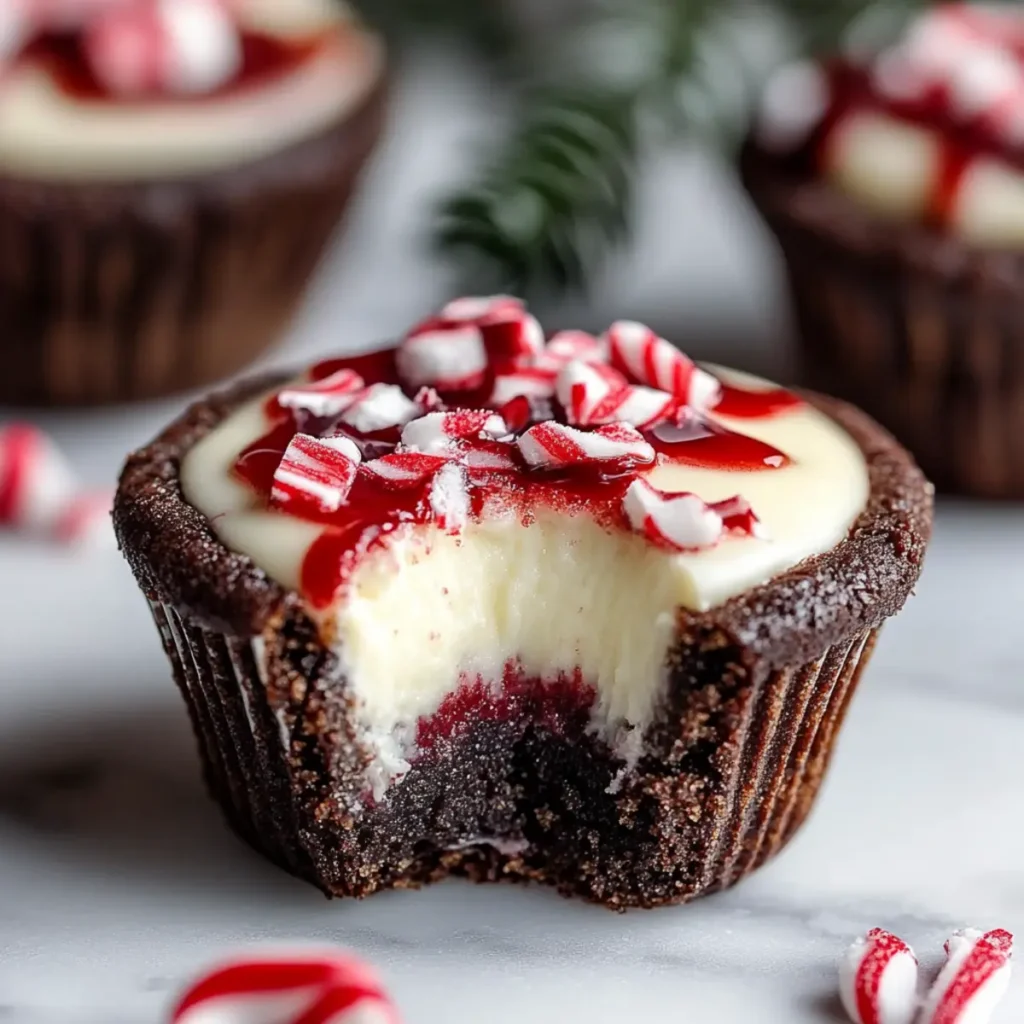
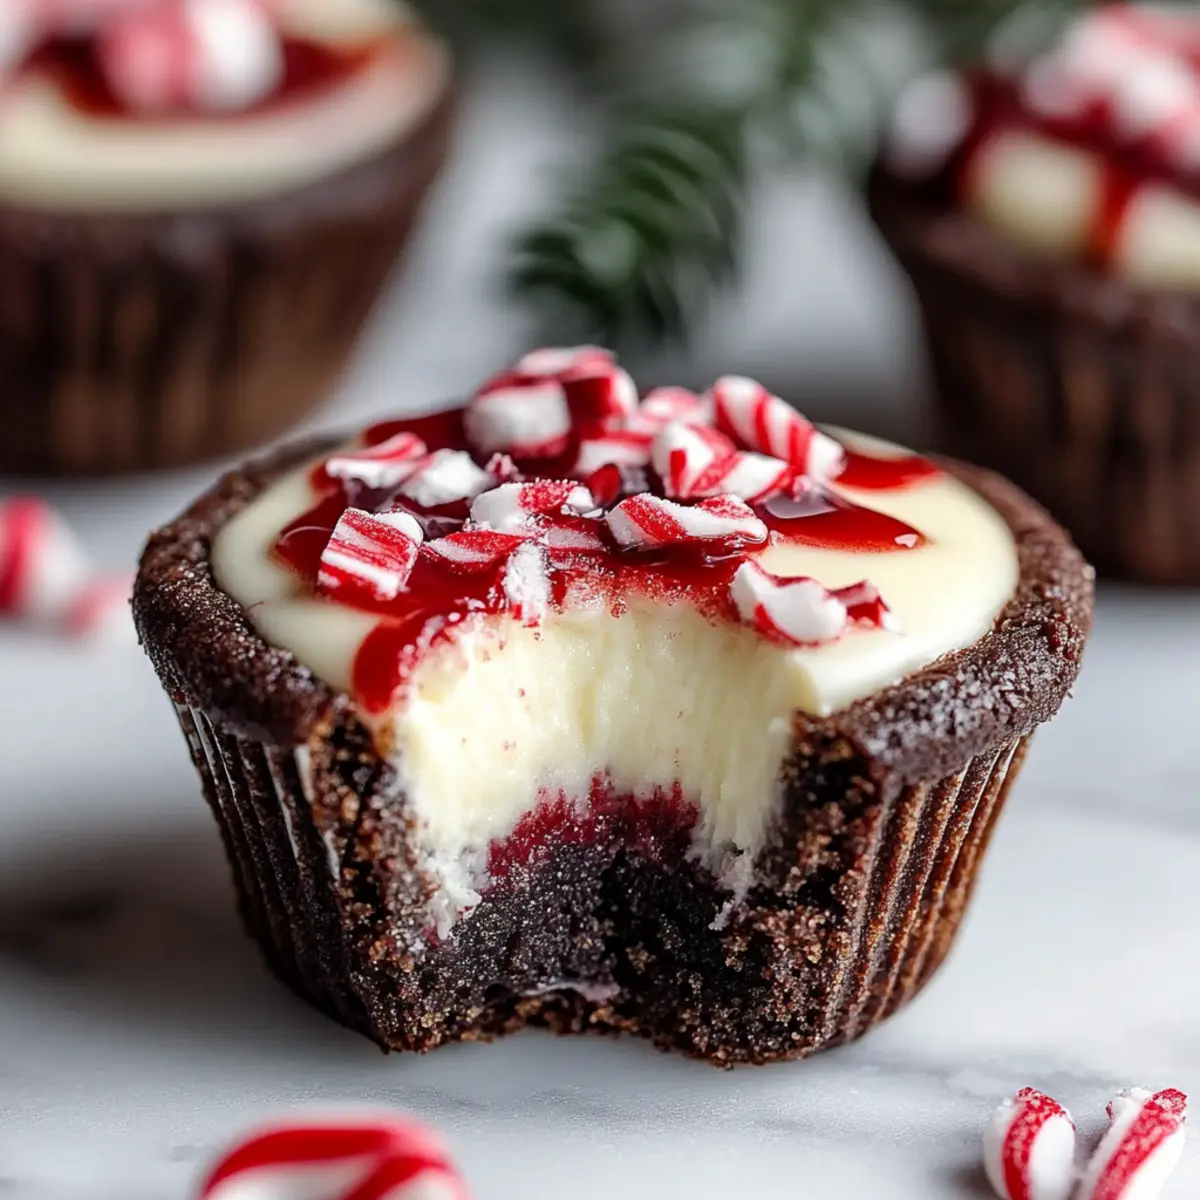
As the holiday season approaches, the air fills with joy and the irresistible scent of festive treats. This year, I wanted to create something that perfectly embodies that magical spirit, and I found myself dreaming of Chocolate Peppermint Cookie Cups with Cheesecake Filling. The moment you take a bite, the rich, fudgy chocolate base gives way to a creamy mint cheesecake filling that dances on your taste buds like snowflakes in the winter breeze.
Picture this: a gathering of friends and family around the table, laughter and warmth abounding, as these delightful cookie cups steal the spotlight. With their striking appearance topped with crushed candy canes, they not only taste incredible but also add a festive touch to any dessert spread. These little cups of goodness are the answer for anyone looking to impress without the fuss, blending ease and elegance in each scrumptious bite.
Join me as I share this celebratory recipe that promises to become a seasonal favorite, perfect for those holiday gatherings or a sweet treat just for you!
Why Love Chocolate Peppermint Cookie Cups?
Festive Appeal: These delightful treats bring holiday cheer and charm to any gathering, making them an instant favorite.
Delectable Layers: Enjoy a rich, fudgy chocolate base with a creamy mint cheesecake filling that complements the season perfectly.
Easy to Make: With simple ingredients and straightforward steps, you can impress guests without spending hours in the kitchen.
Customizable Fun: Mix and match flavors by adding chocolate chips or using different extracts for a unique twist.
Eye-Catching Presentation: Topped with crushed candy canes, these cookie cups are as beautiful as they are delicious-perfect for sharing on social media!
Don't forget to check out my tips on storage tips to keep them fresh and delectable!
Chocolate Peppermint Cookie Cups Ingredients
• Perfect for festive baking!
For the Cookie Base
- All-Purpose Flour - Provides structure for the cookie base; use gluten-free flour if needed.
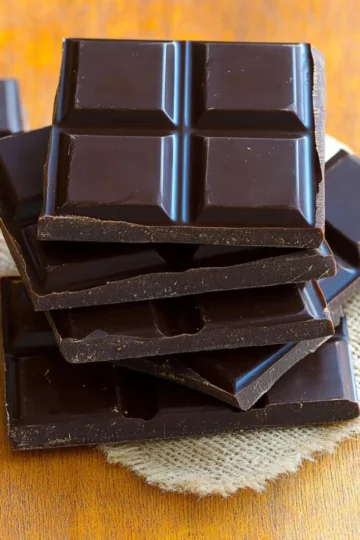
- Dutch-Processed Cocoa Powder - Adds rich chocolate flavor; black cocoa powder can deepen color and taste.
- Baking Soda & Salt - Essential for proper leavening and balanced flavor; necessary for every batch!
- Unsalted Butter - Creates a rich, tender texture; margarine or dairy-free alternatives work well.
- Granulated Sugar & Brown Sugar - Enhance sweetness and moisture; traditional ingredients yield the best results.
- Eggs - Bind the mixture and provide moisture; flax eggs can substitute for a vegan option.
- Vanilla Extract - Adds complexity and depth; opt for pure extract for the best flavor.
For the Cheesecake Filling
- Heavy Cream - Whipped for a light, fluffy texture; cold Greek yogurt can be a lighter alternative.
- Cream Cheese - The star of the filling, offering creaminess; lactose-free cream cheese is a suitable swap.
- Peppermint Extract - Essential for that festive mint flavor; feel free to adjust according to your taste.
For the Garnish
- Candy Canes - Provide a fun crunch and extra peppermint flavor; crush them for a beautiful topping!
These Chocolate Peppermint Cookie Cups are sure to make your holiday dessert table shine!
How to Make Chocolate Peppermint Cookie Cups
-
Preheat your oven: Begin by preheating your oven to 350°F (175°C). This ensures that that your cookie cups bake evenly for a perfectly fudgy texture.
-
Combine dry ingredients: In a mixing bowl, whisk together the all-purpose flour, Dutch-processed cocoa powder, baking soda, and salt. Set this mixture aside as you focus on the wet ingredients.
-
Cream the butters: In another bowl, place unsalted butter, granulated sugar, and brown sugar. Mix them together until the mixture is light, fluffy, and aromatic, creating a lovely base for your chocolate dough.
-
Mix in eggs and vanilla: Add the eggs one at a time into the creamed butter mixture, ensuring each is fully incorporated. Then, pour in the vanilla extract and mix thoroughly for a rich flavor.
-
Fold in dry ingredients: Gently incorporate the dry ingredient mixture into the wet mixture, stirring until just combined. This will form a soft, fudgy dough that is simply irresistible.
-
Portion into tins: Spoon the chocolate dough into your prepared cupcake tins, filling each cup about ⅔ full. This gives them room to rise and form the perfect little cups.
-
Bake the cookie cups: Place the tins in the preheated oven and bake for 10-13 minutes. They should look set but still be soft in the center-this is key for creating the perfect wells.
-
Cool the cookies: After baking, let your cookie cups cool in the pans for about 10 minutes before transferring them to a wire rack. This helps them retain their shape!
-
Whip the cream: While the cookies cool, pour heavy cream into a mixing bowl and whip it to stiff peaks. This will make your cheesecake filling airy and delightful.
-
Prepare the cheesecake filling: In a separate bowl, beat the cream cheese with sugar and peppermint extract until smooth. Gently fold in the whipped cream to create a light, fluffy filling.
-
Pipe the filling: Transfer your cheesecake mixture into a piping bag and fill each cooled cookie cup generously, creating a beautiful presentation.
-
Chill to set: Place the filled cookie cups in the refrigerator for about 1-2 hours to let the cheesecake filling firm up.
-
Garnish with candy canes: Just before serving, sprinkle crushed candy canes on top for a fun and festive finish!
Optional: Drizzle with chocolate sauce for an extra indulgent touch!
Exact quantities are listed in the recipe card below.
Make Ahead Options
These Chocolate Peppermint Cookie Cups are perfect for busy holiday planning! You can prepare the cookie bases up to 24 hours in advance by baking them and then storing them in an airtight container at room temperature to maintain their fudgy texture. For the cheesecake filling, whip it up and refrigerate it separately for up to 3 days; just be sure to keep it covered to preserve its light and airy quality. When you're ready to serve, simply pipe the chilled filling into the cookie cups and top with crushed candy canes. This way, you'll create a festive dessert with minimal effort and maximum flavor, saving you valuable time in the kitchen!
What to Serve with Chocolate Peppermint Cookie Cups?
Cozy up this holiday season with these delightful cookies and a menu that complements their festive flavors beautifully.
-
Peppermint Hot Chocolate: This rich and creamy drink pairs perfectly, enhancing the peppermint essence in your cookie cups for a true winter treat.
-
Vanilla Ice Cream: A scoop of smooth vanilla ice cream creates a delightful contrast to the rich chocolate, balancing sweetness with a cool, creamy texture.
-
Fresh Berries: Serve alongside strawberries or raspberries for a pop of freshness. Their tartness nicely cuts through the sweetness of the cookie cups.
-
Chocolate Drizzle: Add a luxurious touch by drizzling warm chocolate sauce over the cookie cups right before serving. It enhances the chocolatey experience and looks gorgeous!
-
Cheesecake Mousse: A light and airy cheesecake mousse could mimic the filling of your cookie cups, creating a decadent and thematic dessert trio.
-
Warm Spiced Cider: Offer a glass of warm spiced apple cider for a cozy, aromatic drink option that perfectly accompanies the holiday spirit.
Think of these pairings as a way to elevate your entertaining experience-making each bite and sip as memorable as the occasion itself!
Expert Tips for Chocolate Peppermint Cookie Cups
-
Avoid Overbaking: Ensure you don't overbake the cookie cups; they should be soft in the center to maintain their shape and texture.
-
Chill Your Tools: For better results when whipping the cream, use chilled bowls and beaters; it helps achieve those perfect stiff peaks.
-
Decorative Touch: Consider using red food gel inside the piping bag for a festive decorative effect when filling the cookie cups.
-
Proper Storage: Store any leftovers in an airtight container in the fridge for up to 2-3 days or freeze without toppings for up to 4 weeks to keep your Chocolate Peppermint Cookie Cups fresh.
-
Taste Testing: Don't hesitate to adjust the peppermint extract in the cheesecake filling to your liking; everyone's taste for mint is different, and it's the star of the show!
How to Store and Freeze Chocolate Peppermint Cookie Cups
Room Temperature: Store your cookie cups in an airtight container at room temperature for up to 2 days. This keeps them soft and fresh, perfect for snacking.
Fridge: For longer freshness, keep them in the refrigerator for up to 3 days. Just remember to cover them to maintain that delightful cheesecake filling.
Freezer: You can freeze the unfilled cookie cups for up to 4 weeks. Just wrap them tightly in plastic wrap and then place in an airtight container for best results.
Reheating: If you enjoy warm cookie cups, reheat them in the oven at 350°F for about 5 minutes. Avoid microwaving as it can make the texture less appealing.
Variations & Substitutions for Chocolate Peppermint Cookie Cups
Feel free to get creative with these cookie cups and put your own spin on this delightful recipe!
- Gluten-Free: Swap all-purpose flour for a gluten-free blend to enjoy a similar texture without the gluten.
- Dairy-Free: Use coconut oil or dairy-free butter in place of unsalted butter, and opt for a non-dairy cream cheese alternative.
- Vegan: Replace eggs with flax eggs (1 tbsp flaxseed meal + 2.5 tbsp water per egg) and use a plant-based heavy cream.
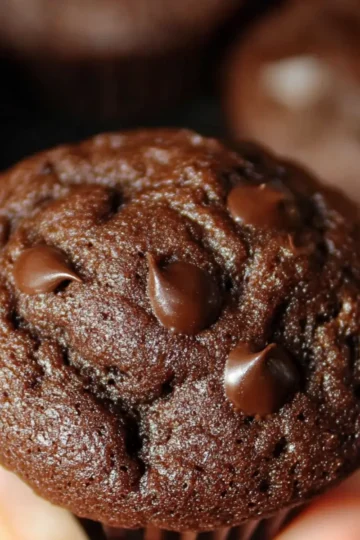
- Minty Chocolate Chip: Fold in mini chocolate chips into the dough for added texture and a delightful surprise in every bite.
- Fruity Twist: Substitute peppermint extract with orange or raspberry extract for a unique flavor profile that brightens the holiday spirit.
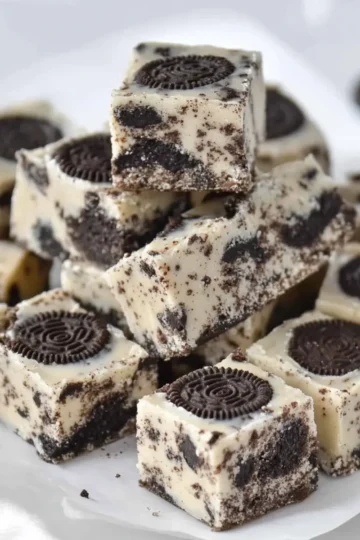
- Peppermint Bark Variation: Mix crushed peppermint candies or chocolate with the cheesecake filling for a crunchy, festive surprise.
- Spiced Delight: Add a pinch of cinnamon or nutmeg to the dough for a warm spice note, elevating the seasonal flavor.
- Nutty Marvel: Incorporate chopped nuts like walnuts or pecans into the cookie base for a rich, nutty flavor and delightful texture.
With these variations, there's a delightful option for everyone-enjoy customizing!
Chocolate Peppermint Cookie Cups Recipe FAQs
What should I look for when selecting the perfect mint extract for my cookie cups?
When selecting peppermint extract, look for one that is pure and not artificially flavored. The more natural the extract, the richer the flavor will be in your cheesecake filling. It's a good idea to start with a smaller amount and taste as you go, adding more if you desire a stronger minty flavor.
How should I store leftover Chocolate Peppermint Cookie Cups?
To keep your Chocolate Peppermint Cookie Cups fresh, store them in an airtight container in the refrigerator for up to 3 days. Make sure to place a piece of parchment paper between layers if stacking to avoid sticking. If you have unfilled cookie cups, you can also freeze them wrapped in plastic wrap for up to 4 weeks. Just be sure to let them cool completely before wrapping!
Can I freeze the filled cookie cups?
I generally recommend freezing the unfilled cookie cups instead of the filled ones. However, if you want to freeze the filled Chocolate Peppermint Cookie Cups, make sure to do so without the garnished crushed candy canes. Wrap them tightly and they can last in the freezer for about 2 weeks. Let them thaw in the refrigerator before serving, and add the candy canes just before enjoying them!
What if my cookie cups don't hold their shape?
If your cookie cups spread out too much during baking, it may be due to overmixing the dough or not enough flour in the mixture. To troubleshoot this, make sure to measure your flour accurately and gently mix the dough until just combined. Also, be careful not to overbake; they should still be soft in the center when you take them out. If you continue to have issues, consider chilling the dough for a short time before baking.
Are these Chocolate Peppermint Cookie Cups suitable for those with allergies?
These cookie cups contain gluten, dairy, and eggs, so they may not be suitable for those with allergies to these ingredients. However, you can easily make adjustments! Use a gluten-free flour blend instead of all-purpose flour, substitute flax eggs for the regular eggs, and choose dairy-free cream cheese and whipped alternatives to create a delicious version that accommodates dietary restrictions.
What is the best way to garnish my cookie cups?
For the best presentation, crush your candy canes into small pieces before sprinkling them on top of your filled cookie cups. This not only adds a festive touch but also provides that delightful crunch! You can also consider drizzling melted chocolate over the top for an added layer of indulgence-a perfect holiday treat!
Indulgent Chocolate Peppermint Cookie Cups with Cheesecake Filling
Equipment
- mixing bowls
- whisk
- Cupcake Tins
- Piping bag
Ingredients
For the Cookie Base
- 1 cup All-Purpose Flour Use gluten-free flour if needed.
- ⅓ cup Dutch-Processed Cocoa Powder Black cocoa powder can deepen color and taste.
- ½ tsp Baking Soda Essential for leavening.
- ¼ tsp Salt Balances flavor.
- ½ cup Unsalted Butter Can use margarine or dairy-free alternatives.
- ½ cup Granulated Sugar Enhances sweetness.
- ½ cup Brown Sugar Adds moisture.
- 2 large Eggs Can substitute with flax eggs for a vegan option.
- 1 tsp Vanilla Extract Opt for pure extract for the best flavor.
For the Cheesecake Filling
- 1 cup Heavy Cream Should be whipped.
- 8 oz Cream Cheese Lactose-free cream cheese works as a swap.
- 1 tsp Peppermint Extract Adjust according to taste.
For the Garnish
- 3 tbsp Candy Canes Crushed for topping.
Instructions
Baking the Cookie Cups
- Preheat your oven to 350°F (175°C).
- In a mixing bowl, whisk together the all-purpose flour, Dutch-processed cocoa powder, baking soda, and salt. Set aside.
- In another bowl, cream together unsalted butter, granulated sugar, and brown sugar until light and fluffy.
- Add the eggs one at a time and mix in the vanilla extract.
- Gently incorporate the dry mixture into the wet mixture to form a soft dough.
- Spoon the dough into the cupcake tins, filling each cup about ⅔ full.
- Bake for 10-13 minutes until set but still soft in the center.
- Cool the cookie cups in the pans for about 10 minutes before transferring to a wire rack.
Preparing the Cheesecake Filling
- Whip the heavy cream to stiff peaks.
- Beat the cream cheese with sugar and peppermint extract until smooth. Fold in the whipped cream.
- Transfer the cheesecake mixture into a piping bag and fill each cooled cookie cup.
- Chill in the refrigerator for 1-2 hours to firm up the filling.
- Sprinkle crushed candy canes on top before serving.
Leave a Reply