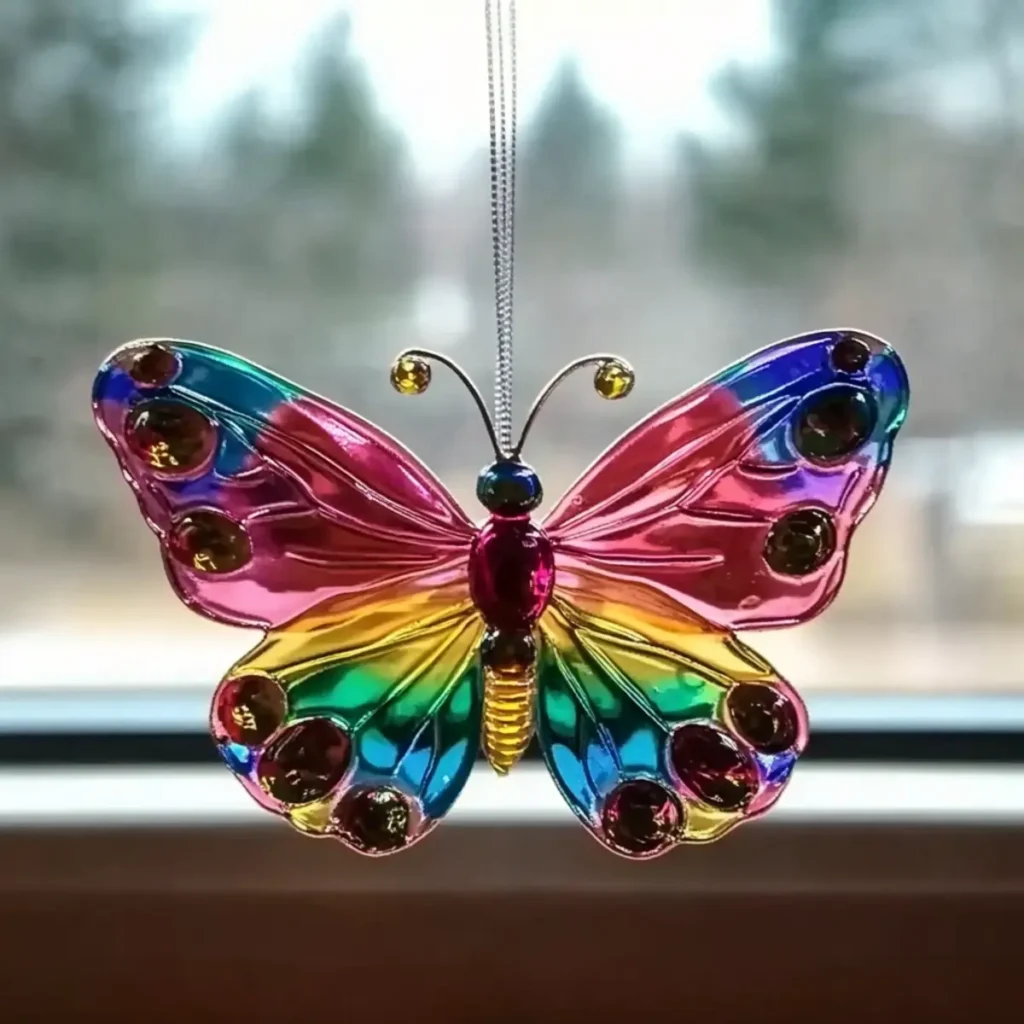
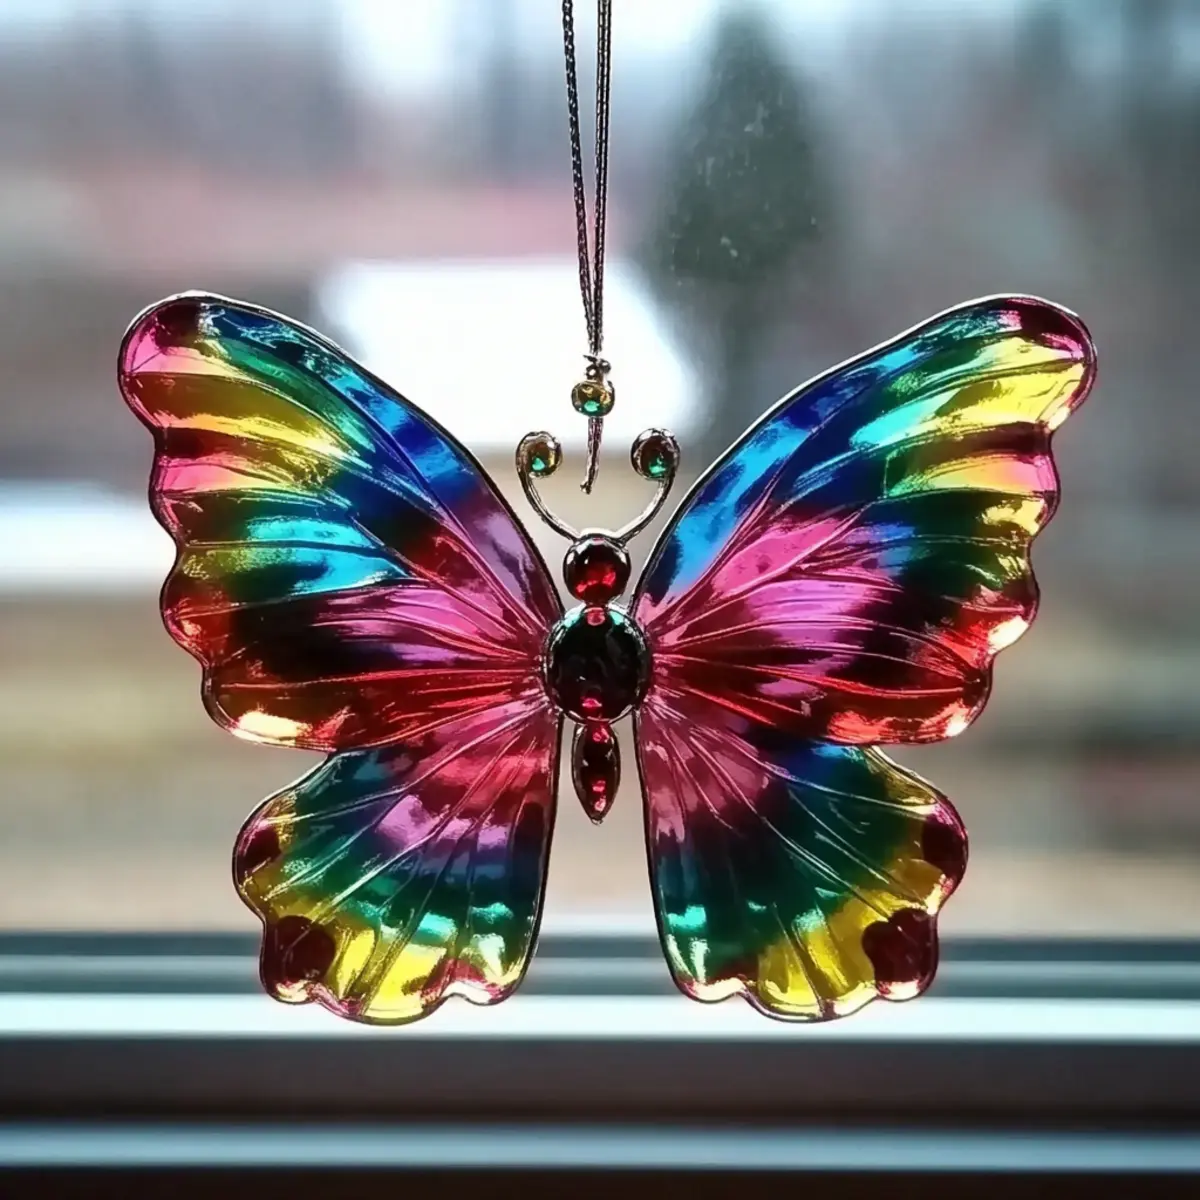
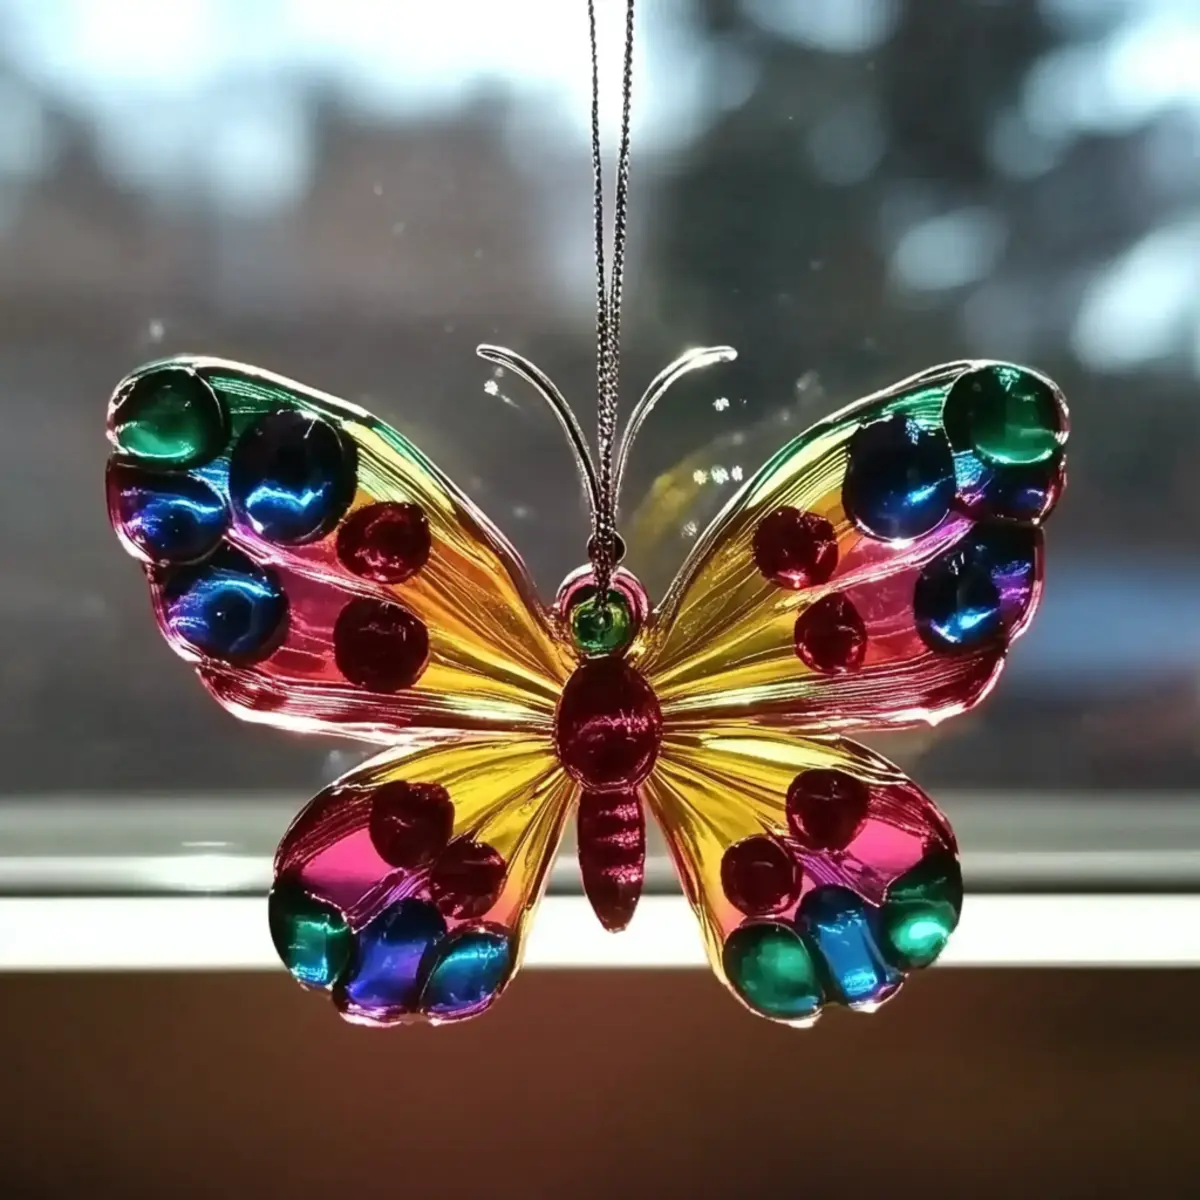
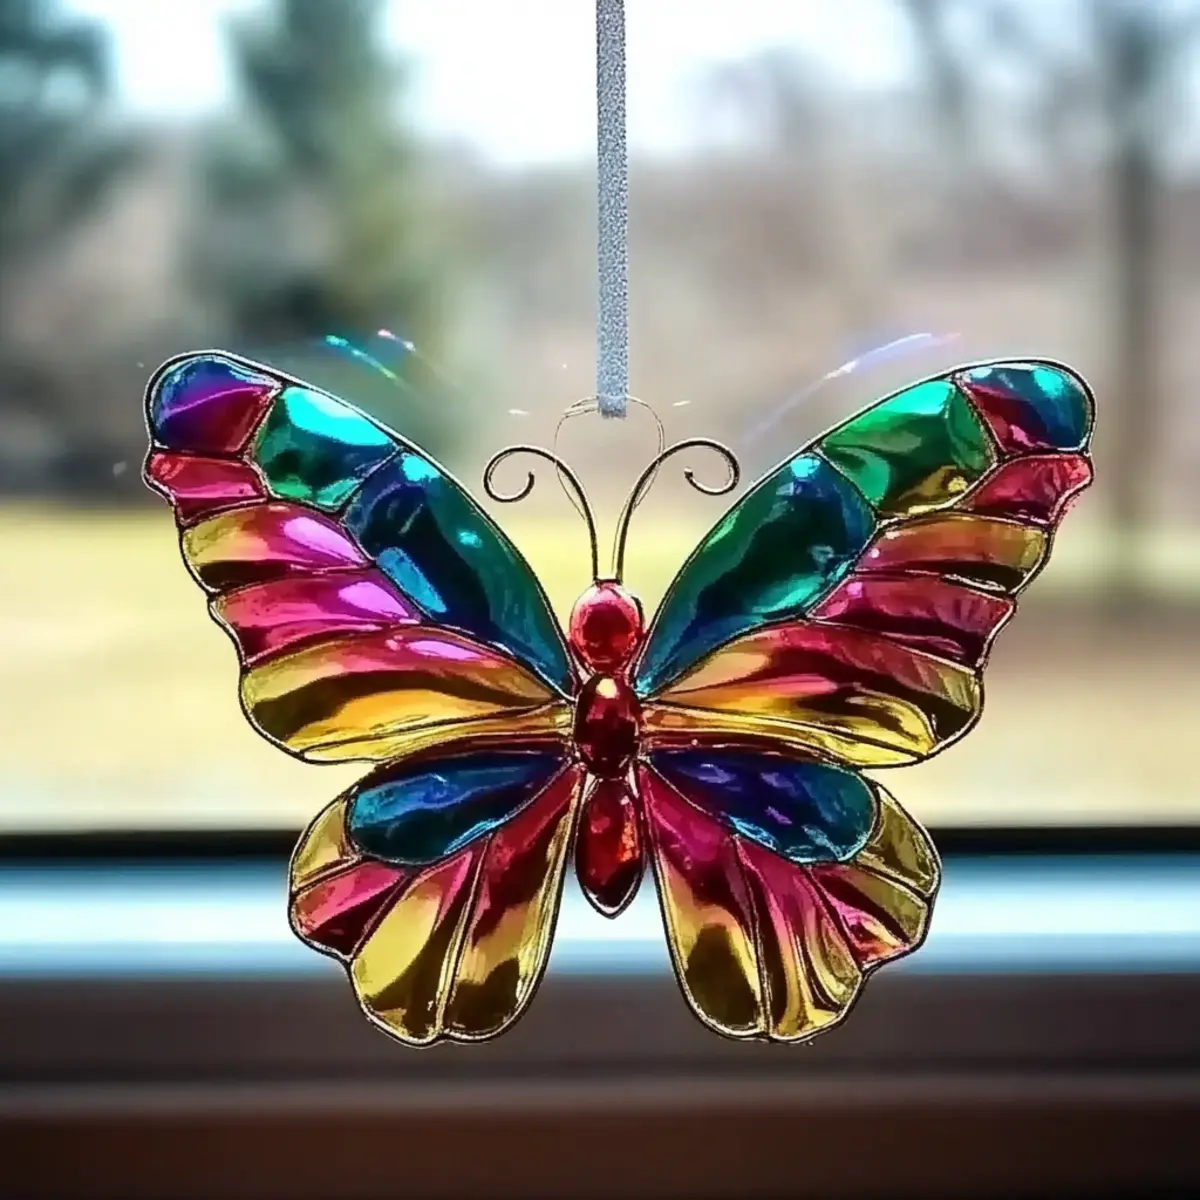
As I pulled the last remnants of summer from my garden, I found myself yearning for a splash of color to brighten my home. That's when I stumbled upon the delightful world of DIY Butterfly Suncatchers. This easy craft turned out to be a whimsical escape from the mundane-a fun way to transform ordinary melted beads into stunning pieces that dance with sunlight.
With just a handful of materials, I crafted these vibrant suncatchers that fluttered to life and brought a sense of joy to my windowsills. Perfect for both kids and adults, making these colorful creations not only fills your home with charm but also serves as an engaging bonding experience. Imagine how the shimmering hues catch the light, creating a kaleidoscope of colors that brighten any room!
So, if you're ready to let your creativity soar and uplift your space, grab your silicone molds and let's dive into this enchanting craft that promises sunny smiles all around!
Butterfly Suncatchers: Why Are They So Fun?
Vibrant colors in these suncatchers transform any space into a cheerful retreat. Easy to make, this project is perfect for crafters of all ages-no experience needed! Bonding time is enhanced when kids and adults join forces for a creative afternoon. Personalize your designs by mixing colors or adding unique embellishments. Eco-friendly materials make this craft a guilt-free indulgence. So gather your supplies and let your imagination take flight with these captivating Butterfly Suncatchers!
Butterfly Suncatcher Ingredients
• Gather these necessities for your DIY adventure!
For the Base
- Clear school glue - Acts as the adhesive to hold the melted beads together. Substitution note: Use non-toxic glue for safety when children are involved.
- Butterfly-shaped silicone molds - Provides the shape for the suncatchers and ensures easy removal once dried. Tip: Use molds with varied designs for unique finishes.
For the Color
- Food coloring - Adds vibrant colors to the beads. Note: Use one to two drops per mold; feel free to mix colors for artistic effects.
- Toothpicks - Used for swirling food coloring within the molds to create interesting patterns. Alternative: Can replace with a skewer for larger designs.
Protective Layer
- Parchment paper - Protects your workspace from glue spills and bead residue. Ensure the surface is covered well to avoid any mess.
For Embellishments
- Optional decoration items (glitter, sequins, string, hole punch) - Enhances the aesthetic of your suncatcher for additional sparkle or hanging. Note: Be cautious with small items around children.
Get ready to create enchanting Butterfly Suncatchers that will fill your home with warmth and color!
How to Make Butterfly Suncatchers
-
Preheat the oven to 400°F (200°C). This step is crucial for melting the beads effectively, ensuring they fuse together beautifully for your suncatchers.
-
Prepare your baking sheet by placing parchment paper on it. This protects your surface and makes cleanup a breeze once your crafting session is complete.
-
Pour the clear school glue into the butterfly-shaped silicone molds, filling them about halfway. Ensure each mold gets enough glue to hold the beads once melted.
-
Add drops of food coloring into the glue and use toothpicks to swirl the colors as desired. Go wild with your creativity; mix and match colors for stunning effects!
-
Optional: Sprinkle some glitter or sequins into the molds before the glue sets for an extra touch of sparkle. This will make your suncatchers even more dazzling when they catch the light!
-
Bake in the preheated oven for approximately 30-40 minutes until fully melted and set. You'll know they're done when they're glossy and beautifully combined!
-
Cool completely before attempting to remove them from the molds. Patience is key here! Let them sit undisturbed for the best results.
-
Optional: Punch holes in your finished suncatchers and attach strings to hang them up. This final touch makes them ready to dance in the sunlight!
Optional: For an even more whimsical touch, consider using multiple colors to create a gradient effect!
Exact quantities are listed in the recipe card below.
Make Ahead Options
These vibrant Butterfly Suncatchers are perfect for busy home crafters looking to save time and streamline their crafting sessions! You can prepare the silicone molds by pouring in the clear school glue and adding food coloring up to 24 hours in advance. Just be sure to cover the molds with plastic wrap to prevent dust and debris from settling on the glue. When you're ready to finish, simply bake them according to the instructions, and you'll have delightful suncatchers that are just as colorful and beautiful. This way, you can squeeze in crafting time even during the busiest days, turning a simple activity into an exhilarating escape filled with moments of joy!
Expert Tips for Butterfly Suncatchers
-
Child Safety First: Always supervise kids during the crafting process. Ensure they don't touch hot surfaces or glue, maintaining a safe and enjoyable experience.
-
Perfectly Melted: Watch the baking time closely. Overbaking can lead to burnt edges and an unattractive finish. Aim for that glossy, jewel-like appearance!
-
Color Mixing: Embrace creativity with food coloring; it's all about experimenting! However, start with one to two drops to avoid overly dark mixtures.
-
Mold Matters: Opt for high-quality silicone molds to ensure easy removal of your suncatchers. Avoid cheap materials that might stick and cause frustration.
-
Weather Awareness: Remember, these suncatchers aren't waterproof. Keep them indoors or away from direct rain exposure to extend their vibrant life in your windows.
-
Artistic Layers: Consider layering colors for a more dynamic look. Use toothpicks to swirl but don't overdo it-moderation yields stunning effects!
How to Store and Freeze Butterfly Suncatchers
-
Room Temperature: Store your completed butterfly suncatchers in a cool, dry place. They will last indefinitely as long as they are kept away from moisture and direct sunlight.
-
Fridge: If you've made several suncatchers and need a temporary spot, place them in the fridge for up to 1 week, ensuring they are wrapped in tissue or placed in a safe container to prevent scratches.
-
Freezer: Freeze is not recommended for butterfly suncatchers, as the extreme temperatures can cause them to crack or lose their vibrant colors.
-
Reheating: If any suncatchers happen to lose shape or stick to the mold, place back in the oven at 200°F (93°C) for a few minutes to soften, then reshape carefully.
What to Serve with Butterfly Suncatchers?
These delightful creations can brighten any space, but let's enhance your crafting day with some fun snacks and drinks!
-
Fruit Skewers: Bright, juicy fruit adds a refreshing touch, keeping energy levels high and spirits lifted during your creative session.
-
Nut Butter Dip: Pair crunchy apple slices or celery sticks with nut butter for a filling snack, perfect for a quick energy boost between crafting steps.
-
Herbal Iced Tea: Refreshing and hydrating, this stylish drink can be served on a sunny day, embodying the spirit of your colorful suncatchers.
-
Mini Pizzas: Whip up some easy mini pizzas for a deliciously fun meal; they're a hit with kids and super customizable!
-
Yogurt Parfait: Layer yogurt with granola and berries for a delightful and healthy treat that provides the brainpower you need for crafting creativity.
-
Veggie Platter: A colorful array of sliced veggies with hummus makes for a crunchy and satisfying appetizer while keeping health in mind.
Embrace the joy of crafting with these tasty treats, making every moment an engaging celebration of creativity!
Butterfly Suncatcher Variations
Feel free to mix up your suncatcher creations with these fun adaptations that spark creativity and personalize your experience!
-
Shape Swap: Experiment with different silicone molds like hearts or stars for a unique twist on your suncatchers. The variety will delight both kids and adults alike!
-
Color Themes: Choose pastels for a soft, dreamy effect or go bold with neon colors to match your seasonal decor. This lets you fully embrace the mood of each season!
-
Textured Additions: Incorporate textured items such as ribbons or fabric scraps for a tactile element. They can add depth and interest to your suncatchers, making them truly stand out.
-
DIY Glitter Mix: Blend metallic and colorful glitters into your glue mixture for extra sparkle. With your suncatchers catching the light, watch as they shimmer like gems in the sun!
-
Ombre Designs: Create an ombre effect by layering colors from dark to light within the mold. This gradient style brings a stunning visual appeal that mimics the beauty of a sunset.
-
Nature Elements: Add small pressed flowers or leaves before the glue sets for a delightful touch of nature. It not only enhances aesthetics but also brings a sense of the outdoors inside.
-
Glow-in-the-Dark: Use glow-in-the-dark paint or beads to create suncatchers that shine after dark! This makes for a magical addition to kids' rooms or play areas.
-
Seasonal Themes: Design seasonal suncatchers by using colors and decorations that reflect holidays like Halloween or Christmas. This boosts holiday spirit and offers a fun crafting project throughout the year.
Butterfly Suncatchers Recipe FAQs
How do I choose the right silicone molds for my suncatchers?
Absolutely! When selecting silicone molds, look for high-quality options that are flexible and sturdy to ensure easy removal. Butterfly-shaped molds are wonderful, but don't hesitate to experiment with other shapes like stars or flowers! Ensure the molds are clean and dry before pouring in the glue to avoid any unwanted residue.
What is the best way to store my butterfly suncatchers?
To keep your butterfly suncatchers sparkling, store them at room temperature in a cool, dry place. Avoid moisture and direct sunlight; ideally, place them in a decorative box or on a soft surface to prevent scratches. They can last indefinitely this way, making them perfect for seasonal decor or gifts!
Can I freeze my butterfly suncatchers?
Not recommended! Freezing can cause butterfly suncatchers to crack or lose their vibrant colors. However, if they ever lose their shape, you can gently reheat them in the oven at 200°F (93°C) for a few minutes. This softens them just enough to reshape back into their stunning forms.
What should I do if my suncatchers are not melting as expected?
Very! If your suncatchers aren't melting properly, double-check the oven temperature and baking time. Be sure it's preheated and fully hot. Sometimes, less glue in the molds or insufficient baking time can affect melting. Aim for a glossy finish; if they're still not perfect, pop them back in the oven until they look just right!
Can my kids help with making butterfly suncatchers?
Absolutely! This craft is family-friendly, making it a delightful bonding activity. Just ensure to supervise kids carefully, especially around hot surfaces and glue. Let them pick colors and designs! You may want to handle the oven part yourself for safety, but their enthusiasm will shine in the designs they create.
Are there any allergy concerns regarding the materials?
Very! While the materials used, like school glue and food coloring, are generally safe, be aware of any specific allergies, especially with glitter or sequins. Always opt for non-toxic glue if children are involved, and read labels on craft supplies to avoid allergic reactions. Enjoy creating fun while ensuring the safety of every little artist involved!

Vibrant Butterfly Suncatchers: A Fun Craft for Your Windows
Equipment
- Oven
- baking sheet
- silicone molds
Ingredients
For the Base
- 1 bottle Clear school glue Use non-toxic glue for safety when children are involved.
- 1 set Butterfly-shaped silicone molds Use molds with varied designs for unique finishes.
For the Color
- 1-2 drops Food coloring Mix colors for artistic effects.
- 1 piece Toothpicks Can replace with a skewer for larger designs.
Protective Layer
- 1 sheet Parchment paper Ensure surface is covered well to avoid any mess.
For Embellishments
- Optional decoration items (glitter, sequins, string, hole punch) Be cautious with small items around children.
Instructions
How to Make Butterfly Suncatchers
- Preheat the oven to 400°F (200°C).
- Prepare your baking sheet by placing parchment paper on it.
- Pour the clear school glue into the butterfly-shaped silicone molds, filling them about halfway.
- Add drops of food coloring into the glue and use toothpicks to swirl the colors as desired.
- Optional: Sprinkle some glitter or sequins into the molds before the glue sets.
- Bake in the preheated oven for approximately 30-40 minutes until fully melted and set.
- Cool completely before attempting to remove them from the molds.
- Optional: Punch holes in your finished suncatchers and attach strings to hang them up.


Leave a Reply