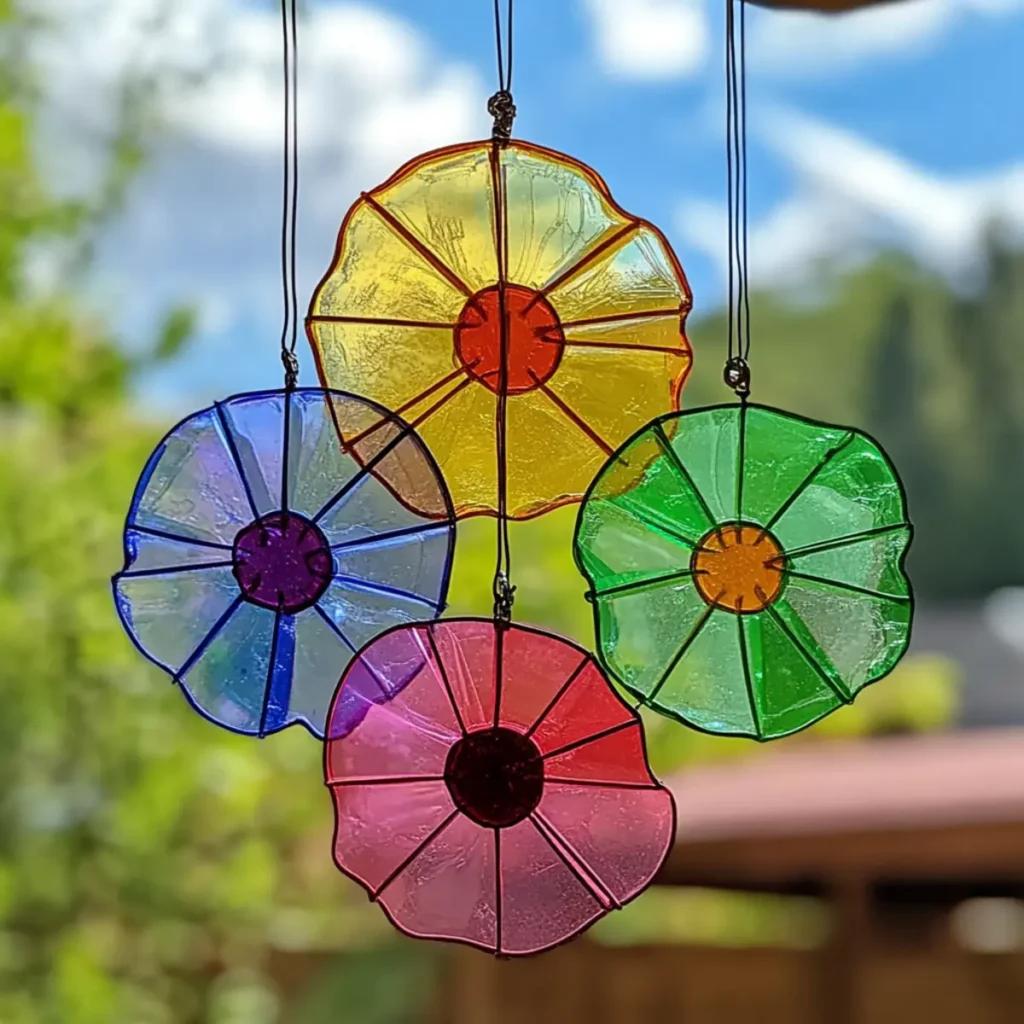
As the sunlight streams through my window, I can't help but smile at the cheerful colors dancing on the walls, courtesy of my latest DIY project: Bioplastic Suncatchers! This fun and eco-friendly craft not only brightens up any room but also serves as a fantastic creative outlet for kids. Each colorful suncatcher we create becomes a treasured piece of art, blending creativity with sustainability.
Moving away from store-bought decorations, I've found that these suncatchers, made from simple materials like melted beads and natural colors, are an excellent way to instill a sense of accomplishment in children. They get to experiment, learn about the importance of recycling, and enjoy the satisfaction of displaying their handmade masterpieces. So, let's roll up our sleeves and dive into this easy, enjoyable project that transforms dreary windows into vibrant showcases filled with light and joy!
Why will you love bioplastic suncatchers?
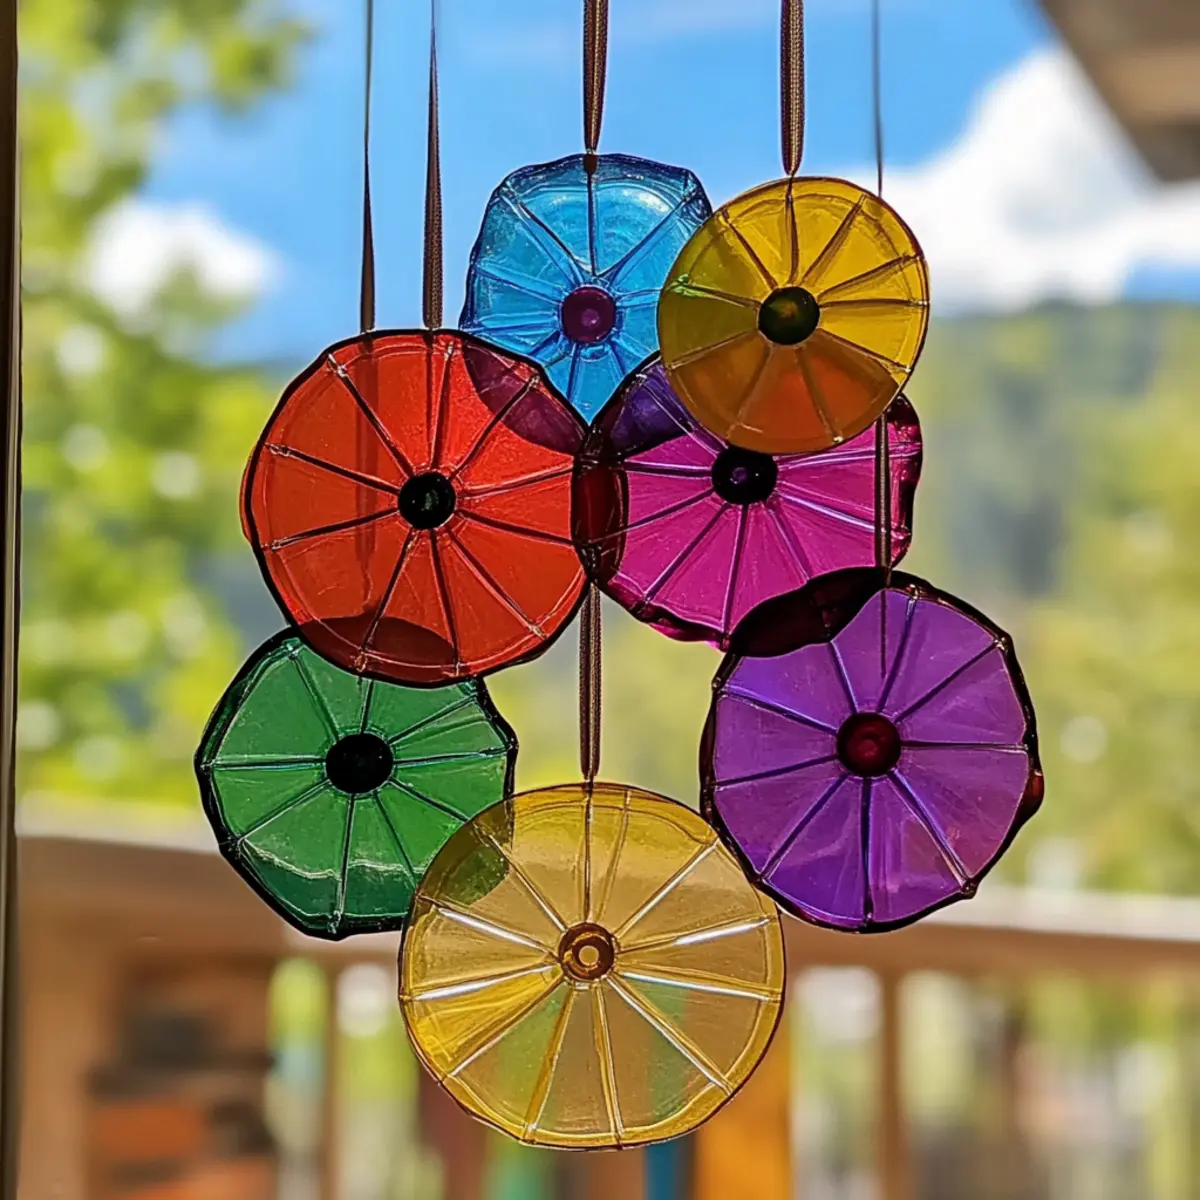
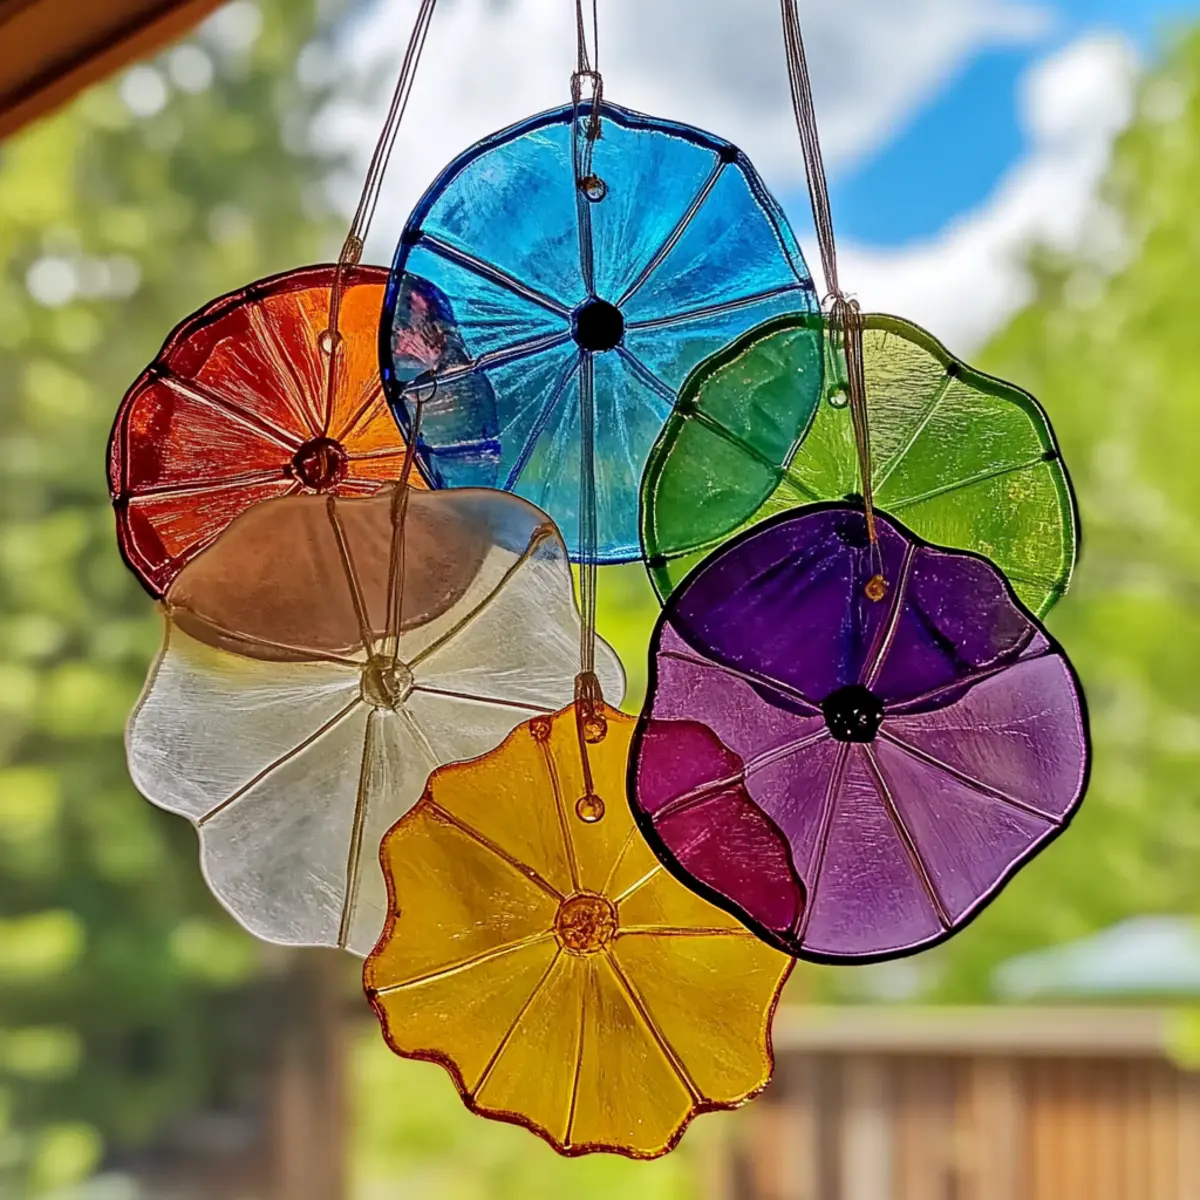
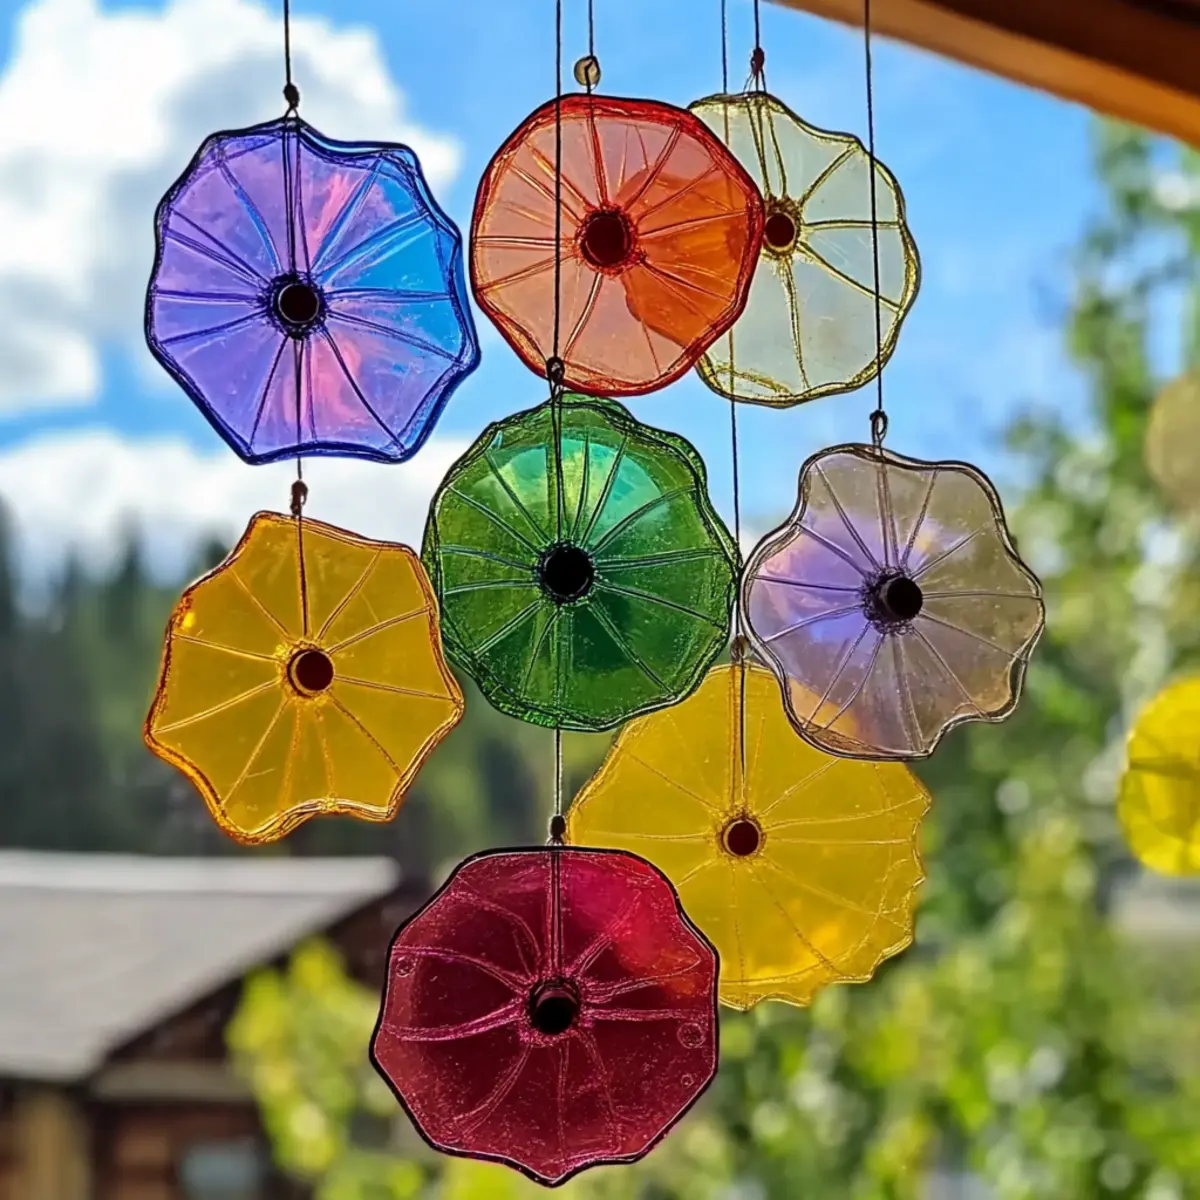
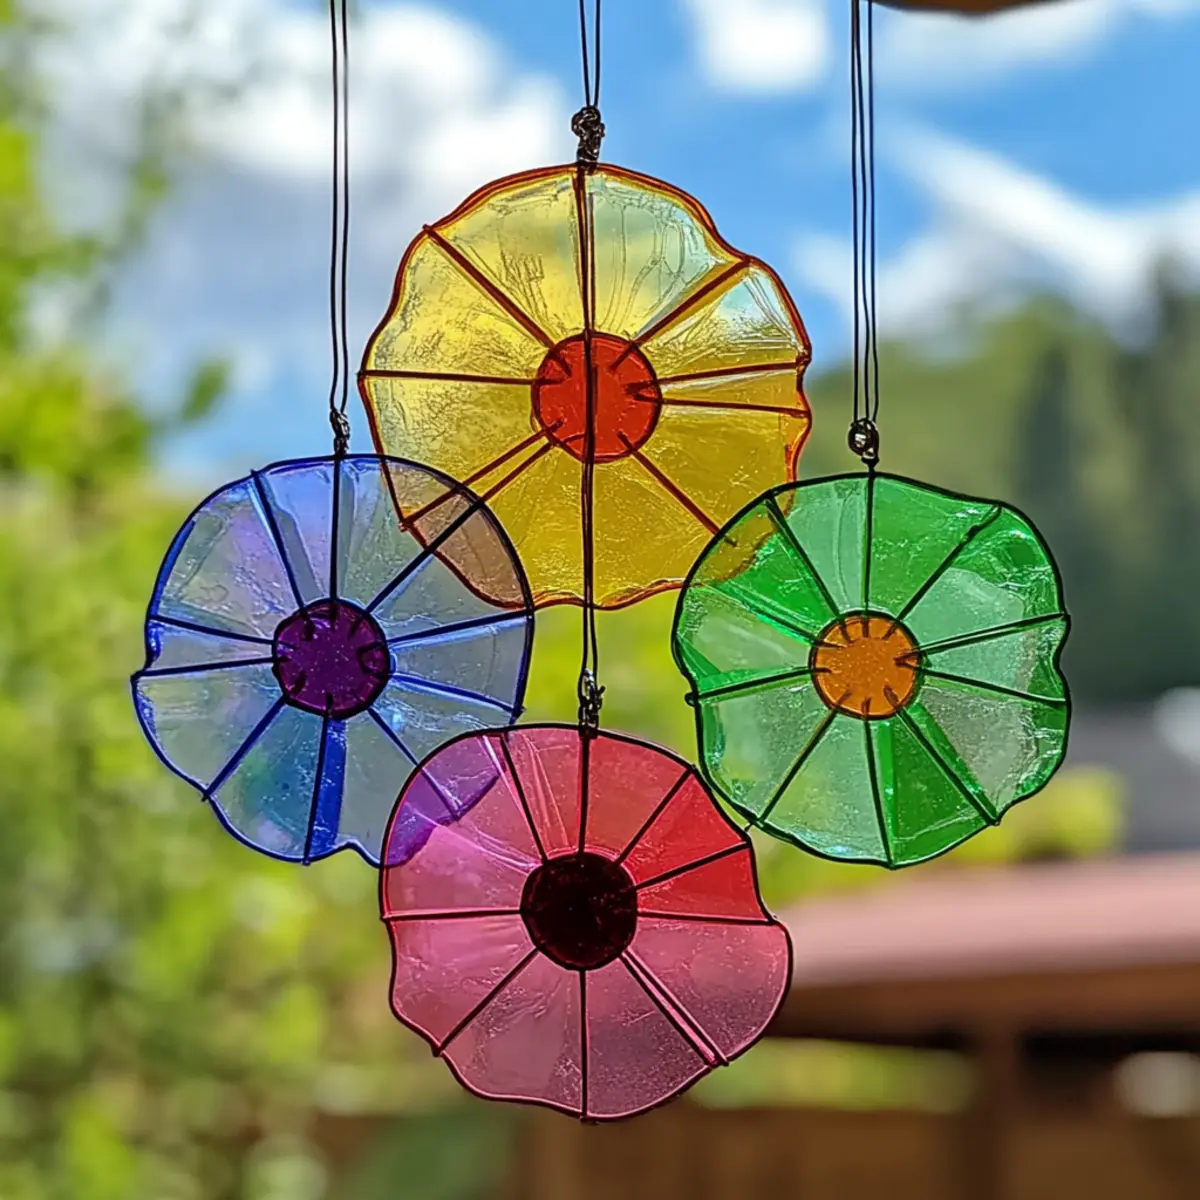
Vibrant Colors: These bioplastic suncatchers burst with color, capturing and reflecting sunlight beautifully, creating a warm, inviting atmosphere in any room.
Eco-Friendly Crafting: Using materials like melted beads is not only creative but also promotes a sustainable approach to crafting-great for environmentally conscious families!
Kid-Friendly Fun: Perfect for children, this craft encourages creativity and fine motor skills while providing a rewarding sense of accomplishment.
Versatile Designs: You can experiment with different shapes, colors, and decorations, allowing each suncatcher to be a unique masterpiece.
Quick and Easy: With simple steps and minimal preparation, you can easily involve kids in a fun weekend project that fits into a busy schedule.
Great Gifts: These handmade decorations make for heartfelt gifts, bringing a splash of color and a personal touch to friends and family.
Bioplastic Suncatchers Ingredients
For the Mixture
• Water - Essential for dissolving cornstarch and provides a medium for your bioplastic suncatchers.
• Cornstarch - Acts as a thickener, giving your mixture that perfect gel-like consistency.
• White Vinegar - Serves as a natural preservative, helping your suncatchers last longer.
• Unflavored Gelatin Powder - Adds structure and helps your creation set; you can substitute with agar-agar for a vegan alternative.
For Coloring
• Natural or Food-Safe Coloring - Use this to add vibrant hues; options include food coloring, beet juice, turmeric, or spirulina for a colorful touch.
Optional Decorations
• Fine Glitter - For decorative sparkle and a touch of whimsical beauty.
• Flower Petals - Adds natural beauty, enhancing the decorative aspect of your suncatcher.
• Tissue Paper - Incorporate this for an extra layer of texture and color.
How to Make Bioplastic Suncatchers
-
Prepare Mixture: In a medium bowl, combine ½ cup water with 2 tablespoons cornstarch and stir well until fully blended. This step is crucial for a smooth base.
-
Heat & Mix: Gently add 1 tablespoon white vinegar and 1 tablespoon unflavored gelatin powder to your mixture. Warm it over low heat until it thickens without boiling, stirring constantly to avoid any lumps.
-
Add Color: Once the mixture has thickened, introduce your chosen natural or food-safe coloring. Stir it in until the color is evenly distributed, creating a lively hue for your bioplastic suncatchers.
-
Pour Mixture: Carefully pour the vibrant mixture onto a silicone mat, spreading it out evenly with a spatula to form your suncatcher's base.
-
Add Decorations: If desired, sprinkle fine glitter or embed flower petals/tissue paper into the surface for extra flair and charm. Position them creatively to enhance your art!
-
Drying: Allow the suncatchers to dry for at least 24 hours, flipping them halfway through for an even finish. This will ensure they're firm yet flexible.
-
Peel & Display: Once fully dry, gently peel your stunning suncatchers off the mat. Find a sunny window to hang them, where they'll dazzle in the light!
Optional: Enhance with whimsical ribbons or hangers for a delightful finishing touch.
Exact quantities are listed in the recipe card below.
Expert Tips for Bioplastic Suncatchers
• Gentle Heating: Avoid overheating the mixture; use low heat to prevent burning and ensure a smooth consistency for your bioplastic suncatchers.
• Warm Water Use: Start with warm water to help dissolve the cornstarch more effectively, leading to a smoother mixture and better results.
• Thin Layers: Keep the layers of your mixture thin on the silicone mat for faster drying times, which will give you beautifully crafted suncatchers.
• Patience is Key: Allow plenty of time for drying-at least 24 hours. Rushing this step may lead to sticky or misshapen suncatchers.
• Cool Storage: Store your completed suncatchers in a cool, dry place to maintain their vibrancy; avoid direct sunlight when not displayed.
What to Serve with Bioplastic Suncatchers?
Crafting together creates special moments that can be paired with delightful treats, turning a simple project into a cherished family experience.
-
Bright Fruit Skewers: Colorful and fun, these skewers are easy to make and mirror the suncatchers' vibrant hues, offering a refreshing snack.
-
Homemade Lemonade: A classic thirst quencher that balances the activity's excitement with a burst of citrusy sweetness. Serve chilled for the best experience!
-
Vegetable Platter: Crunchy, fresh veggies served with a creamy dip are a healthy and enjoyable way to keep energy levels up during crafting.
-
Mini Sandwiches: These bite-sized delights are perfect for little hands, providing a satisfying bite without distracting from the crafty fun.
-
Colorful Cupcakes: Consider decorating them with natural food dyes to match your creations. These sweet treats make for lovely rewards at the end of your project!
-
Herbal Iced Tea: Refreshingly fragrant and soothing, this drink is a perfect complement to keep little crafters hydrated and inspired.
Every craft session is an opportunity to celebrate creativity with delectable delights!
Storage Tips for Bioplastic Suncatchers
Cool Storage: Keep your completed bioplastic suncatchers in a cool, dry place to maintain their vibrancy and avoid any warping.
Display Considerations: When not brightening your windows, store them away from direct sunlight to preserve their color and prevent fading.
Drying Time: Ensure your suncatchers are fully dry (about 24 hours) before storing to avoid any stickiness or damage.
Long-Term Storage: If you need to store them long-term, opt for an airtight container with a soft lining to prevent scratching and preserve the beautiful finish.
Variations & Substitutions for bioplastic suncatchers
Feel free to let your creativity shine and customize your suncatchers in delightful ways!
-
Vegan Gelatin: Substitute unflavored gelatin with agar-agar to make your craft suitable for vegans. This swap ensures everyone can enjoy the creative fun!
-
Natural Color Variations: Use beet juice, turmeric, or spirulina to achieve unique shades. Experimenting with colors not only brightens your suncatchers but also adds a personal touch.
-
Texture Twist: Instead of just gel, incorporate coarse salt for a sandy texture. This adds dimension and excitement, transforming your suncatchers into even more interesting works of art.
-
Shape Play: Use different silicone molds shaped as stars, hearts, or animals. Unique molds can give your suncatchers character and charm, allowing for seasonal or themed decorations.
-
Seasonal Decor: For a festive touch, add seasonal elements like tiny glittery snowflakes for winter or vibrant flower petals in spring. This makes your suncatchers not only beautiful but also timely!
-
Glitter Blast: Enhance with a variety of fine glitters for different effects. Combining colors results in a dazzling, vibrant finish that sparkles irresistibly in the sunlight.
-
Multi-Layered Suncatchers: Create depth by layering different colored mixtures. With each layer dried separately, your final product will capture and refract light in stunning ways.
-
Themed Collections: Craft a series of suncatchers with a story in mind-like an ocean theme with shells, sand, and bright blue colors. These collections tell a story and are wonderful for displays.
Make Ahead Options
These bioplastic suncatchers are perfect for busy home cooks looking to save time! You can prepare the mixture and pour it onto the silicone mat up to 24 hours in advance, ensuring you keep it covered to prevent dust accumulation. If you're pressed for time, consider making several batches at once; they can be stored in the fridge for a day before pouring out. When you're ready to finish, all you need to do is add any decorations and let the suncatchers dry completely, flipping them halfway through the process for even results. With these make-ahead tips, you'll be able to enjoy a delightful crafting session without the last-minute rush!
Bioplastic Suncatchers Recipe FAQs
What kind of beads should I use for bioplastic suncatchers?
Absolutely! You can use any type of melting beads, often referred to as "Perler beads." They are not only vibrant but come in a variety of colors, allowing your creativity to shine through.
How should I store my bioplastic suncatchers?
To ensure your bioplastic suncatchers maintain their brightness, store them in a cool, dry place, away from direct sunlight. An airtight container lined with a soft cloth is ideal for long-term storage, as it helps prevent scratches.
Can I freeze my bioplastic suncatchers?
While freezing is not recommended for bioplastic suncatchers, you can keep them in the fridge briefly if you're concerned about them softening in warm temperatures. Just remember to let them return to room temperature before displaying them again.
What do I do if my mixture didn't thicken properly?
Very! If your mixture doesn't thicken as expected, it might be due to insufficient heat. Simply return it to low heat, stirring continuously. If it's still not thickening, make a slurry with a bit more cornstarch mixed in water and add it into the hot mixture, stirring until you achieve the right consistency.
Can I customize my bioplastic suncatchers with different designs?
The more the merrier! You can absolutely customize your designs by using different shapes of molds or layering multiple colors. Experiment with fine glitter, flower petals, or even tissue paper to create unique, vibrant pieces that showcase your artistic flair!
Are bioplastic suncatchers safe for children and pets?
Yes, bioplastic suncatchers are made from non-toxic materials and are safe for children to handle. However, it's always advisable to supervise younger kids during crafting sessions and store them out of reach of pets to avoid any chewing on the decorative elements.
Brighten Your Home with Bioplastic Suncatchers: Fun DIY for Kids
Equipment
- medium bowl
- spatula
- Silicone mat
- Low heat stove
Ingredients
For the Mixture
- ½ cup Water Essential for dissolving cornstarch
- 2 tablespoons Cornstarch Acts as a thickener
- 1 tablespoon White Vinegar Natural preservative
- 1 tablespoon Unflavored Gelatin Powder Adds structure
For Coloring
- Natural or Food-Safe Coloring Options: food coloring, beet juice, turmeric, or spirulina
Optional Decorations
- Fine Glitter For decorative sparkle
- Flower Petals Enhances decorative aspect
- Tissue Paper Extra layer of texture and color
Instructions
How to Make Bioplastic Suncatchers
- In a medium bowl, combine ½ cup water with 2 tablespoons cornstarch and stir well until fully blended.
- Gently add 1 tablespoon white vinegar and 1 tablespoon unflavored gelatin powder to your mixture. Warm it over low heat until it thickens.
- Once thickened, introduce your chosen coloring and stir until evenly distributed.
- Pour the mixture onto a silicone mat, spreading it out evenly.
- Add optional decorations like glitter or flower petals creatively.
- Allow to dry for at least 24 hours, flipping halfway through.
- Once dry, gently peel off from the mat and display in a sunny window.


Leave a Reply