
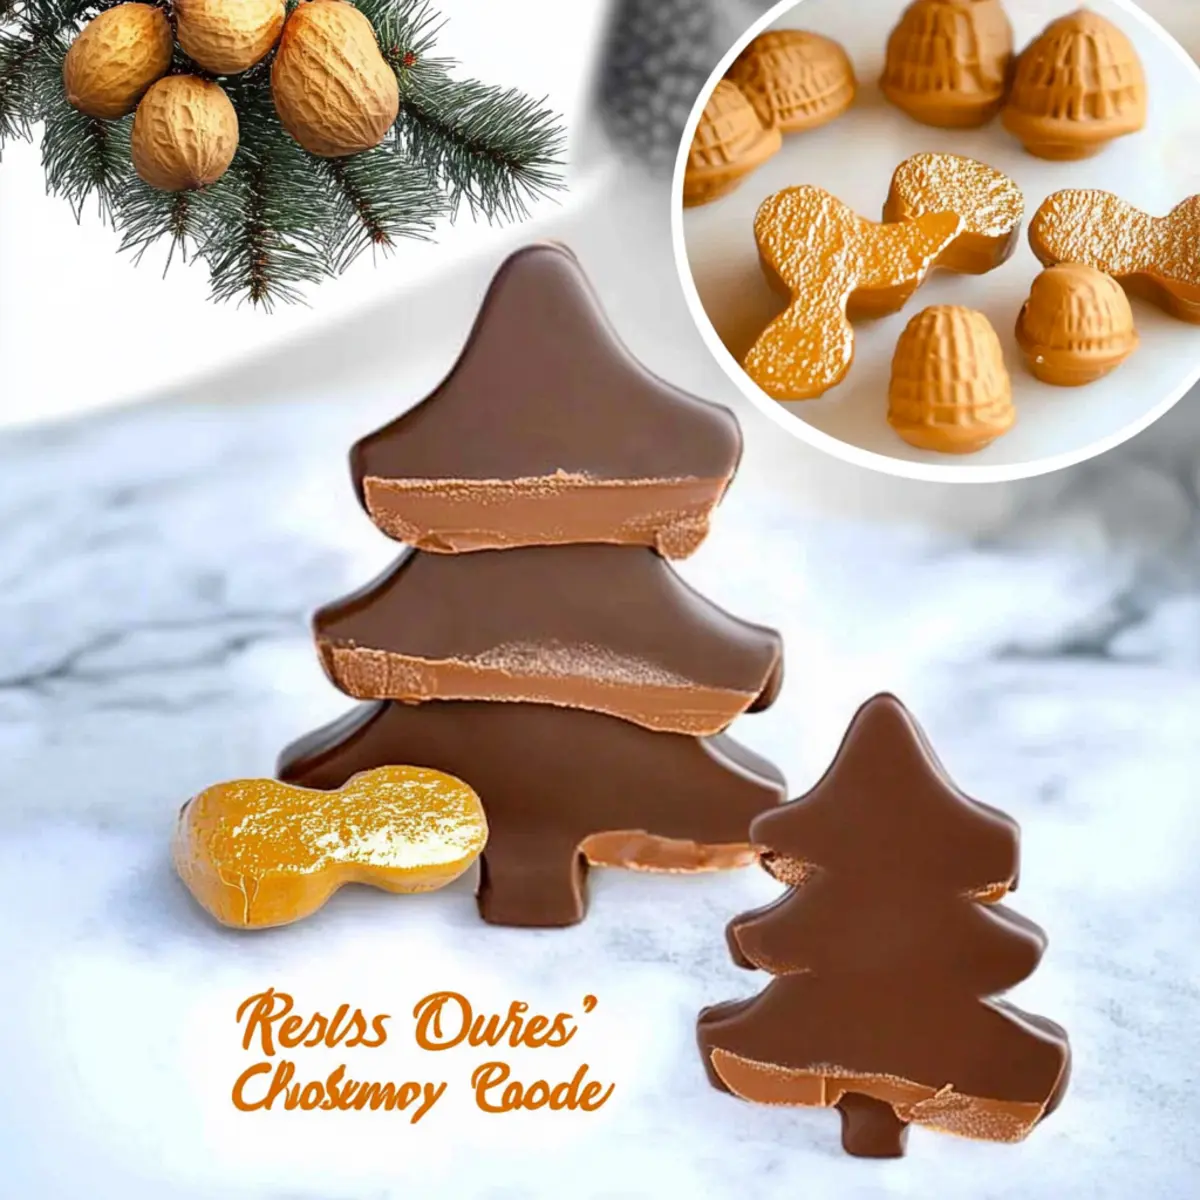
As the holiday season approaches, the memories of cozy evenings spent with loved ones in the kitchen come rushing back. One of my absolute favorite traditions is whipping up treats that capture the essence of joy and togetherness-like these Homemade Reese's Peanut Butter Christmas Trees. The moment you mix the rich, creamy peanut butter with just the right amount of sweetness, you know you're onto something special.
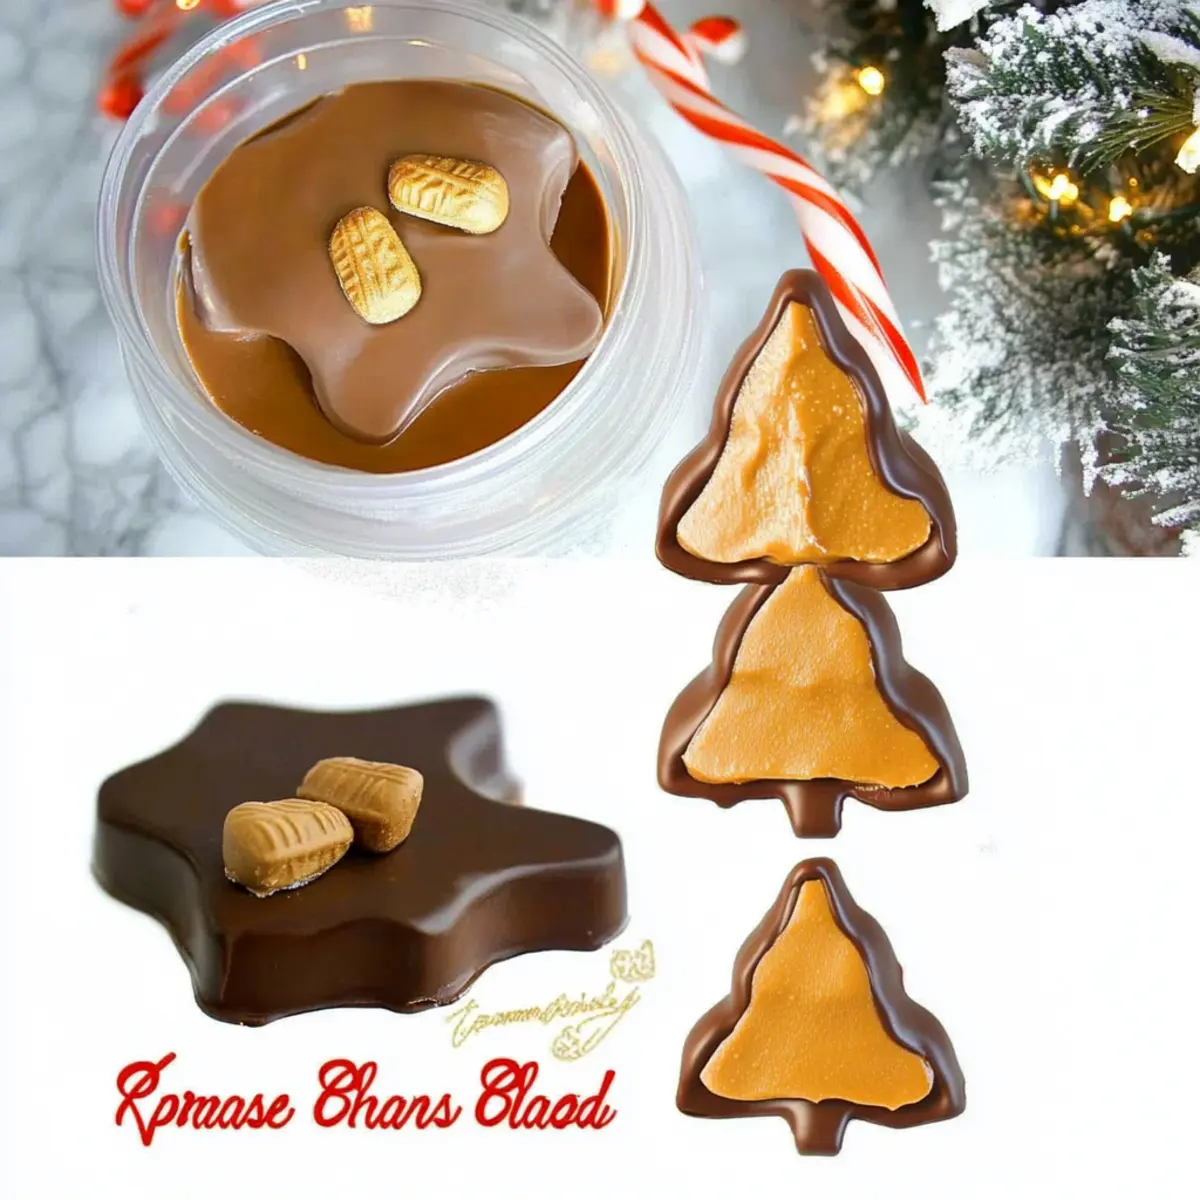
These no-bake beauties not only bring a delightful contrast of textures-the fudgy peanut butter center enveloped in a glossy chocolate coating-but they're also a breeze to.prepare. Perfect for last-minute gatherings or sweet surprises for friends and family, these festive trees invite creativity in their presentation. Top them off with a sprinkle of holiday cheer, and you've got treats that are not just delicious, but sure to elicit smiles all around. So grab your apron, and let's spread some holiday happiness with this oh-so-easy recipe that's destined to become a cherished tradition in your home!
Why will you love Homemade Reese's Peanut Butter Christmas Trees?
Festive Fun: Creating these adorable Christmas trees is a delightful activity for all ages, perfect for family bonding during the holiday season.
No-Bake Ease: With just a few simple steps, you can whip up these treats without turning on the oven-a total game-changer!
Customizable: Feel free to switch up the peanut butter with almond or cashew butter for a unique twist, or experiment with different chocolate types for extra flair.
Texture Delight: The combination of a creamy, fudgy center with that smooth chocolate exterior offers a rich, satisfying bite that you won't soon forget.
Crowd-Pleasing: These festive treats are sure to impress at any gathering, making them the perfect addition to cookie platters or gift baskets.
For more holiday inspiration, check out my favorite holiday cookie recipes!
Homemade Reese's Peanut Butter Christmas Trees Ingredients
For the Peanut Butter Mixture
• Creamy Peanut Butter - Adds richness and a nutty flavor; can substitute with almond butter for a different taste.
• Unsalted Butter (¼ cup, melted) - Provides moisture and helps bind ingredients; use coconut oil for a dairy-free option.
• Brown Sugar (2 tablespoons) - Adds sweetness and a hint of caramel flavor; white sugar can be used in a pinch.
• Vanilla Extract (2 teaspoons) - Enhances overall flavor; pure vanilla is recommended for best results.
• Salt (¼ teaspoon) - Balances sweetness and enhances flavors; can omit for a low-sodium version.
• Powdered Sugar (2 cups) - Contributes sweetness and texture; granulated sugar can be blended, but isn't recommended for a smooth finish.
For the Chocolate Coating
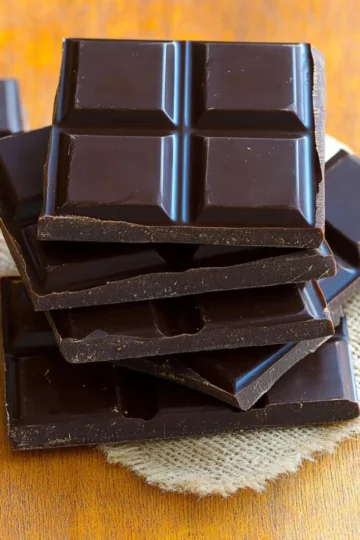
• Chocolate Chips or Chopped Chocolate (10-12 oz.) - The coating for the trees; semi-sweet plus milk chocolate blend offers a rich flavor; dark chocolate can be used for a more intense experience.
With these essential ingredients, you're just a few steps away from crafting your very own homemade Reese's Peanut Butter Christmas Trees, bringing joy and delightful flavors to your festive celebrations!
How to Make Homemade Reese's Peanut Butter Christmas Trees
-
Prepare the Base:
In a mixing bowl, combine creamy peanut butter, melted unsalted butter, brown sugar, vanilla extract, and salt. Mix well until smooth and creamy, ensuring each flavor melds beautifully. -
Incorporate Sweetness:
Gradually add powdered sugar to the peanut butter mixture. Blend until a thick, dough-like consistency forms; this may take a couple of minutes, but it's worth it! -
Shape the Trees:
On a parchment-lined surface, take portions of the dough and shape them into tree forms, about ½ inch thick. Get creative with the shapes for a fun look! -
Melt the Chocolate:
Using a microwave or double boiler, melt your chocolate chips until smooth. Stir frequently to avoid burning, making sure to reach that perfect velvety texture. -
Coat the Trees:
Dip each shaped peanut butter tree into the melted chocolate, ensuring they're fully coated. Place them back on the parchment to allow the excess chocolate to drip off. -
Cool and Set:
Refrigerate each tree until the chocolate has fully hardened, which takes about 30 minutes. Once set, they will have a lovely, glossy finish!
Optional: Drizzle extra melted chocolate over the cooled trees for a decorative touch.
Exact quantities are listed in the recipe card below.

Expert Tips for Homemade Reese's Peanut Butter Christmas Trees
- Room Temperature Peanut Butter: Ensure your peanut butter is at room temperature for easier mixing, resulting in a smoother dough.
- Avoid Overmixing: When incorporating powdered sugar, mix just until combined to keep the texture creamy and prevent a dry mixture.
- Choose the Right Chocolate: Select high-quality chocolate chips that melt well for a silky coating; avoid using chocolate that seizes up easily.
- Parchment Paper Precision: Use parchment paper to line your surface; it makes shaping the trees and removing them much easier without sticking.
- Creative Decorations: Enhance your Homemade Reese's Peanut Butter Christmas Trees with festive sprinkles or edible glitter for an extra holiday touch.
Homemade Reese's Peanut Butter Christmas Trees Variations
Feel free to get creative and make this recipe your own, adding delightful twists to each bite!
- Nut Butter Swap: Replace peanut butter with almond or cashew butter for a unique flavor profile that's equally creamy and delicious.
- Chocolate Variety: Experiment with dark chocolate or even white chocolate for a sweeter approach, creating a fun contrast with the peanut butter.
- Festive Sprinkles: Decorate the chocolate-coated trees with colorful holiday sprinkles or edible glitter for a bright, merry touch that screams festive cheer.
- Flavor Extracts: Add a splash of peppermint or almond extract to the peanut butter mixture for a surprising twist in flavor that adds a seasonal charm.
- Texture Boost: Mix in crushed nuts, like almonds or hazelnuts, into the peanut butter base for added crunch that complements the smooth chocolate coating.
- Spicy Kick: Incorporate a pinch of cayenne pepper or chili powder into the chocolate coating for a sweet and spicy combination that will tingle your taste buds.
- Cookie Crumble Topper: Top the chocolate-coated trees with crushed chocolate cookies or graham crackers for a delightful crunch and extra sweetness.
- Fruit Infusion: Blend in a bit of finely chopped dried fruit, such as cranberries or raisins, in the peanut butter mixture for a fruity surprise that pairs wonderfully with chocolate.
How to Store and Freeze Homemade Reese's Peanut Butter Christmas Trees
Room Temperature: Store in an airtight container at room temperature for up to 3 days, ensuring they are kept in a cool, dry place.
Fridge: Keep your homemade Reese's Peanut Butter Christmas Trees in the refrigerator for up to 2 weeks. This helps maintain their freshness and creamy texture.
Freezer: For longer storage, freeze them in a single layer on a baking sheet until solid, then transfer to a freezer-safe container for up to 3 months. Thaw in the fridge before serving.
Reheating: These treats do not require reheating; simply enjoy them chilled or at room temperature for the perfect bite!
Make Ahead Options
These Homemade Reese's Peanut Butter Christmas Trees are perfect for busy holiday schedules! You can prepare the peanut butter mixture and shape the trees up to 24 hours in advance. Simply store the shaped trees in an airtight container in the refrigerator to keep them fresh and firm. When you're ready to indulge, melt the chocolate and dip the chilled trees right before serving to ensure a smooth, glossy finish. This prep-ahead approach saves you precious time on busy days, allowing you to enjoy festive gatherings without the last-minute rush. Plus, they taste just as delicious, making holiday treat-making a breeze!
What to Serve with Homemade Reese's Peanut Butter Christmas Trees?
As you create these delightful holiday treats, consider pairing them with accompaniments that enhance their rich flavors and festive spirit.
-
Hot Cocoa: The warmth and creaminess of cocoa with marshmallows create a cozy combination with the chocolate and peanut butter flavors.
-
Peppermint Bark: This adds a refreshing crunch and a pop of holiday color, balancing the sweetness of the trees with its minty freshness.
-
Sugar Cookies: Classic and buttery, sugar cookies offer a delightful contrast in texture and serve as a canvas for beautiful holiday designs.
-
Christmas Punch: A sparkling, fruity beverage keeps the festive mood lively and fun, complementing the treats without overpowering their flavor.
-
Coffee: A rich cup of coffee acts as the perfect counterpoint to the sweetness, enhancing the peanut butter's depth while warming those chilly evenings.
-
Ice Cream: Serve these trees alongside a scoop of vanilla or chocolate ice cream for an indulgent dessert fusion that takes your taste buds to the next level.
-
Fruit Platter: Fresh fruits like strawberries and oranges can add a bright, tart element, cleansing the palate between bites of the rich trees.
-
Holiday Cheeseboard: Integrate your Christmas trees into a charcuterie spread with cheeses, nuts, and dried fruit for a sophisticated and festive treat option.
Each pairing brings something special to the table, ensuring that your homemade Reese's Peanut Butter Christmas Trees become the highlight of your holiday gatherings!
Homemade Reese's Peanut Butter Christmas Trees Recipe FAQs
How do I select the best peanut butter for this recipe?
Absolutely! For the best flavor and texture, choose a creamy peanut butter that is free from added sugars and oils. Look for varieties that list only peanuts and salt in the ingredients. If you prefer a different flavor profile, almond or cashew butter can be delightful alternatives!
How should I store leftover Christmas trees?
Very good question! Store your homemade Reese's Peanut Butter Christmas Trees in an airtight container in the refrigerator for up to 2 weeks. If you'd like to keep them fresher for longer, they can also be stored at room temperature for up to 3 days in a cool, dry place.
Can I freeze these peanut butter trees?
Absolutely, freezing is a great option! To freeze, place the finished trees in a single layer on a baking sheet and freeze until solid. Once frozen, transfer them to a freezer-safe container or bag, separating layers with parchment paper. They can be stored this way for up to 3 months. To enjoy, simply thaw in the refrigerator before serving.
What if the chocolate coating starts to seize or harden?
Don't worry! If your chocolate begins to seize or harden, try adding a teaspoon of vegetable oil or coconut oil to the melted chocolate to help smooth it out. Be sure to stir continuously and apply gentle heat if needed. This will create a glossier finish and make it easier to coat your trees perfectly.
Can I make these trees dairy-free or vegan?
Yes, indeed! To create a dairy-free version of your Homemade Reese's Peanut Butter Christmas Trees, simply substitute the unsalted butter with an equal amount of coconut oil or a vegan butter alternative. Make sure to select non-dairy chocolate chips for coating, and you'll have a delicious vegan treat that everyone can enjoy!

Irresistibly Easy Homemade Reese’s Peanut Butter Christmas Trees
Equipment
- Mixing Bowl
- Microwave or double boiler
- Parchment Paper
Ingredients
For the Peanut Butter Mixture
- 1 cup Creamy Peanut Butter Can substitute with almond butter.
- 0.25 cup Unsalted Butter Melted; use coconut oil for dairy-free option.
- 2 tablespoons Brown Sugar Can use white sugar in a pinch.
- 2 teaspoons Vanilla Extract Pure vanilla recommended.
- 0.25 teaspoon Salt Can omit for low-sodium version.
- 2 cups Powdered Sugar Granulated sugar can be blended, but not recommended.
For the Chocolate Coating
- 10-12 oz. Chocolate Chips or Chopped Chocolate Semi-sweet plus milk chocolate blend recommended.
Instructions
How to Make Homemade Reese’s Peanut Butter Christmas Trees
- In a mixing bowl, combine creamy peanut butter, melted unsalted butter, brown sugar, vanilla extract, and salt. Mix well until smooth and creamy.
- Gradually add powdered sugar to the peanut butter mixture. Blend until a thick, dough-like consistency forms.
- On a parchment-lined surface, take portions of the dough and shape them into tree forms, about ½ inch thick.
- Using a microwave or double boiler, melt your chocolate chips until smooth.
- Dip each shaped peanut butter tree into the melted chocolate, ensuring they're fully coated.
- Refrigerate each tree until the chocolate has fully hardened, about 30 minutes.
Leave a Reply