
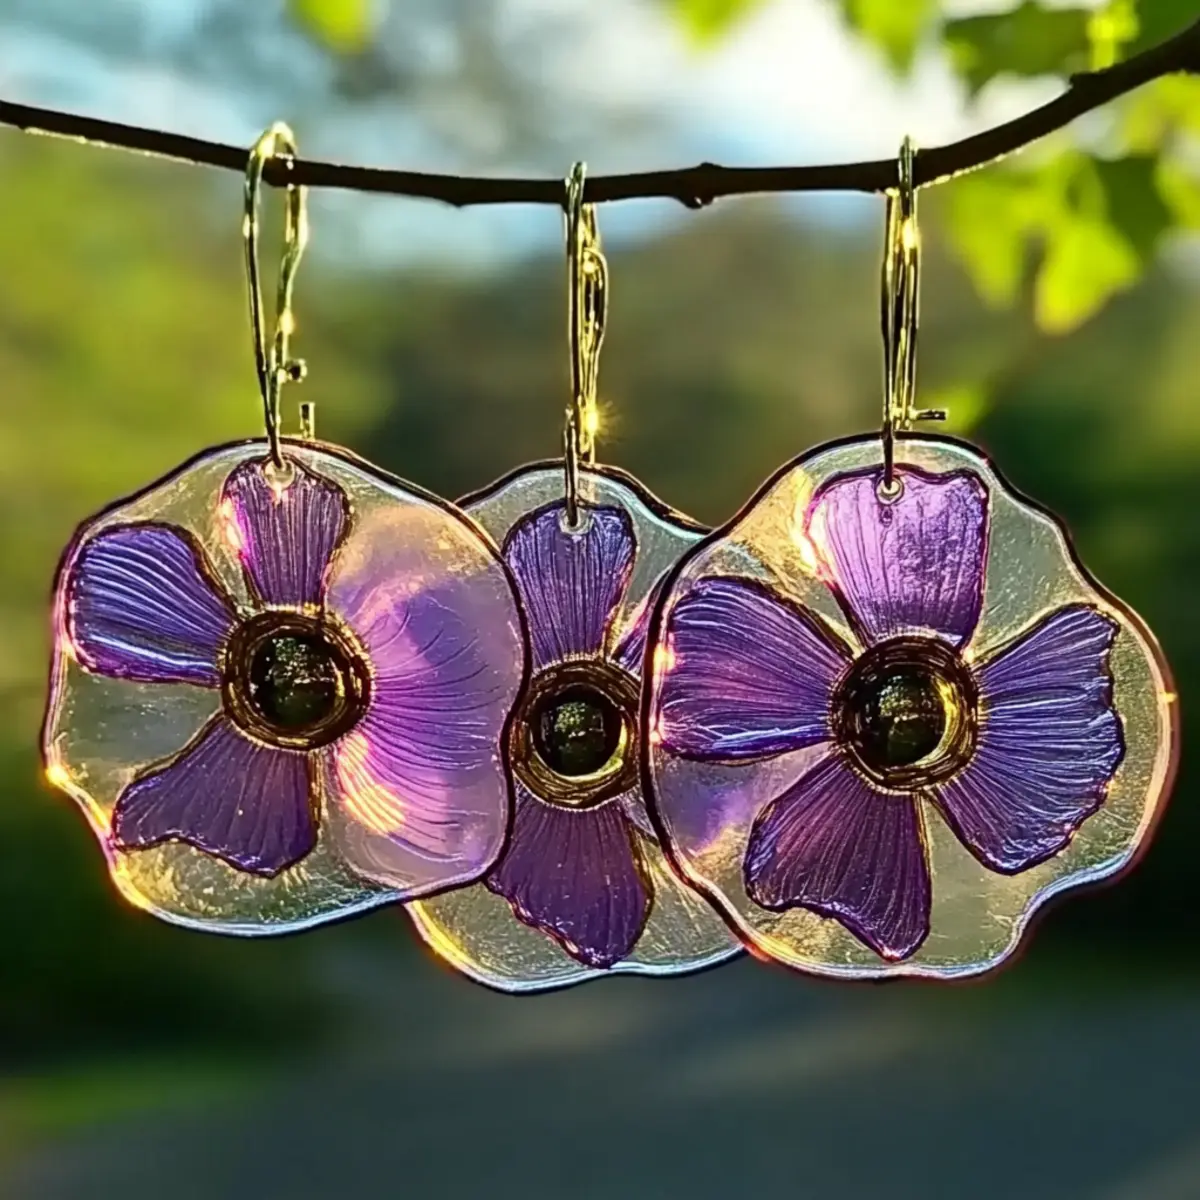
There's something truly magical about transforming everyday ingredients into bursts of color that dance in the sunlight. That's why I was thrilled when I stumbled upon the concept of DIY Bioplastic Suncatchers. This charming craft not only sparks joy and creativity but also embraces sustainability. With just a handful of natural materials like petals, leaves, and some basic kitchen supplies, you can create stunning, eco-friendly artworks that brighten up any window. Whether you're seeking a fun activity to enjoy with your kids or looking to add an artistic touch to your home, these suncatchers are the perfect solution. In less than 20 minutes of prep time, you'll find yourself immersed in a colorful world of nature-inspired beauty, ready to hang your creations and watch them transform your space. Let's dive into this simple yet enchanting project that merges artistry with eco-consciousness-your sunny windows will thank you!
Why DIY Bioplastic Suncatchers are a Must-Try?
Simplicity at its finest: Crafting these DIY Bioplastic Suncatchers takes no more than 20 minutes of preparation, making it a quick and enjoyable project. Eco-friendly and biodegradable, you'll love how this initiative helps the planet while engaging your creativity. Kid-friendly and fun, this activity encourages children to explore nature and express themselves. Unique designs abound: use whatever botanicals you find, ensuring each suncatcher is one-of-a-kind. Plus, these colorful treasures will brighten any space, adding a radiant touch to your home or garden. For more delightful crafts, check out our tips on creating beautiful nature-inspired decorations.
DIY Bioplastic Suncatchers Ingredients
• Let's get crafty and gather what you need!
For the Mixture
- Unflavored Gelatin Powder - This key ingredient provides the structure for your suncatchers; feel free to substitute with agar-agar for a vegan option.
- Boiling Water - Activates the gelatin, ensuring it sets nicely to create those beautiful, eco-friendly suncatchers.
For the Botanicals
- Natural Botanicals (Petals, Leaves, Herbs, Twigs) - These foraged elements bring color and texture; a variety will make your suncatcher truly unique.
For the Mold
- Plastic Lids (Molds) - Perfectly repurpose your kitchen lids like yogurt containers to shape your suncatchers.
For Hanging
- String or Yarn - Essential for displaying your finished creations; choose something colorful to add an extra pop.
Optional Enhancements
- Food Coloring - Use it to add a tint to your gelatin; get creative with natural colors for added flair!
- Edible Flowers - Not only are they beautiful, but they also make for a charming decoration.
- Biodegradable Glitter - Add sparkle to your suncatchers for a bit of fun and shimmer while staying eco-friendly!
With just these simple ingredients, you can create mesmerizing DIY Bioplastic Suncatchers that illuminate your space with natural beauty.
How to Make DIY Bioplastic Suncatchers
-
Forage for various natural items to use, ensuring a colorful mix of petals, leaves, and twigs that will create stunning designs in your suncatchers.
-
Arrange the botanicals in clean plastic lids; get creative with your layouts to maximize visual appeal and texture in your final piece.
-
Mix in a heat-safe bowl by stirring together 1 part unflavored gelatin powder with 4 parts boiling water until the mixture is completely dissolved and clear.
-
Pour the gelatin mixture carefully over the arranged botanicals in the lids, ensuring everything is submerged and well-covered for a beautiful finish.
-
Insert a loop of string into the gelatin before it cools; this will allow you to hang the suncatchers later.
-
Dry the suncatchers at room temperature for 24-48 hours, flipping them halfway to ensure they set evenly and thoroughly without curling.
-
Release the suncatchers from the molds gently once they are fully set, and find a sunny spot to hang them for maximum visual impact.
Optional: Use vibrant edible flowers for an extra touch of charm and color!
Exact quantities are listed in the recipe card below.
Expert Tips for DIY Bioplastic Suncatchers
-
Botanical Beauty: Press flowers and leaves for 2-3 days before using to enhance their appearance and color in your DIY Bioplastic Suncatchers.
-
Proper Coverage: Make sure to pour enough gelatin to fully cover your botanicals; this ensures they hold together beautifully.
-
Secure String: Before the gelatin cools, ensure the string or yarn loop is firmly positioned to prevent it from slipping out during drying.
-
Drying Technique: Place a light tray or towel atop your suncatchers while drying to minimize curling and ensure a flat finish.
-
Compost & Recycle: Remember, these suncatchers are temporary art. Once they degrade, compost them to return to nature, keeping your crafting eco-friendly!
What to Serve with DIY Bioplastic Suncatchers?
Creating beautiful suncatchers isn't just a craft; it's a delightful way to connect with nature while adding charm to your surroundings.
-
Nature Walks: Enjoy a leisurely stroll outside to gather botanicals. Embrace the colors and textures of the season, inspiring creativity for your suncatcher project.
-
Flower Pressing: Press additional flowers beforehand to enhance their hues. Create a charming display that showcases nature's art beautifully in your suncatchers.
-
Crafting Parties: Host a get-together with friends or family. Share laughter and creativity, exchanging tips and showcasing everyone's unique designs.
-
Eco-Friendly Treats: Serve organic snacks and juices. Pairing your crafty experience with healthy refreshments keeps the atmosphere light and enjoyable.
-
Tropical Drinks: Sip on refreshing herbal iced teas or fruit-infused water while creating your suncatchers. It's hydrating and adds a festive flair to your crafting session.
-
Educational Crafts: Explore nature-themed books or documentaries while you craft. This inspires creativity and education, making it a well-rounded activity for children.
By blending these delightful experiences with your DIY Bioplastic Suncatchers, you'll create a memorable atmosphere of creativity and connection to nature.
Make Ahead Options
Crafting DIY Bioplastic Suncatchers is a fantastic opportunity for meal prep enthusiasts-and it's perfect for busy schedules! You can prepare the gelatin mixture (1 part gelatin powder to 4 parts boiling water) and arrange the botanicals in the molds up to 24 hours in advance. Just store the assembled suncatchers in the refrigerator, covered with plastic wrap, to maintain their beauty and prevent deterioration. When you're ready to finish, simply pour the gelatin mixture over the botanicals and insert your string loops as directed. Allow them to dry at room temperature for about 24-48 hours, flipping them halfway for even drying. With this make-ahead approach, you'll enjoy a delightful craft project with minimal last-minute fuss!
How to Store and Freeze DIY Bioplastic Suncatchers
Flat Storage: Keep dried suncatchers flat in a cool, dry place if storing before displaying to maintain their shape and beauty.
Display Timeframe: These eco-friendly creations will last for several months if kept away from direct sunlight, ideally displayed in a shaded area to prevent degradation.
Recycling Reminder: Once your DIY Bioplastic Suncatchers begin to show signs of wear, compost them to ensure they return to nature sustainably.
DIY Bioplastic Suncatchers Variations
Feel free to explore these delightful tweaks to make your suncatchers even more unique and individualized!
-
Seasonal Botanicals: Use leaves and flowers that reflect the current season, such as vibrant autumn leaves or spring blossoms for a seasonal flair.
-
Natural Dyes: Try adding color to the gelatin using natural fruit and vegetable dyes, like beet juice for a rosy hue or spinach for green tones.
-
Shape Shifter: Experiment with different mold shapes by utilizing various plastic lids from your kitchen, like cookie cutters or small bowls for different effects.
-
Edible Flowers: Incorporate edible flowers in your designs for a whimsical touch that adds charm and color and can be used for special occasions.
-
Texture Play: Mix in small twigs or grassy strands with your botanicals to create varied textures that will intrigue the eye.
-
Biodegradable Glitter: For a sprinkle of magic, add biodegradable glitter to your gelatin mixture for a shimmering effect that'll catch the sunlight beautifully.
-
String Alternatives: Swap out standard string for colorful yarn or twine, adding a pop of color that enhances your suncatcher's visual appeal.
-
Layering Technique: Pour a thin layer of gelatin first, let it partially set, then add botanicals before topping off with more gelatin for an added dimension.
By embracing these variations, you can craft even more personalized masterpieces while celebrating nature!
DIY Bioplastic Suncatchers Recipe FAQs
What materials are best for the botanicals in my suncatchers?
Absolutely! When foraging for natural botanicals, look for a mix of vibrant petals, interesting leaves, and unique twigs. It's best to choose fresh items that are not wilted or damaged; plant parts that are firm and colorful will showcase beautifully in sunlight. Edible flowers, like pansies, can add a charming touch and are perfect for those with a sweet tooth for aesthetic!
How long do DIY Bioplastic Suncatchers last?
Very! These suncatchers can last for several months if stored properly. To maintain their beauty, display them in a shaded area away from direct sunlight, which can cause degradation. If you keep them flat in a cool, dry place before hanging, they will stay in excellent condition until you're ready to display them.
Can I freeze my DIY Bioplastic Suncatchers for later use?
While freezing is not recommended for these suncatchers, as they are best enjoyed fresh, you can store any unused gelatin mixture in the refrigerator for up to a week. If you decide to re-use the molds after initial drying, gently remove the botanicals and clean the lids before reusing them for a new batch.
What should I do if my suncatcher starts to curl while drying?
No worries! If you notice curling, gently place a light tray on top during the drying process. Alternatively, you can cover them with a cloth to help weight them down during drying, ensuring they remain flat for a beautiful finish. Flipping them halfway through the drying period also helps maintain their shape.
Are there any dietary considerations I should be aware of?
Good question! Since the botanicals are all natural, there are generally no common allergens, but be mindful of your surroundings. If you or your kids have allergies to specific plants or flowers, it's best to avoid those. Always select materials that are safe and non-toxic, especially if you're crafting with children.
What should I do with my suncatchers once they begin to degrade?
Absolutely, these suncatchers are eco-friendly, and once they start to show signs of wear, you can compost them! This way, your art will return to nature sustainably, closing the loop on your crafting experience. Plus, it's a wonderful way to teach kids about the importance of recycling and caring for our planet.
DIY Bioplastic Suncatchers: Easy Nature-Inspired Art for Kids
Equipment
- Heat-safe bowl
- Plastic lids (molds)
- mixing spoon
Ingredients
For the Mixture
- 1 cup Unflavored Gelatin Powder Substitute with agar-agar for vegan option.
- 4 cups Boiling Water
For the Botanicals
- Variable Natural Botanicals (Petals, Leaves, Herbs, Twigs) Use a variety for uniqueness.
For the Mold
- 3-4 Plastic Lids Repurpose kitchen lids like yogurt containers.
For Hanging
- 1 piece String or Yarn Choose something colorful.
Optional Enhancements
- As desired Food Coloring For adding tint.
- As desired Edible Flowers For decoration.
- As desired Biodegradable Glitter To add sparkle.
Instructions
How to Make DIY Bioplastic Suncatchers
- Forage for various natural items to use, ensuring a colorful mix of petals, leaves, and twigs that will create stunning designs in your suncatchers.
- Arrange the botanicals in clean plastic lids; get creative with your layouts to maximize visual appeal and texture in your final piece.
- Mix together 1 part unflavored gelatin powder with 4 parts boiling water until the mixture is completely dissolved and clear in a heat-safe bowl.
- Pour the gelatin mixture carefully over the arranged botanicals in the lids, ensuring everything is submerged and well-covered.
- Insert a loop of string into the gelatin before it cools to allow you to hang the suncatchers later.
- Dry the suncatchers at room temperature for 24-48 hours, flipping them halfway to ensure they set evenly.
- Release the suncatchers from the molds gently once they are fully set, and find a sunny spot to hang them for maximum visual impact.


Leave a Reply