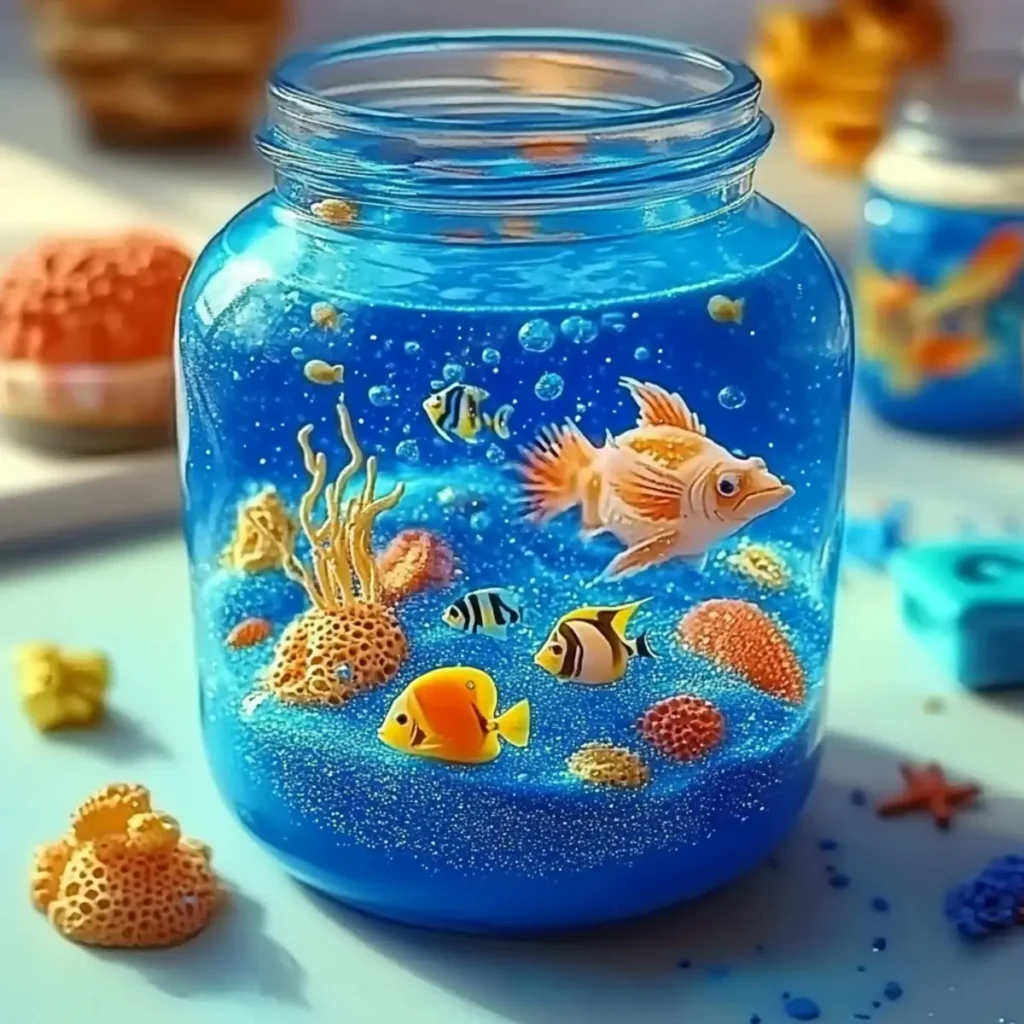
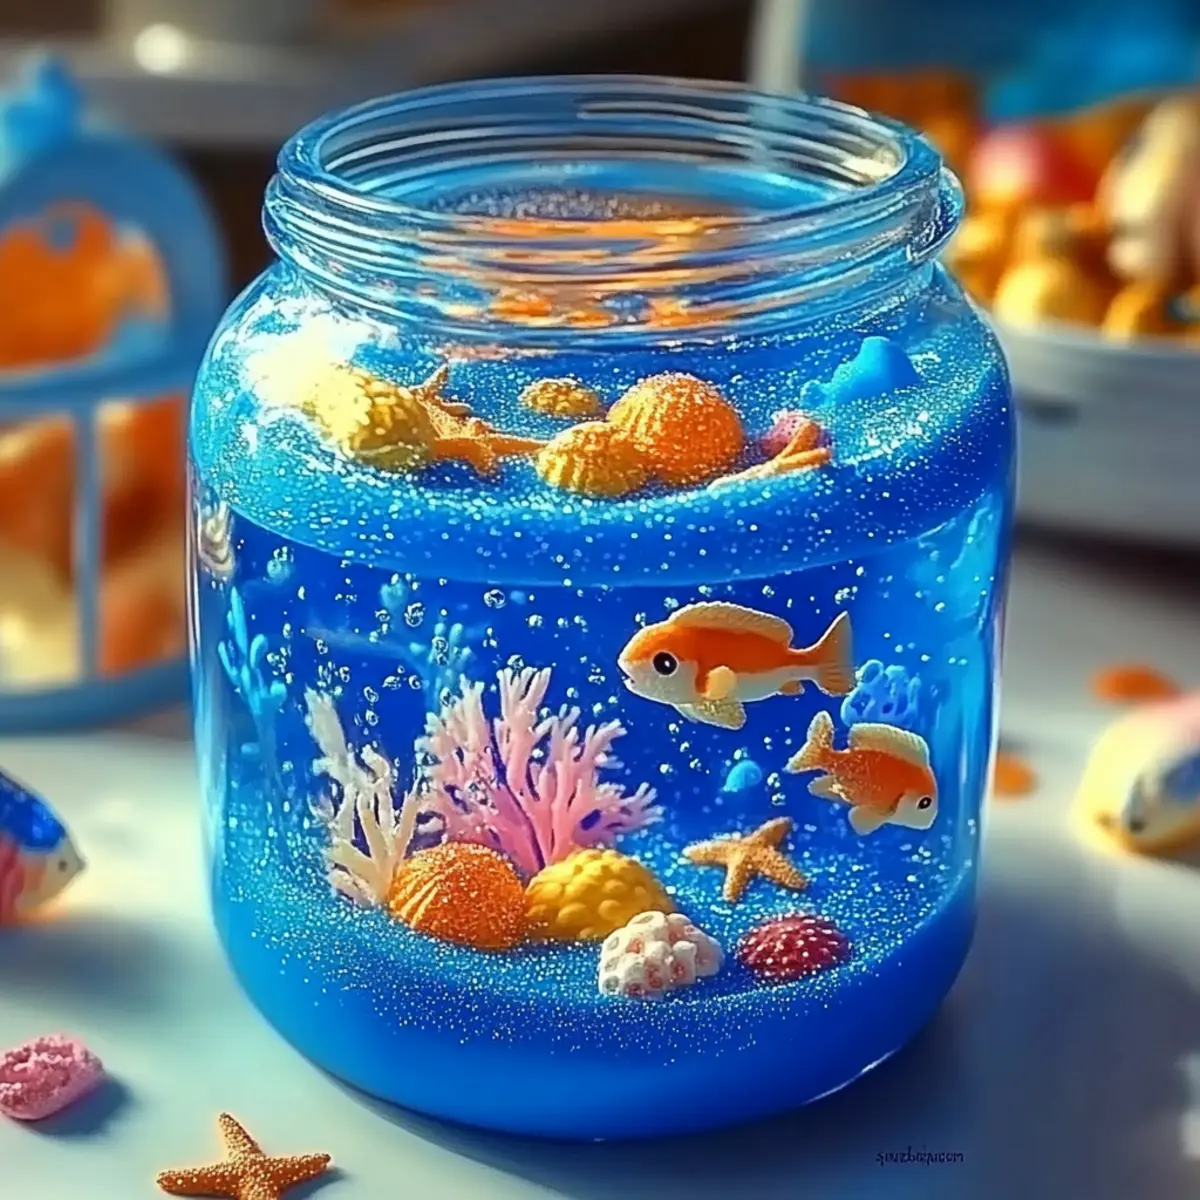
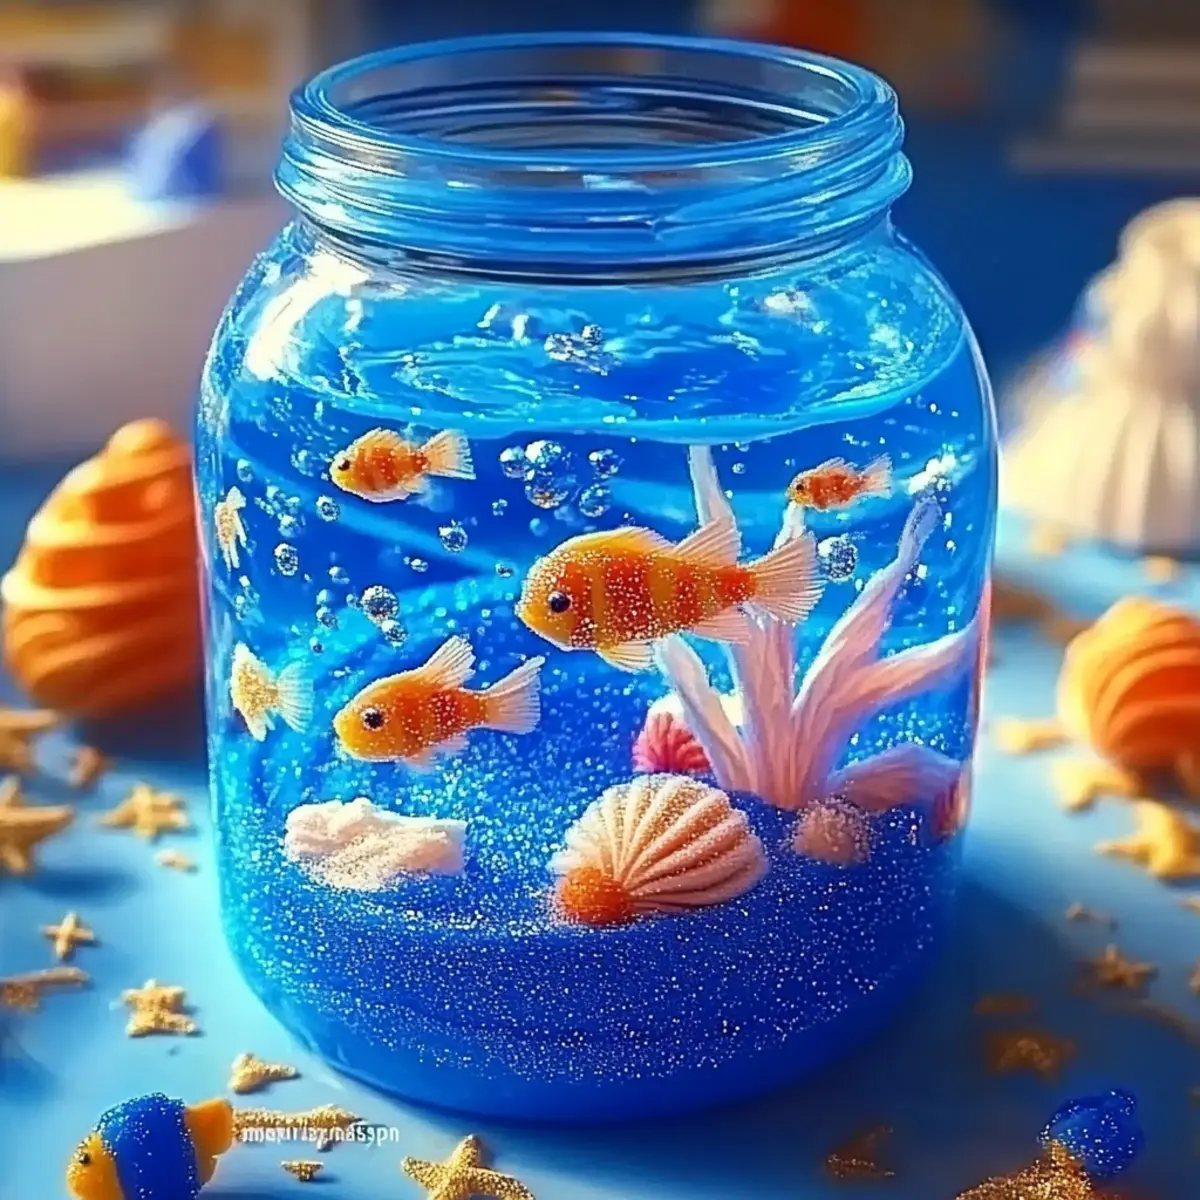
The moment I mixed the clear glue with sparkly glitter and watched the vibrant blue transform before my eyes, I couldn't help but feel like a kid again! This was no ordinary DIY project; it was a magical journey under the sea, encapsulated in the form of an enchanting Aquarium Slime. With each stretch and swirl, the sensory experience captures the whimsy of the ocean, making it a perfect craft for parties, rainy days, or simply when you need a little splash of creativity in your afternoon.
In just 10 minutes, this mesmerizing, ocean-themed slime comes to life, adorned with mini fish beads and a sprinkle of shimmering delight. It's the perfect way to inspire imaginative play while introducing a tactile adventure that delights both kids and adults alike. Say goodbye to boring crafts and fast food-this is a sensory exploration that promises to keep little hands busy and creative minds engaged. Dive in with me as we create a sparkly masterpiece that brings the wonders of the ocean right to your fingertips! 🌊✨
Why is Aquarium Slime a Must-Try?
Sensory Delight: The Aquarium Slime offers a mesmerizing tactile experience, combining the joy of crafting with the fun of sensory play.
Quick and Easy: In just 10 minutes, you'll have a fully formed ocean wonder that's perfect for any occasion.
Crowd-Pleasing Fun: Kids love the sparkly texture and colorful fish beads, making it a hit for parties or rainy day activities.
Versatile Variations: Feel free to swap colors and decorations for endless personalized creations.
Creative Learning: This craft not only entertains but also sparks creativity and imagination, perfect for budding young artists.
If you're looking for a great activity, check out our tips on making slime that will enhance your kids' crafty afternoons!
Aquarium Slime Ingredients
For the Slime Base
• Clear School Glue - Provides the base for a stretchy and fun aquarium slime; if unavailable, white school glue can be a substitute.
• Water - Combines with glue to achieve the perfect consistency for your slime.
• Baking Soda - Helps the slime firm up and gain that delightful stretchability.
• Contact Lens Solution (with Boric Acid) - Activates the slime, helping it come together; any saline solution works as a substitute.
For the Ocean Vibe
• Blue Food Coloring or Liquid Watercolor - Adds that vibrant oceanic color; feel free to use any food-safe coloring you prefer.
• Fine Glitter (blue, silver, iridescent) - Enhances the visual appeal, making your slime sparkle; you can adjust colors based on your theme.
For the Sensory Elements
• Mini Fish Beads, Plastic Sea Creatures, or Aquarium Rocks - Introduces a playful sensory element; get creative with other small toys as well.
• Small Seashells or Foam Beads (optional) - Adds an extra layer of texture; any lightweight decorative items can be used for fun variations.
How to Make Aquarium Slime
-
Combine Ingredients: In a mixing bowl, combine 1 cup of clear school glue and ½ cup of water. Stir well until both ingredients are fully blended, creating a smooth base for your slime.
-
Add Color and Glitter: Add a few drops of blue food coloring and a sprinkle of fine glitter to the glue mixture. Mix everything together until you see vibrant color and sparkle throughout the mixture.
-
Incorporate Baking Soda: Stir in 1 tablespoon of baking soda until it is completely dissolved. This helps to give the slime its desired texture and stretchability.
-
Activate the Slime: Gradually add 1 tablespoon of contact lens solution while stirring the mixture. You'll notice it starting to thicken; keep stirring until it begins to form a cohesive slime.
-
Knead the Slime: Once the slime forms, remove it from the bowl and knead it by hand for 1-2 minutes. It should feel smooth and stretchy; this is an important step to get the perfect consistency.
-
Add Fun Decorations: Gently fold in your mini fish beads and any optional decorative items like small seashells or foam beads. This is where you can unleash your creativity for a truly unique slime experience.
-
Store the Slime: Place the finished slime into an airtight container to keep it fresh and extend its life. Your aquarium slime is now ready for imaginative play!
Optional: For an extra touch of magic, consider adding glow-in-the-dark pigments for a nighttime adventure!
Exact quantities are listed in the recipe card below.

How to Store and Freeze Aquarium Slime
Room Temperature: Keep your Aquarium Slime in a sealed container at room temperature for up to a week. Avoid exposing it to direct sunlight or heat sources to maintain its texture.
Fridge: If you want to extend its freshness, store the slime in the refrigerator for up to 2 weeks. Make sure it's in an airtight container to prevent it from drying out.
Freezer: For long-term storage, you can freeze your Aquarium Slime in a plastic bag for up to 1 month. When ready to use, thaw it slowly at room temperature or in the fridge until pliable again.
Reheating: If your slime becomes tacky or less stretchy, knead it gently after removing it from the container. Adding a few drops of contact lens solution can help restore its original texture.
Make Ahead Options
These delightful Aquarium Slime creations are perfect for preparing ahead of time, saving you valuable minutes for play! You can mix the slime ingredients up to 24 hours in advance; simply store the mixture (without adding decorations) in an airtight container in the refrigerator. This keeps the slime fresh and ready to use when you're ready for sensory fun. When it's time to craft, let the base come to room temperature, then add your favorite mini fish beads and optional decorations. This way, you'll have a mesmerizing activity prepped and waiting, ensuring your creative afternoons are effortlessly enjoyable!
Aquarium Slime Variations & Substitutions
Dive into a world of creativity by customizing your Aquarium Slime with these exciting twists and turns!
- Colorful Ocean: Swap blue food coloring with green or purple for a unique twist on ocean themes. Imagine vibrant seaweed or mystical deep waters!
- Scented Slime: Add a few drops of essential oils, like lavender or eucalyptus, for a delightful aromatic experience while playing.
- Textural Fun: Include foam beads or small marbles instead of mini fish beads for an interesting change in tactile sensation. Each poke reveals a different, delightful texture!
- Glow-in-the-Dark: Mix in glow-in-the-dark powder for a magical night-time spin on your slime, perfect for late-night adventures or creative play.
- Seasonal Themes: Adjust colors according to holidays - use orange and black for Halloween or red and green for Christmas. Celebrate every occasion with themed slime!
- Fishy Friends: Use other small toys like rubber sharks or plastic turtles for a wild ocean theme. Kids can even create stories and adventures centered around their new ocean friends!
- Eco-Friendly Glitter: For an environmentally friendly twist, try biodegradable glitter to enhance the sparkle while being kind to our oceans.
- Bubble Magic: Incorporate a blend of bubble solution to create a bubbly, fidget-friendly texture, providing even more sensory engagement for the kids.
Tips for the Best Aquarium Slime
-
Measure Precisely: Make sure to measure all ingredients carefully. Too much glue or contact lens solution can ruin your aquarium slime's texture.
-
Stir Well: Mix the glue and water thoroughly at the beginning. This ensures a smooth base for your slime, enhancing the final product's stretchiness.
-
Avoid Over-Kneading: Once you add in the mini fish beads, knead just enough to combine. Over-kneading can cause the beads to pop out, detracting from the sensory experience.
-
Supervise Little Hands: Keep an eye on young children during the crafting process, teaching them not to ingest materials which are not meant to be eaten.
-
Storage Awareness: Store your aquarium slime in a sealed container to maintain its stretchiness. It can last for weeks if kept properly!
What to Serve with Aquarium Slime?
Creating your own aquarium slime is an exciting, hands-on activity that leaves little ones (and adults!) entranced.
-
Colorful Crafting Table: Set up a vibrant array of colorful paints, markers, and papers. This allows kids to create backdrops or ocean-themed art that complements their slime.
-
Ocean-Inspired Snacks: Whip up ocean-themed treats like blue Jell-O cups with gummy fish inside. These delightful snacks engage their imagination and provide a fun way to enjoy a themed playdate.
-
Sensory Bin: Fill a bin with sand, sea shells, and plastic sea creatures for tactile play. The contrasting textures and elements enhance the ocean adventure experience along with the slime.
-
DIY Ocean Adventure Story: Create a storytelling session where kids can narrate adventures of their mini fish beads and sea creatures while playing with the slime. It encourages creativity and language skills while being fun!
-
Themed Music Playlist: Curate a playlist of ocean sounds or songs related to the sea. It sets the mood and creates an immersive experience as they enjoy their creative crafting.
-
Cooling Drinks: Serve refreshing blue lemonade or sparkling water with blue food coloring to match the aquarium theme. It's a delightful touch that ties everything together while keeping everyone hydrated!
Aquarium Slime Recipe FAQs
What type of glue should I use for Aquarium Slime?
You can use clear school glue as the base for your slime. If that's not available, white school glue works well too, though the slime may be slightly less transparent. The key is to ensure it's washable and safe for kids.
How should I store my Aquarium Slime, and how long will it last?
To keep your slime fresh, store it in a sealed container at room temperature for up to a week. For longer shelf life, you can refrigerate it where it'll stay good for about 2 weeks. Just ensure it's airtight to prevent drying out!
Can I freeze my Aquarium Slime?
Absolutely! You can freeze your Aquarium Slime in a plastic bag for up to 1 month. When you're ready to use it, allow it to thaw at room temperature or in the fridge until it becomes pliable again. This is a great way to keep your slime for future play sessions!
What should I do if my slime is too sticky?
If your slime feels too tacky, knead it gently after removing it from the container. If it's still not quite right, add a few drops of contact lens solution, which helps restore the perfect stretchy texture. Remember to adjust your quantities next time to avoid stickiness!
Is Aquarium Slime safe for young children?
While the ingredients are generally safe, it's essential to supervise young children during the crafting process. Talk to them about not ingesting any materials that aren't meant to be eaten. Always prioritize their safety, and encourage safe play with the slime afterwards.
Can I customize the colors and decorations in my Aquarium Slime?
Absolutely! Feel free to mix up the blue food coloring with other colors like green or purple for varied oceanic themes. You can also experiment with different sizes or shapes of beads, toys, or even add some glow-in-the-dark pigments for night-time fun!

Aquarium Slime: A Fun, Sparkly Sensory Adventure for All!
Equipment
- Mixing Bowl
- measuring cups
- spoon
- Airtight Container
Ingredients
For the Slime Base
- 1 cup Clear School Glue Can substitute with white school glue if unavailable.
- ½ cup Water
- 1 tablespoon Baking Soda
- 1 tablespoon Contact Lens Solution (with Boric Acid) Any saline solution can work as a substitute.
For the Ocean Vibe
- a few drops Blue Food Coloring or Liquid Watercolor Feel free to use any food-safe coloring you prefer.
- to taste Fine Glitter (blue, silver, iridescent) Adjust colors based on your theme.
For the Sensory Elements
- as desired Mini Fish Beads, Plastic Sea Creatures, or Aquarium Rocks Get creative with any small toys.
- optional Small Seashells or Foam Beads Adds texture and variation.
Instructions
How to Make Aquarium Slime
- Combine Ingredients: In a mixing bowl, combine 1 cup of clear school glue and ½ cup of water. Stir well until both ingredients are fully blended, creating a smooth base for your slime.
- Add Color and Glitter: Add a few drops of blue food coloring and a sprinkle of fine glitter to the glue mixture. Mix everything together until you see vibrant color and sparkle throughout.
- Incorporate Baking Soda: Stir in 1 tablespoon of baking soda until it is completely dissolved for the desired texture.
- Activate the Slime: Gradually add 1 tablespoon of contact lens solution while stirring. Keep stirring until it thickens.
- Knead the Slime: Remove from the bowl and knead by hand for 1-2 minutes until smooth and stretchy.
- Add Fun Decorations: Fold in mini fish beads and optional decorative items for a unique slime experience.
- Store the Slime: Place the finished slime in an airtight container to keep it fresh.


Leave a Reply