Why Make This Recipe
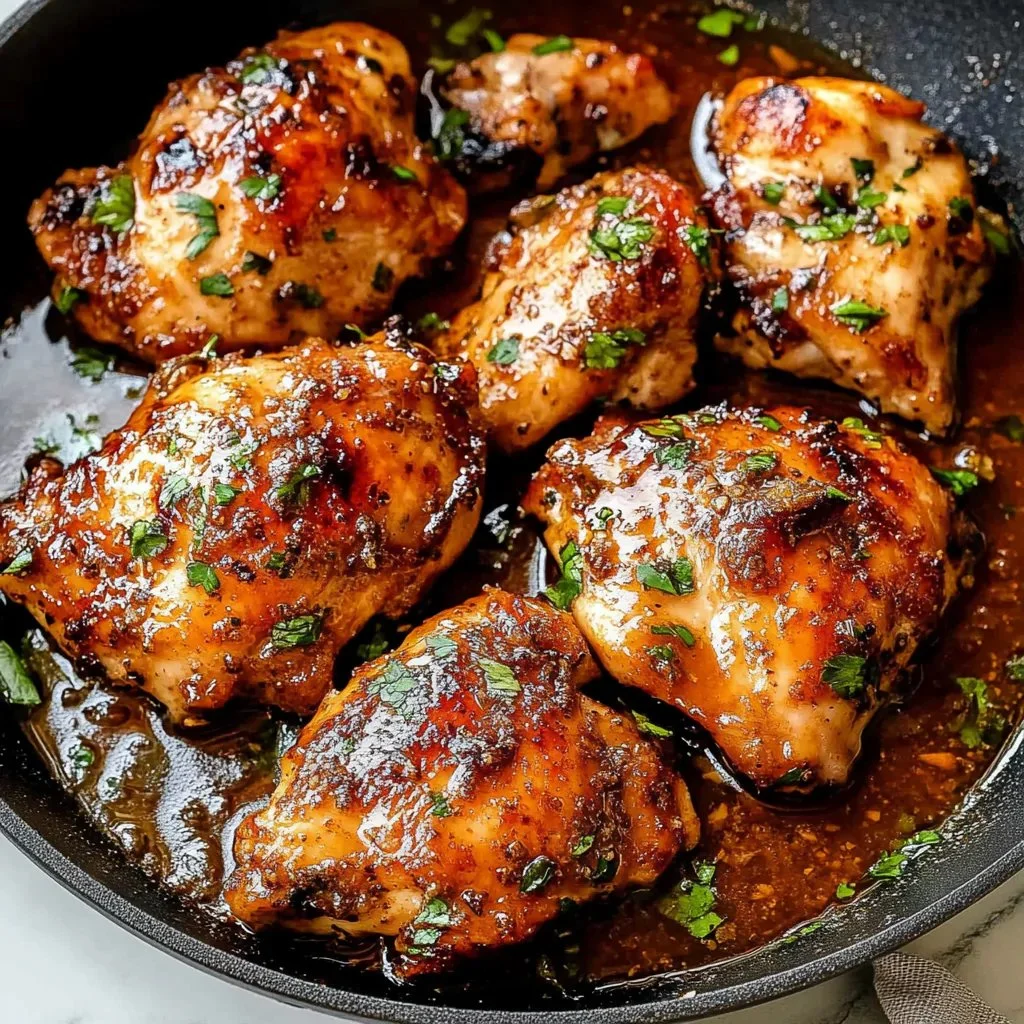
Apple Cider Glazed Chicken is a dish that combines juicy chicken breasts with a sweet and tangy glaze. This recipe is perfect for those who want to try something new and exciting in the kitchen. It's simple but tastes delicious! The apple cider gives the chicken a unique flavor that you won't find in many other recipes. Plus, it's a great way to bring the taste of fall to your dinner table any time of the year.
This dish is not only full of flavor but also quite easy to prepare. Whether you are cooking for a family dinner or impressing guests, Apple Cider Glazed Chicken is sure to be a hit. With just a few ingredients and simple steps, you can make a meal that feels special and satisfying. Let's get started!
How to Make Apple Cider Glazed Chicken
Making Apple Cider Glazed Chicken is quick and straightforward. Here's how to do it step by step.
Ingredients
To make this delicious dish, you'll need the following ingredients:
- 4 boneless, skinless chicken breasts
- 1 cup fresh apple cider
- 2 tablespoons honey
- 2 teaspoons fresh thyme leaves
- ¼ cup low-sodium soy sauce
- 3 garlic cloves, minced
- 2 tablespoons olive oil
Directions
-
Prepare the Marinade: In a bowl, mix the apple cider, honey, soy sauce, minced garlic, and thyme together. This mixture will be your marinade.
-
Marinate the Chicken: Add the chicken breasts to the marinade. Make sure the chicken is well-coated. Allow it to marinate in the refrigerator for at least one hour. This step is important because it helps the chicken absorb all those wonderful flavors.
-
Sear the Chicken: Heat the olive oil in a skillet over medium heat. Once the oil is hot, take the chicken out of the marinade and place it in the skillet. Sear each side for about 5 minutes until it turns golden brown.
-
Make the Glaze: After browning the chicken, remove it from the skillet. Pour the remaining marinade into the skillet. Bring it to a gentle boil and let it cook for about 5 minutes until it thickens slightly.
-
Combine and Cook: Return the chicken to the skillet and coat it with the glaze. Let it simmer for another 5 minutes. Make sure the chicken is cooked through; the internal temperature should reach 165°F.
-
Let It Rest: Once done, let the chicken rest for three minutes before serving. This helps keep it juicy.
How to Serve Apple Cider Glazed Chicken
Apple Cider Glazed Chicken tastes amazing on its own, but you can serve it in many ways. Here are a few ideas:
- With Sides: Pair the chicken with rice or mashed potatoes and a simple green salad. The sweet glaze complements these sides wonderfully.
- On a Salad: Slice the grilled chicken and place it on a bed of mixed greens, adding some nuts or cheese for extra flavor.
- In a Sandwich: Use the leftover chicken to create a hearty sandwich. Add some fresh apple slices for crunch and texture.
How to Store Apple Cider Glazed Chicken
If you have leftover chicken, you can store it for later. Here's how:
- In the Refrigerator: Place the cooled chicken in an airtight container. It will stay good for three to four days.
- In the Freezer: For longer storage, you can freeze the chicken. Wrap it tightly in plastic wrap and then put it in a freezer-safe bag. It should stay fresh for up to three months. When you are ready to eat it, thaw it in the refrigerator before reheating.
Tips to Make Apple Cider Glazed Chicken
- Marinating Time: If you can, marinate the chicken overnight. This will give it even more flavor.
- Cooking Temperature: Use a meat thermometer to check the internal temperature. It should be at least 165°F to be safe to eat.
- Fresh Ingredients: Try to use fresh thyme and apple cider for the best taste. It makes a big difference in flavor.
Variation
You can change the recipe a bit if you want. Here are some ideas:
- Add Spices: Sprinkle some black pepper or paprika for an extra kick.
- Use Different Meats: This marinade works well with pork or turkey if you want to switch things up.
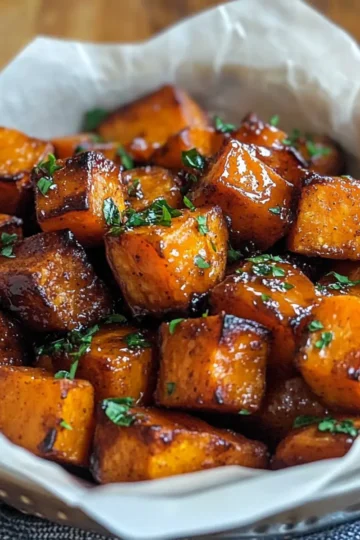
- Add Vegetables: Toss in some chopped apples or carrots in the skillet while the chicken cooks for a complete meal.
FAQs
1. Can I use bottled apple cider?
Yes, bottled apple cider works well if fresh apple cider is not available. Just look for a good-quality brand.
2. How long should I marinate the chicken?
Aim for at least one hour. However, if you have more time, marinating for several hours or overnight will enhance the flavor even more.
3. Is this recipe gluten-free?
To make it gluten-free, use tamari instead of regular soy sauce. It provides a similar flavor without gluten.
Conclusion
Apple Cider Glazed Chicken is an easy recipe that brings wonderful flavors to your table. With its sweet and savory glaze, it's a dish that everyone will love. You can prepare it in under an hour, making it perfect for busy weeknights or special occasions. By following the steps and tips provided, you can create a meal that not only tastes amazing but also looks beautiful. Give it a try, and enjoy the delightful combination of apple cider, chicken, and thyme!

Apple Cider Glazed Chicken
Ingredients
For the Marinade
- 1 cup fresh apple cider Use good quality fresh cider for best flavor.
- 2 tablespoons honey
- ¼ cup low-sodium soy sauce Substitute tamari for gluten-free.
- 3 cloves garlic, minced
- 2 teaspoons fresh thyme leaves Fresh thyme preferred.
Main Ingredients
- 4 pieces boneless, skinless chicken breasts
- 2 tablespoons olive oil For searing the chicken.
Instructions
Preparation
- In a bowl, mix the apple cider, honey, soy sauce, minced garlic, and thyme together.
- Add the chicken breasts to the marinade and coat well. Marinate in the refrigerator for at least one hour.
Cooking
- Heat olive oil in a skillet over medium heat. Sear each side of the chicken for about 5 minutes until golden brown.
- Remove the chicken from the skillet. Pour the remaining marinade into the skillet, bring to a gentle boil, and cook for about 5 minutes until it thickens slightly.
- Return the chicken to the skillet and coat it with the glaze. Let it simmer for another 5 minutes until cooked through, with an internal temperature of 165°F.
Serving
- Let the chicken rest for three minutes before serving.


Leave a Reply